Blow Dry Waves: Professional Techniques at Home - Master Salon-Quality Styling
Blow Dry Waves: Professional Techniques at Home - Master Salon-Quality Styling
Transform Your Hair with Expert Blow Drying Methods That Create Stunning, Long-Lasting Waves Without Expensive Salon Visits
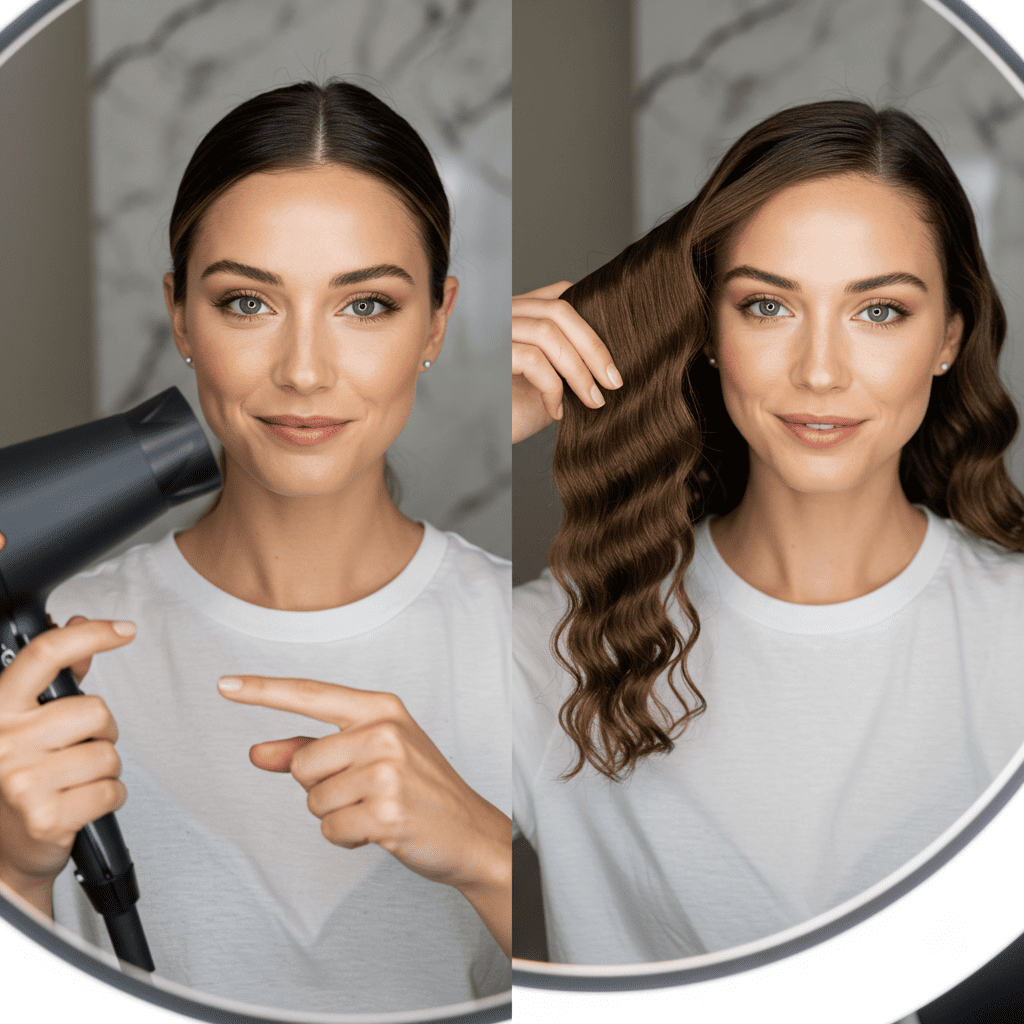
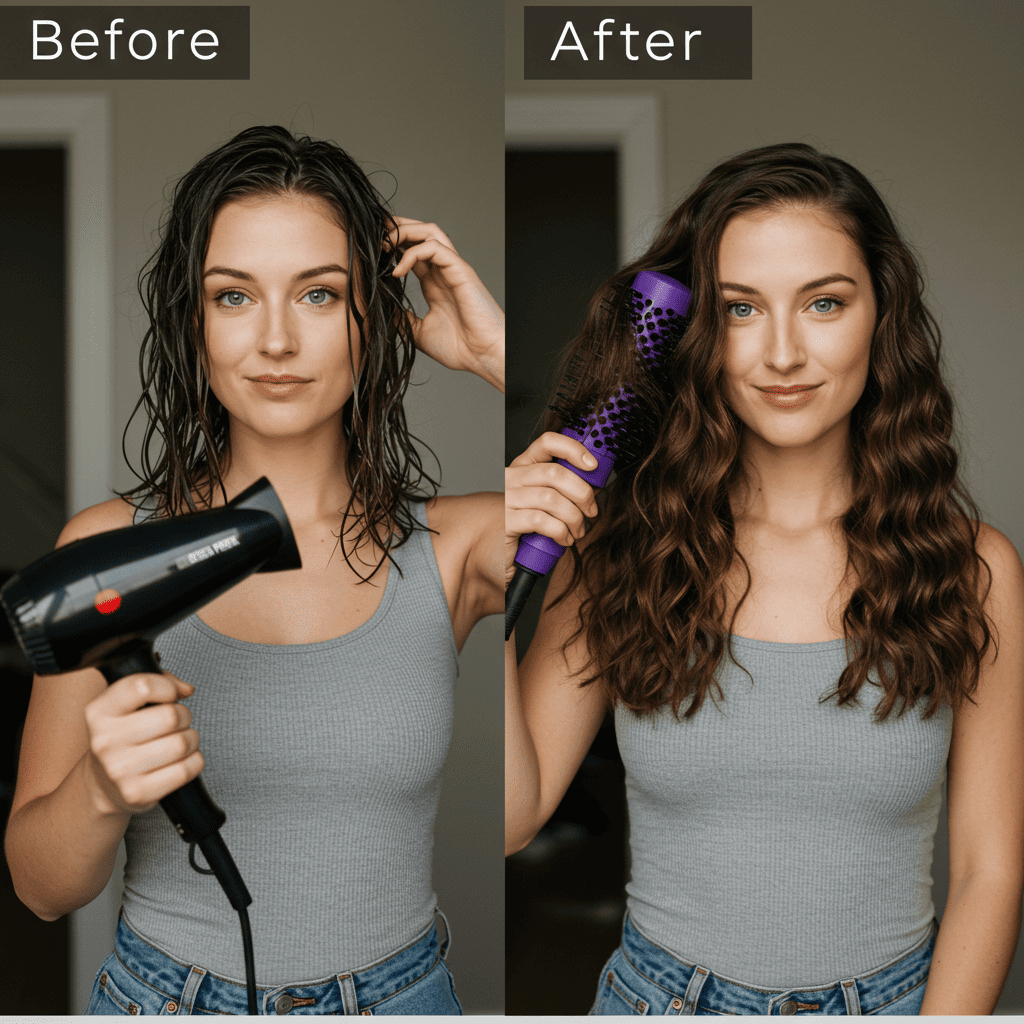
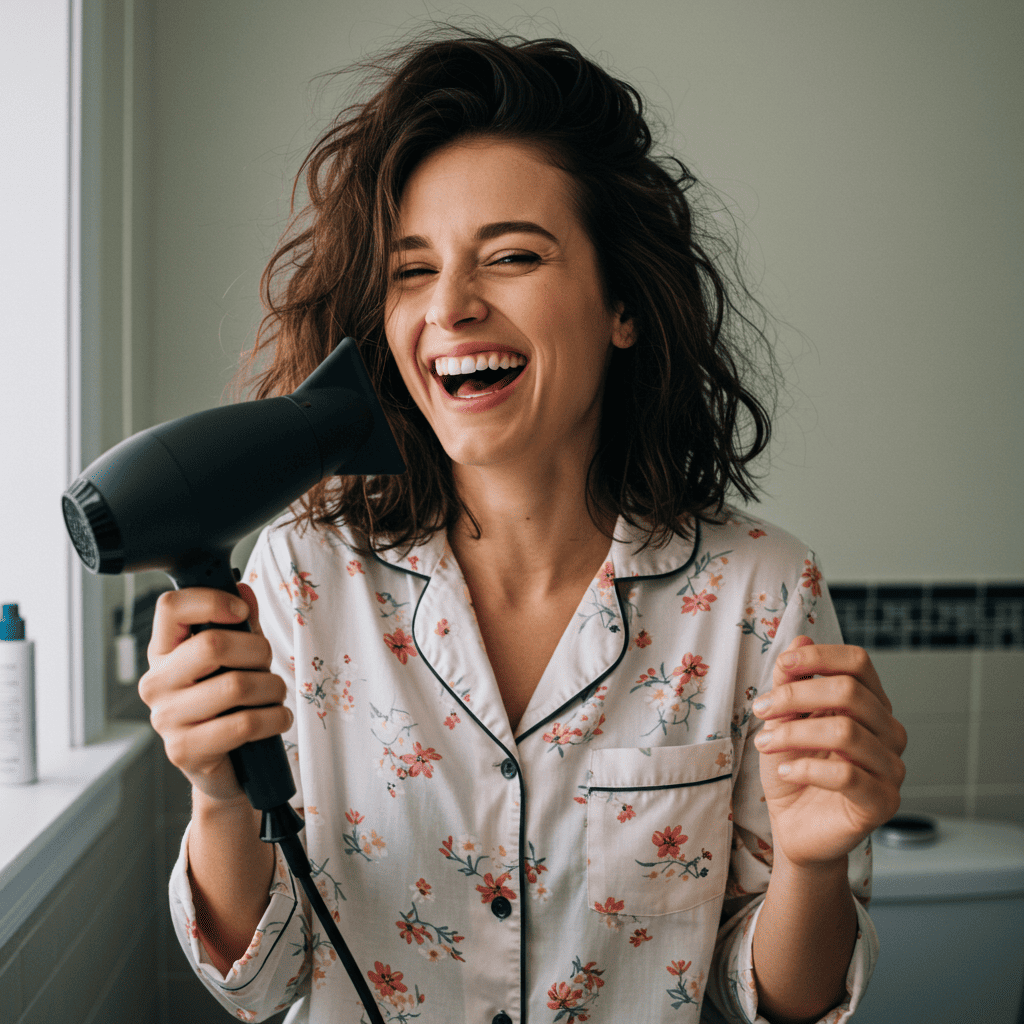
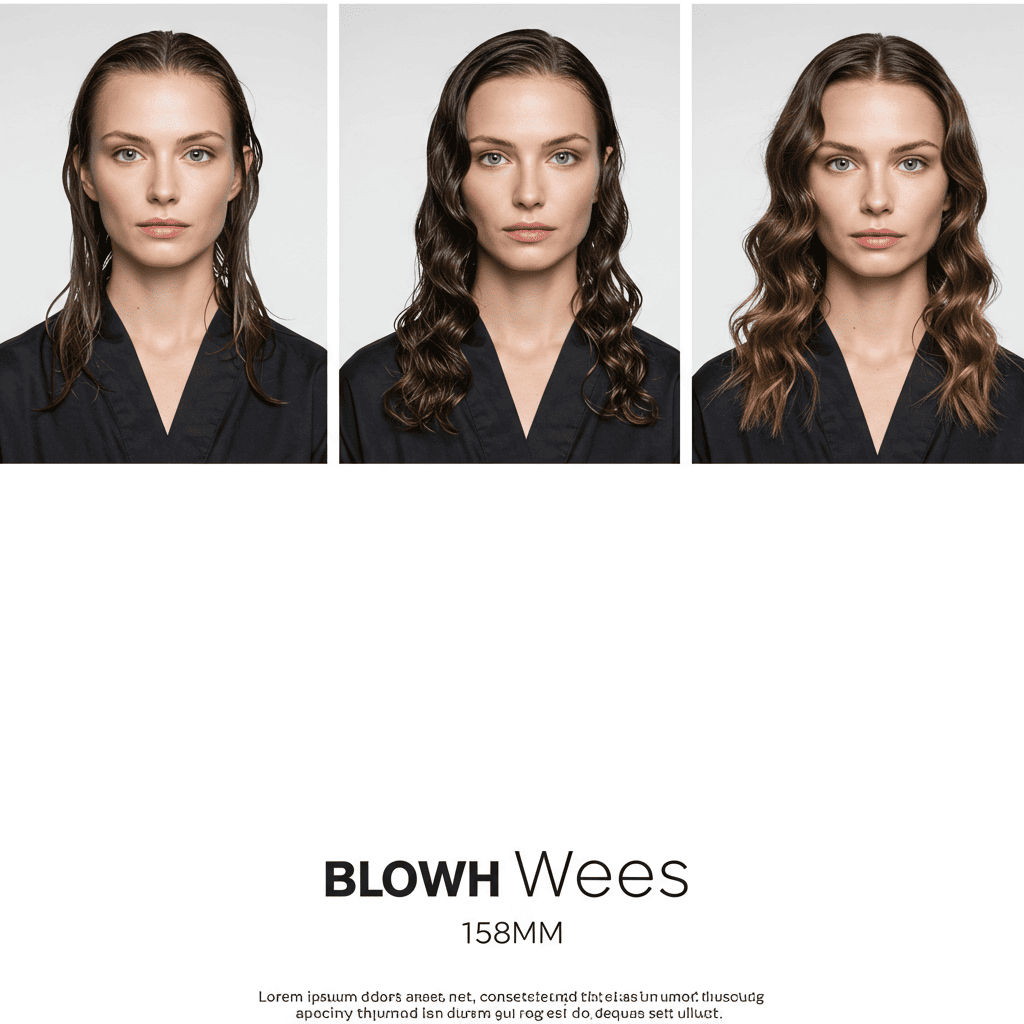
In the world of professional hairstyling, few techniques are as fundamental yet transformative as the blow dry wave. This versatile method, long considered the cornerstone of salon styling, creates beautiful, bouncy waves using nothing more than a blow dryer, the right brush, and proper technique. Unlike curling irons or hot rollers that require additional time and tools, blow dry waves offer a streamlined approach to achieving gorgeous, long-lasting waves while simultaneously drying your hair. This comprehensive guide will unveil the professional secrets that allow hairstylists to create stunning waves with just a blow dryer, empowering you to achieve salon-quality results in your own bathroom.
Understanding the Science Behind Blow Dry Waves
The magic of blow dry waves lies in the manipulation of hydrogen bonds within your hair structure. When hair is wet, these bonds are temporarily broken, making the hair pliable and ready to be reshaped. As you apply heat from the blow dryer while simultaneously creating tension with a brush, you're essentially reforming these bonds into a new wave pattern. The cool air that follows sets these bonds in place, locking in your desired style. This scientific principle explains why blow dry waves can last several days when executed properly.
Temperature control plays a crucial role in creating lasting blow dry waves. Professional stylists understand that the optimal temperature varies depending on hair type and condition. Fine or damaged hair requires lower heat settings to prevent further damage while still achieving effective styling. Thick or coarse hair can withstand higher temperatures, which help to smooth the cuticle and create sleeker waves. The key is finding the sweet spot where your hair responds well to styling without experiencing heat damage.
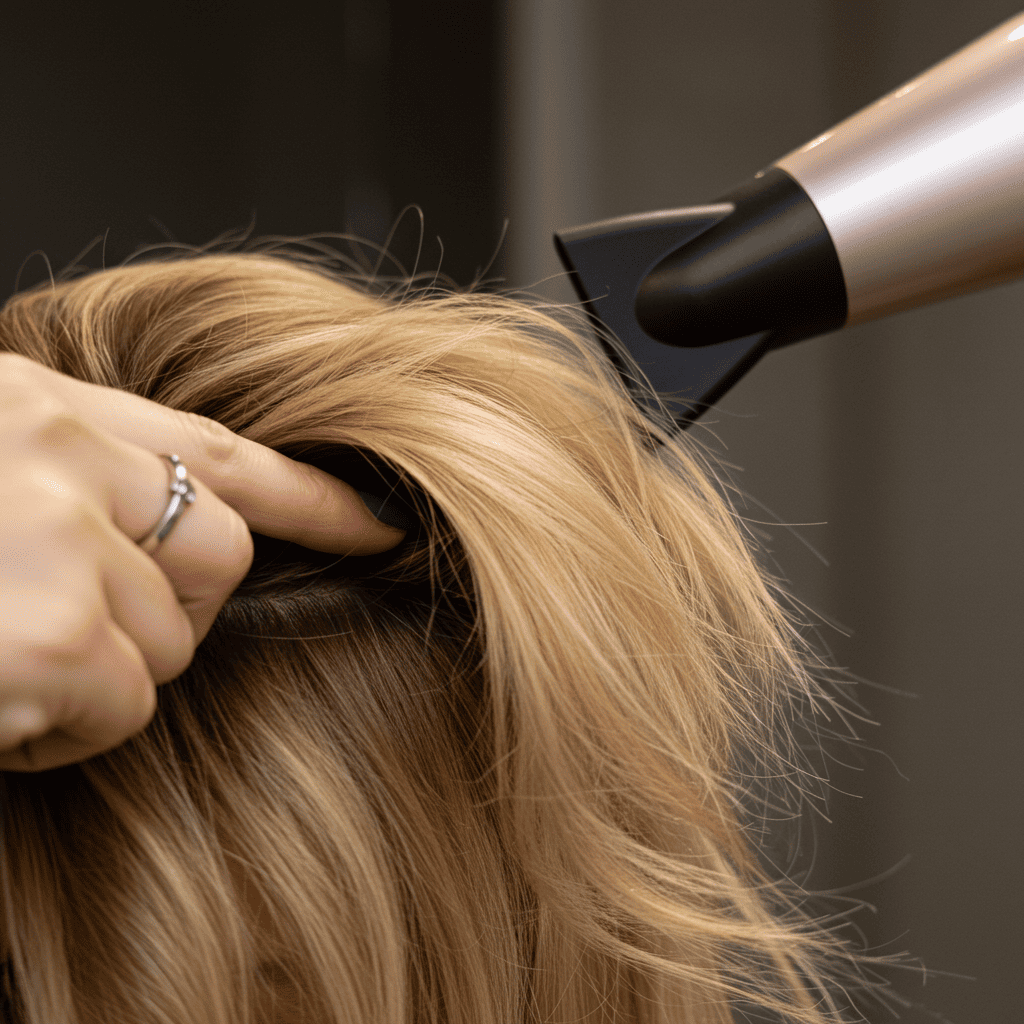
The direction of airflow is another critical factor that distinguishes professional results from amateur attempts. Always direct the airflow from roots to ends, following the hair cuticle's natural direction. This technique not only creates smoother waves but also enhances shine by flattening the cuticle scales. When the cuticle lies flat, light reflects more uniformly off the hair surface, creating that coveted glossy finish that makes blow dry waves look professionally styled.
Essential Tools for Professional Blow Dry Waves at Home
The foundation of exceptional blow dry waves begins with investing in quality tools that replicate professional salon equipment. A professional-grade blow dryer with multiple heat and speed settings is non-negotiable. Look for dryers with at least 1800 watts of power, ionic technology to reduce frizz, and a cool shot button for setting your waves. The concentrator nozzle attachment is essential – this narrow attachment focuses the airflow, providing the control necessary for precise wave formation.
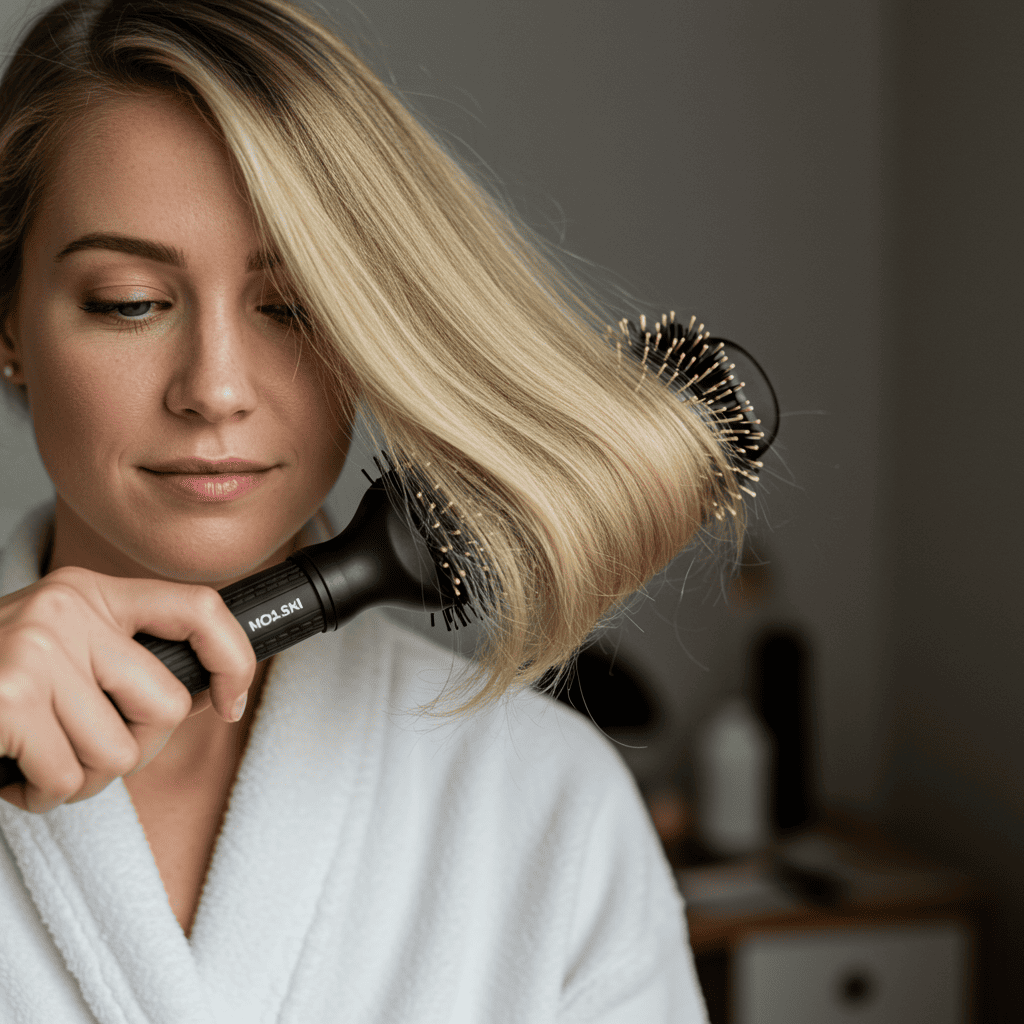
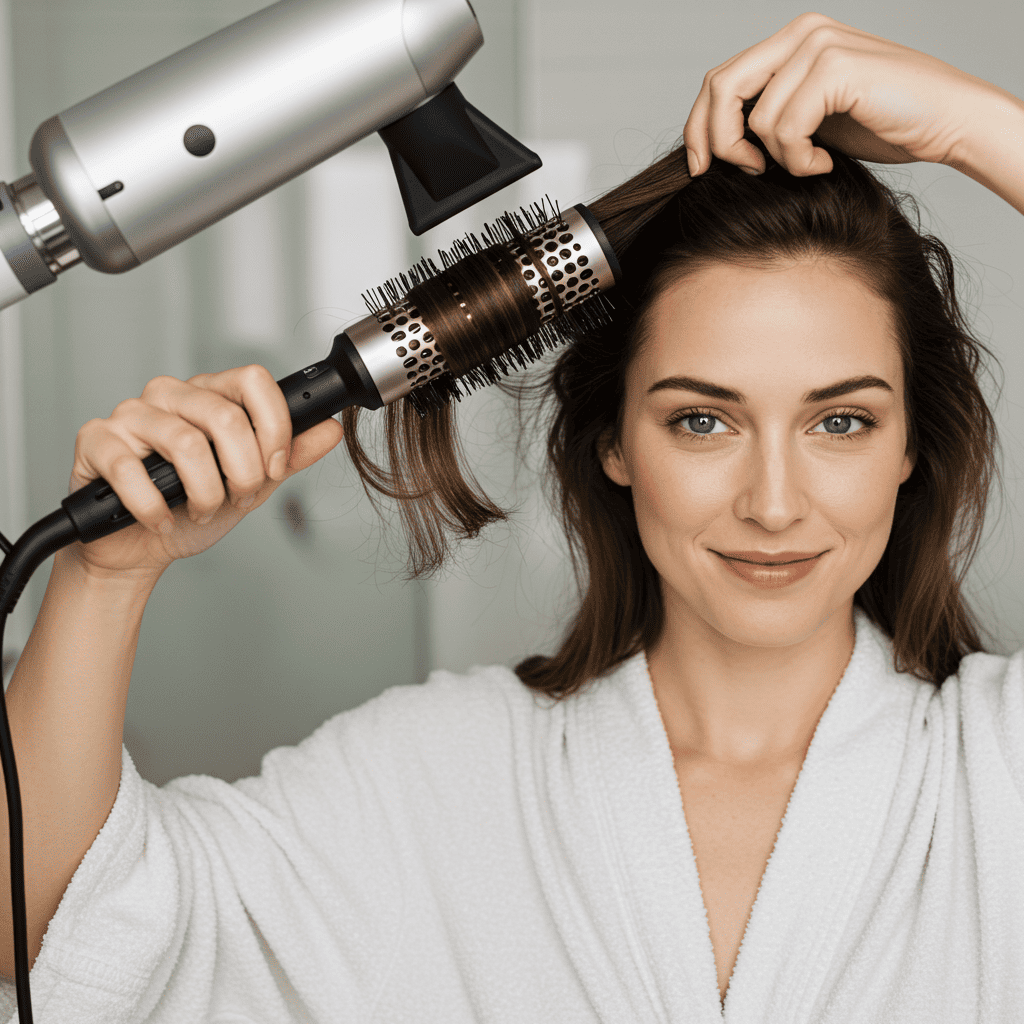
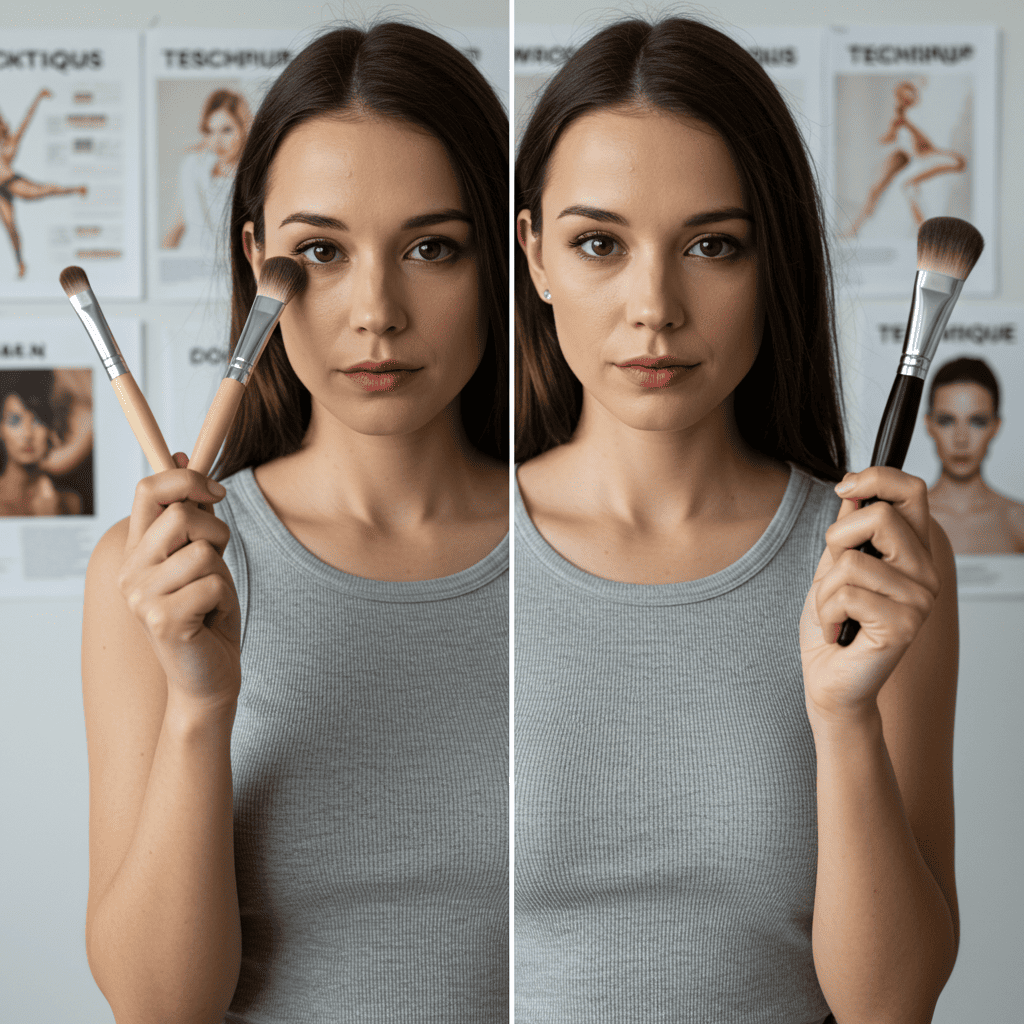
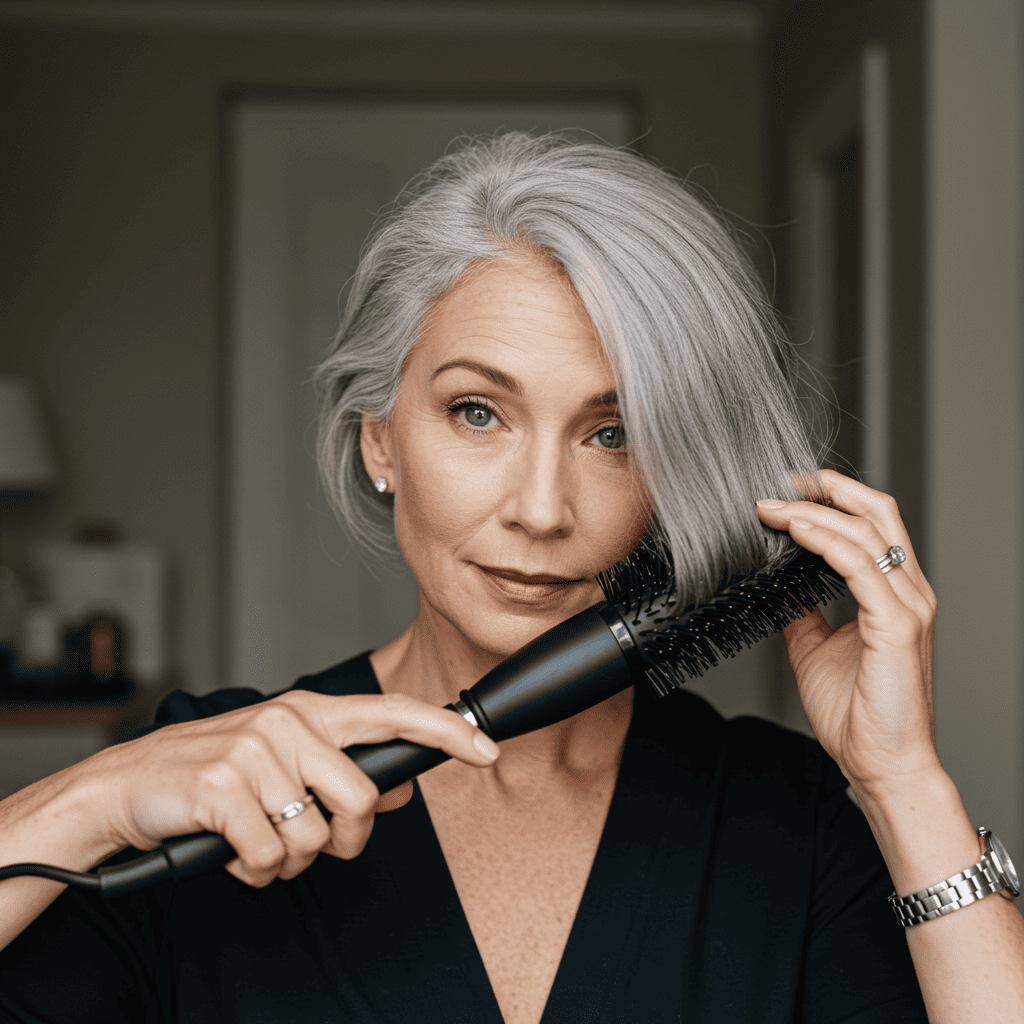
Brush selection can make or break your blow dry wave success. Round brushes are the gold standard for creating waves, with the barrel size determining the wave size and pattern. A 2-inch diameter brush creates loose, flowing waves perfect for longer hair, while a 1.5-inch brush produces more defined waves suitable for medium-length styles. Ceramic or tourmaline-coated brushes distribute heat evenly and add shine, while natural boar bristle brushes provide superior grip and tension for stubborn hair types.
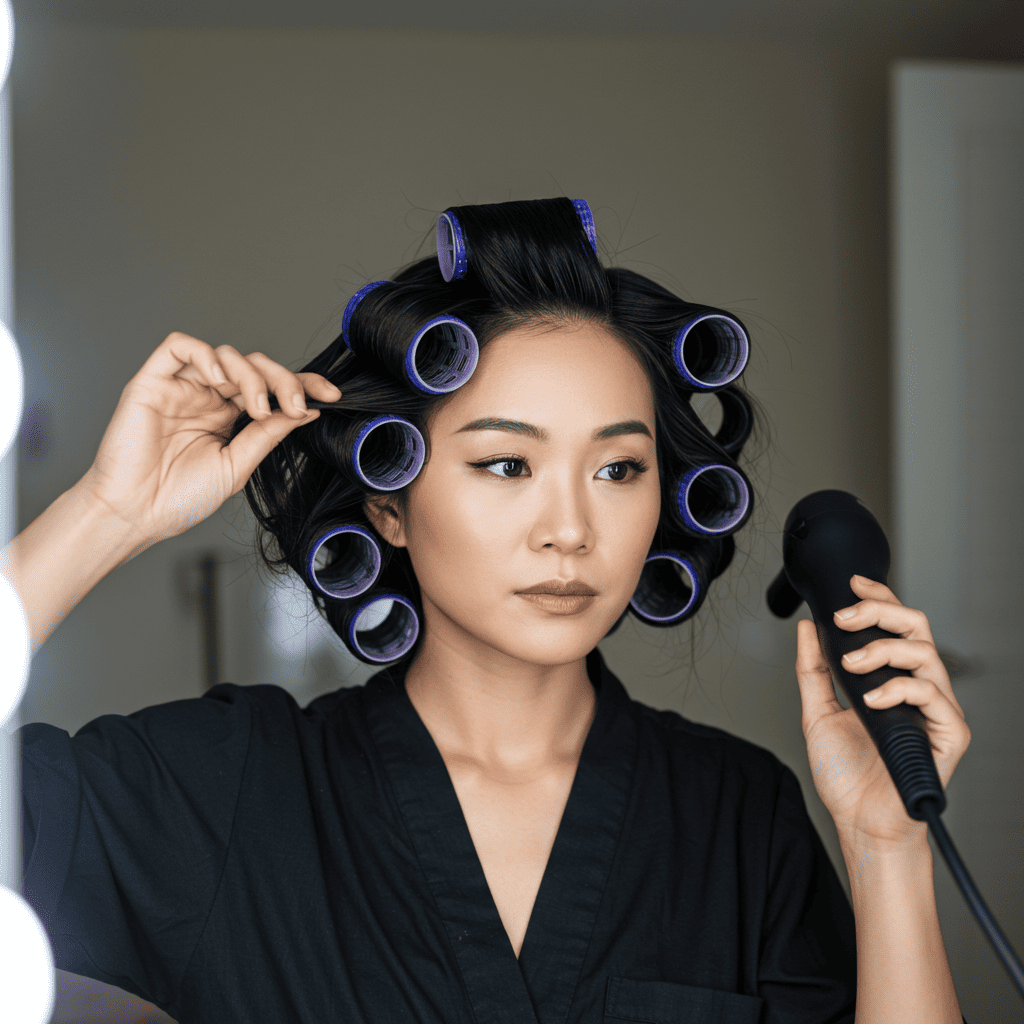
Sectioning tools are often overlooked but prove invaluable for achieving uniform waves throughout your hair. Professional-grade sectioning clips that won't leave creases, a tail comb for precise parting, and a spray bottle for re-wetting sections that dry too quickly are essential additions to your toolkit. These tools ensure you can work methodically through your hair, maintaining control and consistency throughout the styling process.
Pre-Styling Preparation: Setting the Foundation for Perfect Waves
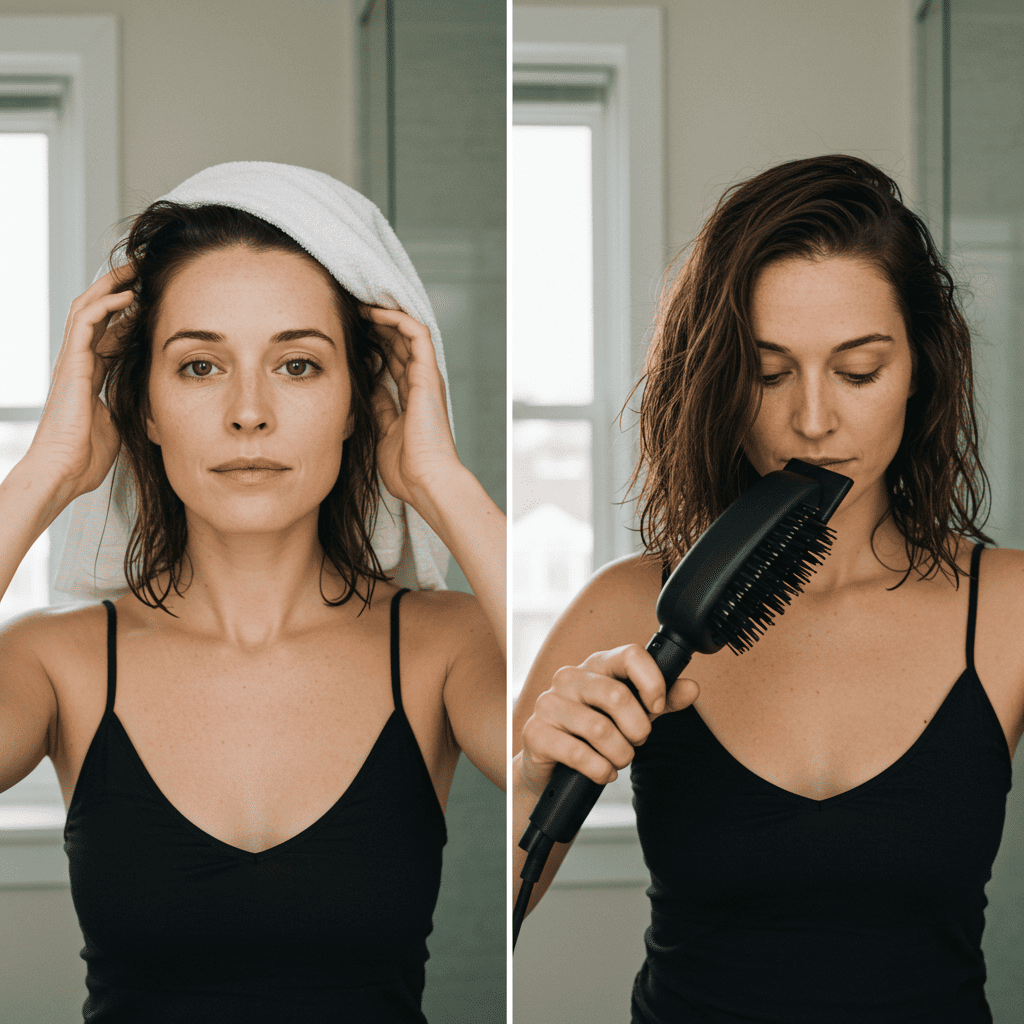
The journey to flawless blow dry waves begins long before you pick up your blow dryer. Start with freshly washed hair using a volumizing shampoo and lightweight conditioner that won't weigh down your waves. Avoid heavy, oil-based conditioners that can prevent waves from forming properly. After washing, gently squeeze excess water from your hair with a microfiber towel, which reduces frizz and prevents rough handling that can disrupt the hair cuticle.
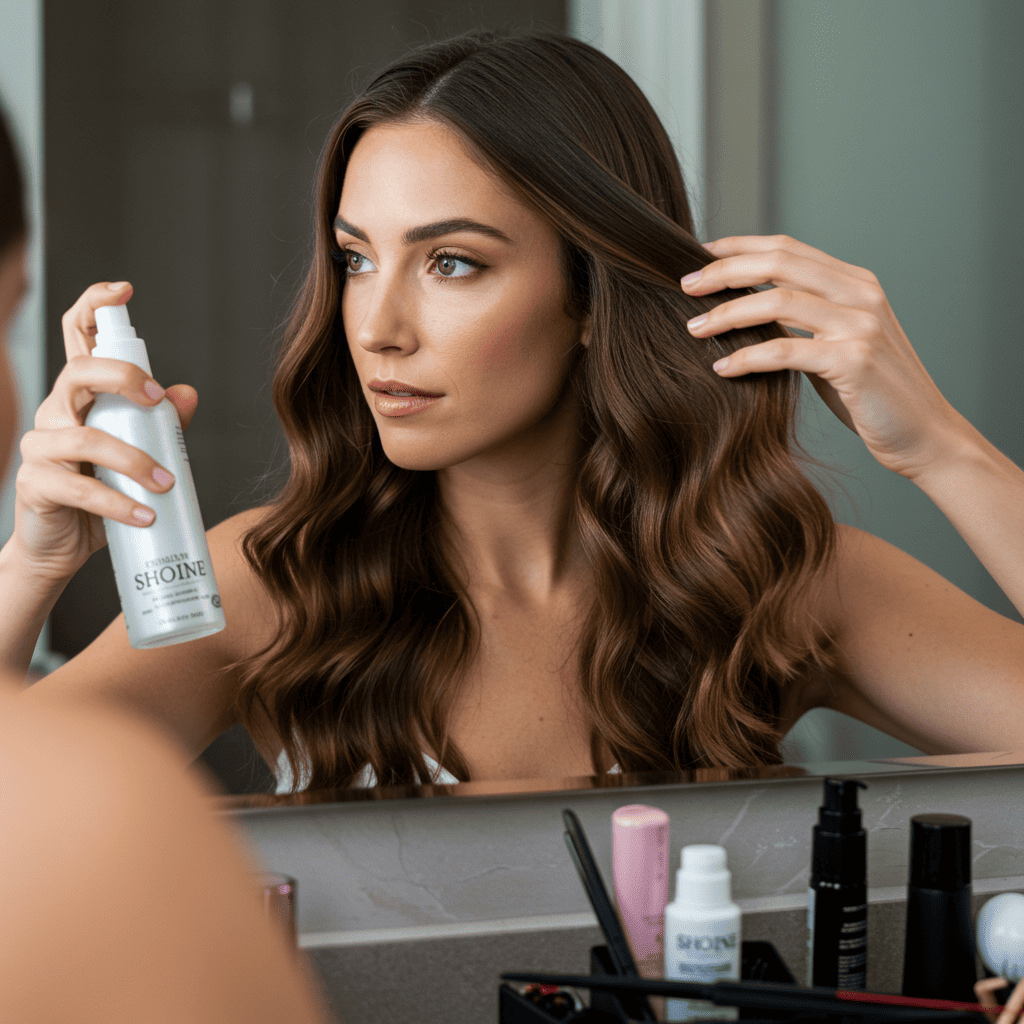
Product application is where many home stylists falter, either using too much product that weighs hair down or too little that provides insufficient hold and protection. Apply a heat protectant spray evenly throughout damp hair, focusing on mid-lengths and ends where damage is most likely to occur. Follow with a volumizing mousse or blow dry cream, using an amount appropriate for your hair density – typically a golf ball-sized amount for thick hair or a walnut-sized amount for fine hair.
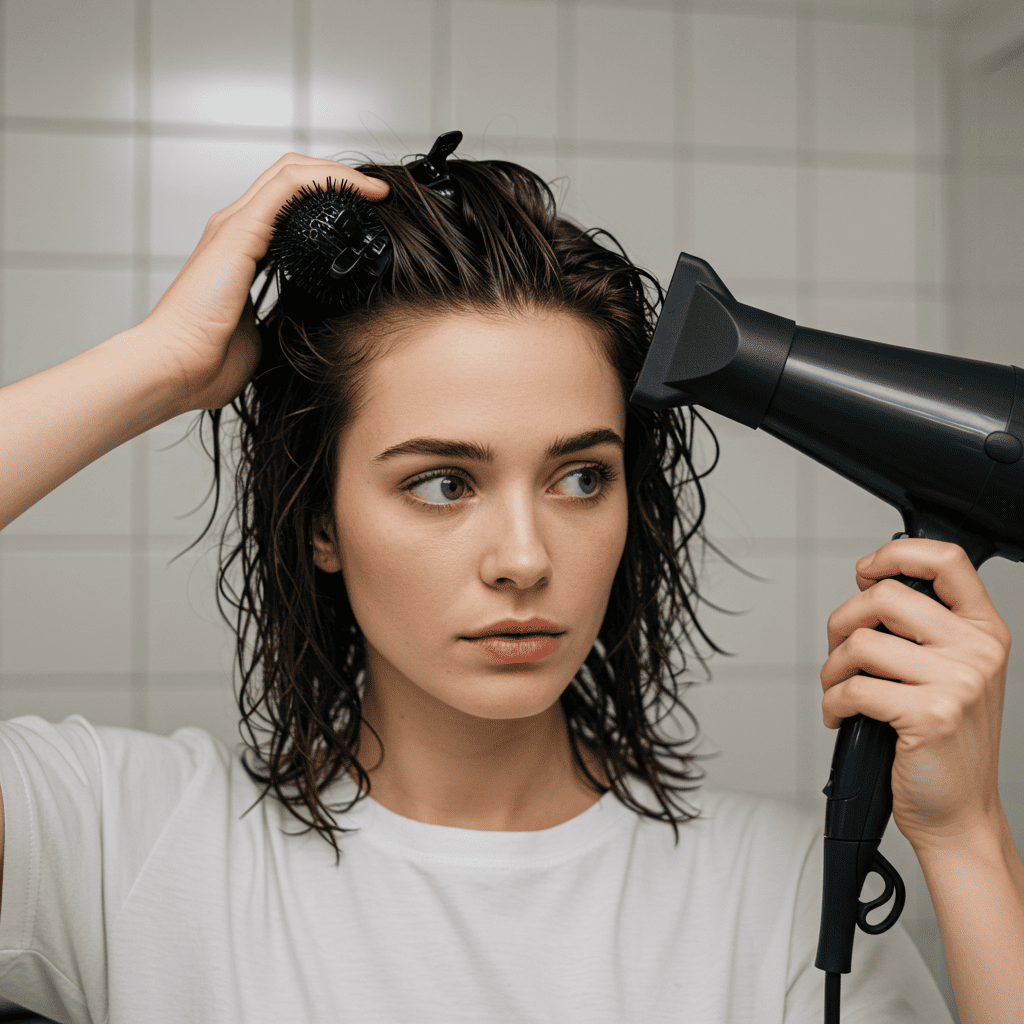
The initial rough dry removes excess moisture and prepares your hair for detailed styling. Using your blow dryer on medium heat and high speed, dry your hair to about 80% while lifting sections at the roots with your fingers. This preliminary step ensures your hair isn't too wet when you begin creating waves, which would extend styling time and potentially lead to heat damage from prolonged exposure. Keep the dryer moving constantly during this phase to prevent overheating any single section.
The Professional Blow Dry Wave Technique: Step-by-Step Mastery
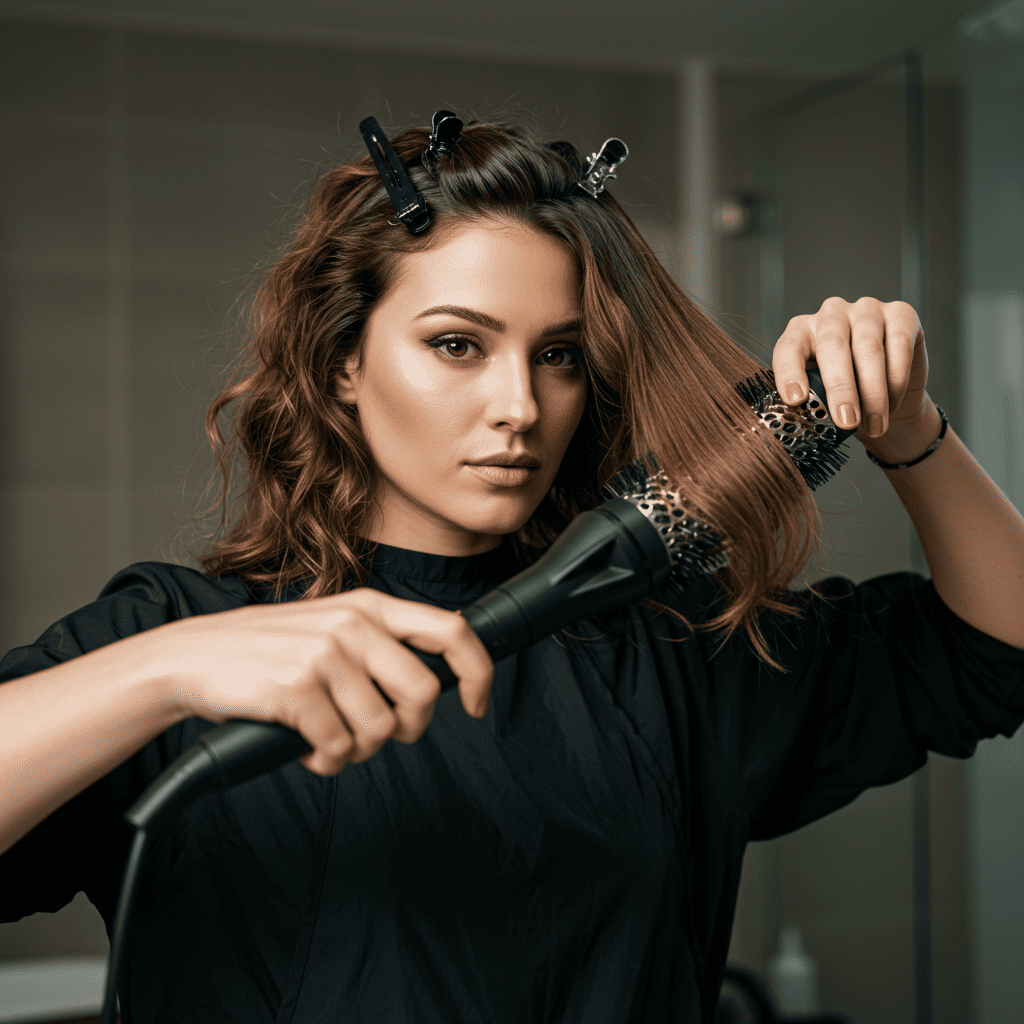
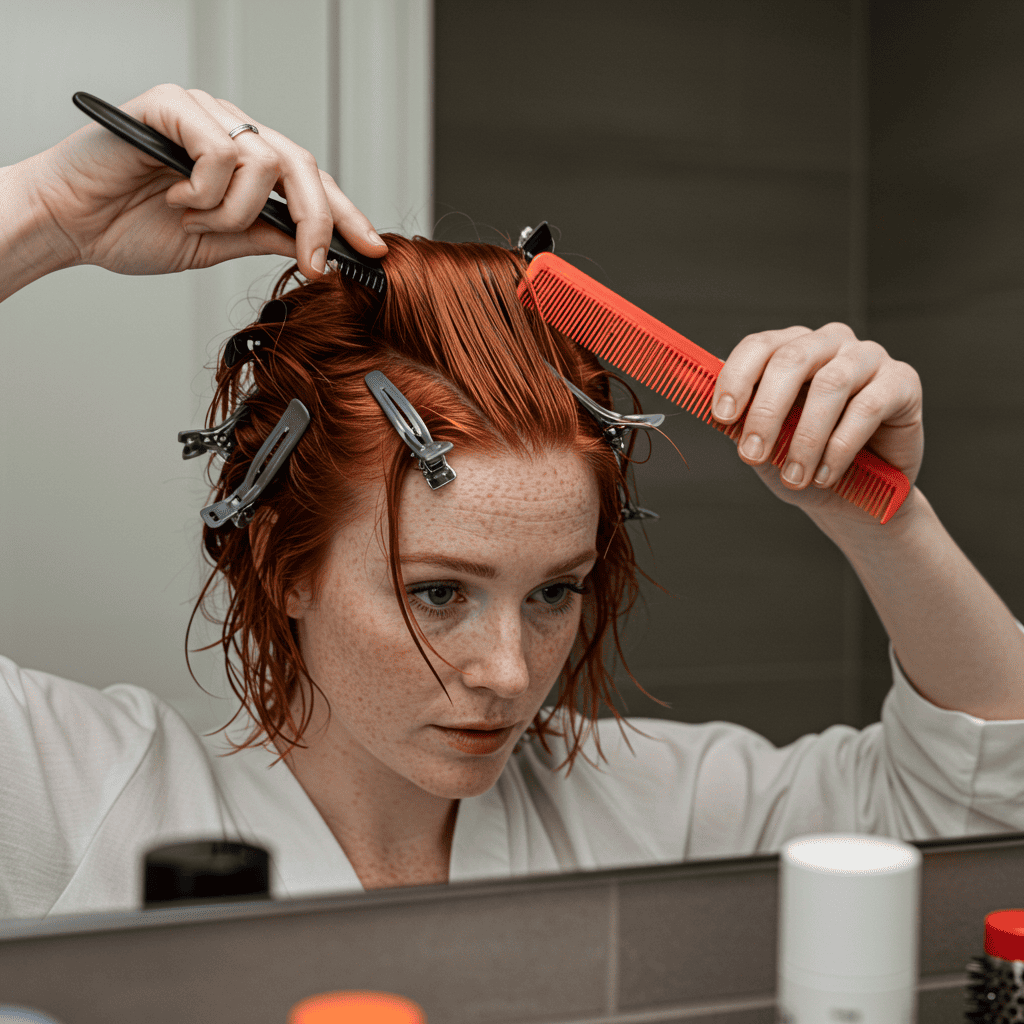
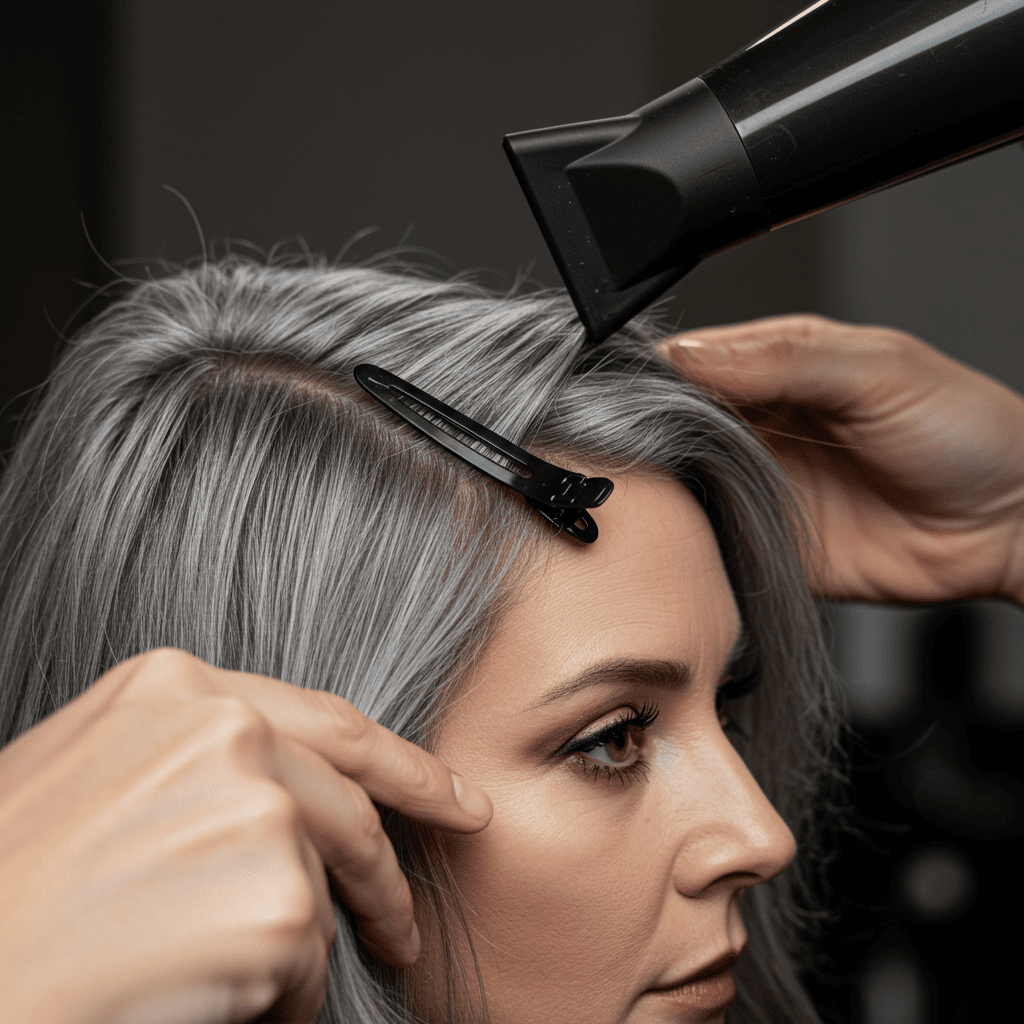
Begin your blow dry wave journey by creating a strategic sectioning pattern that ensures systematic coverage of your entire head. Divide your hair horizontally into three main sections: bottom (nape to ear level), middle (ear to temple level), and top (temple to crown). Clip away the upper sections and start with the bottom layer, as this creates a foundation for the waves above and prevents tangling as you work.
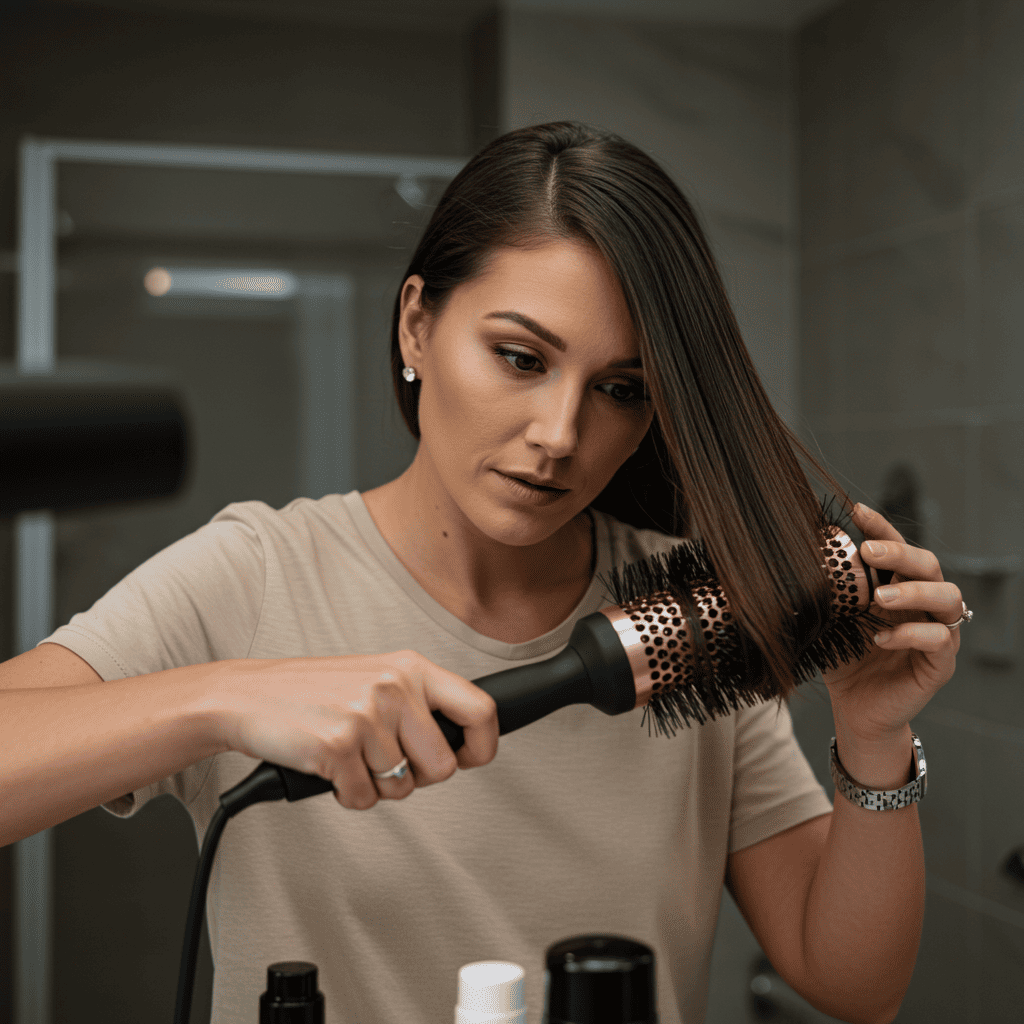
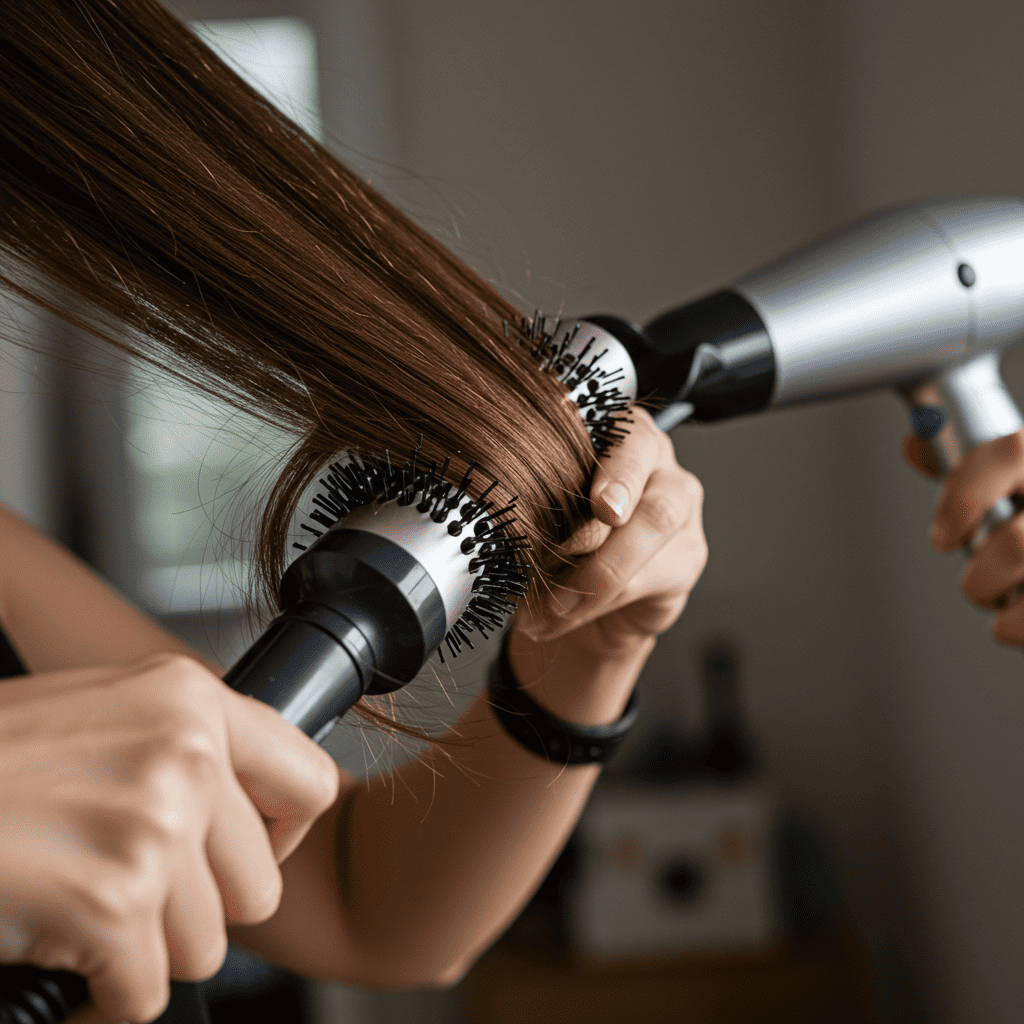
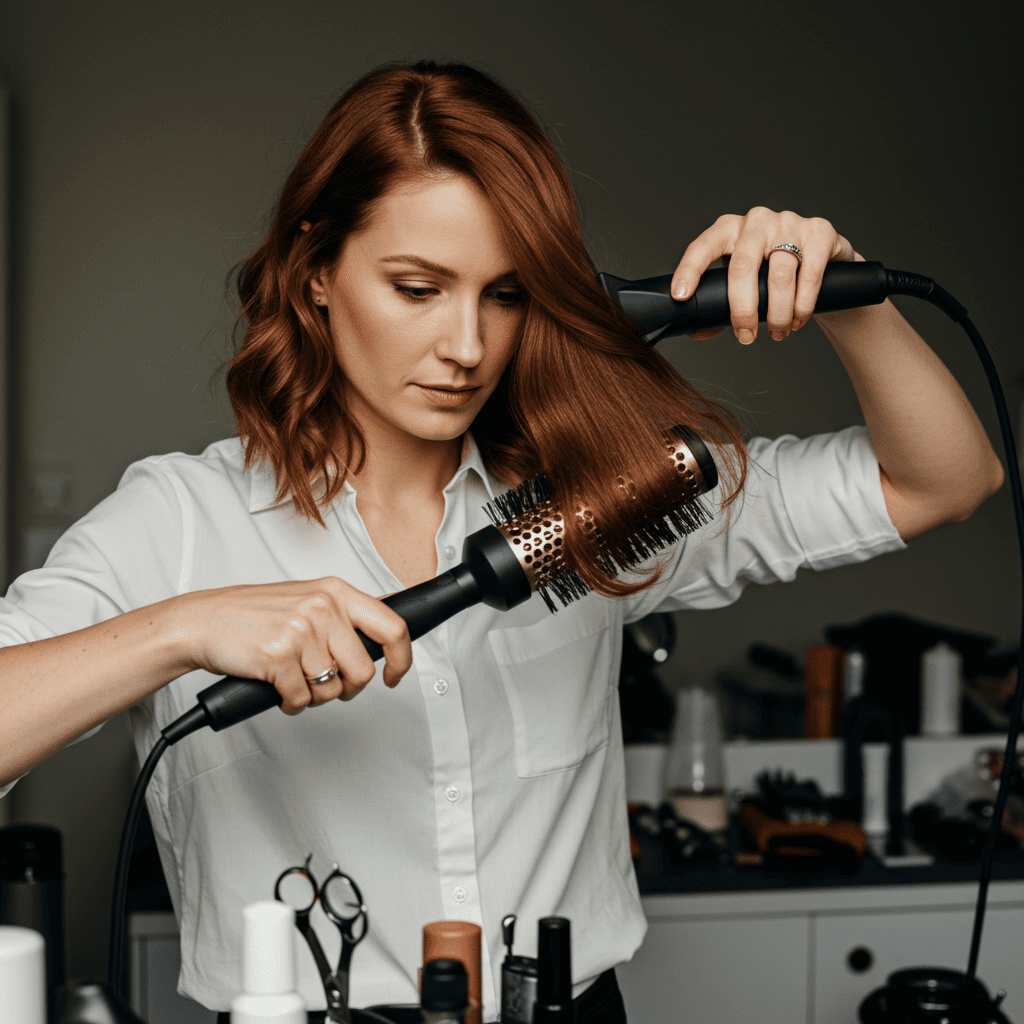
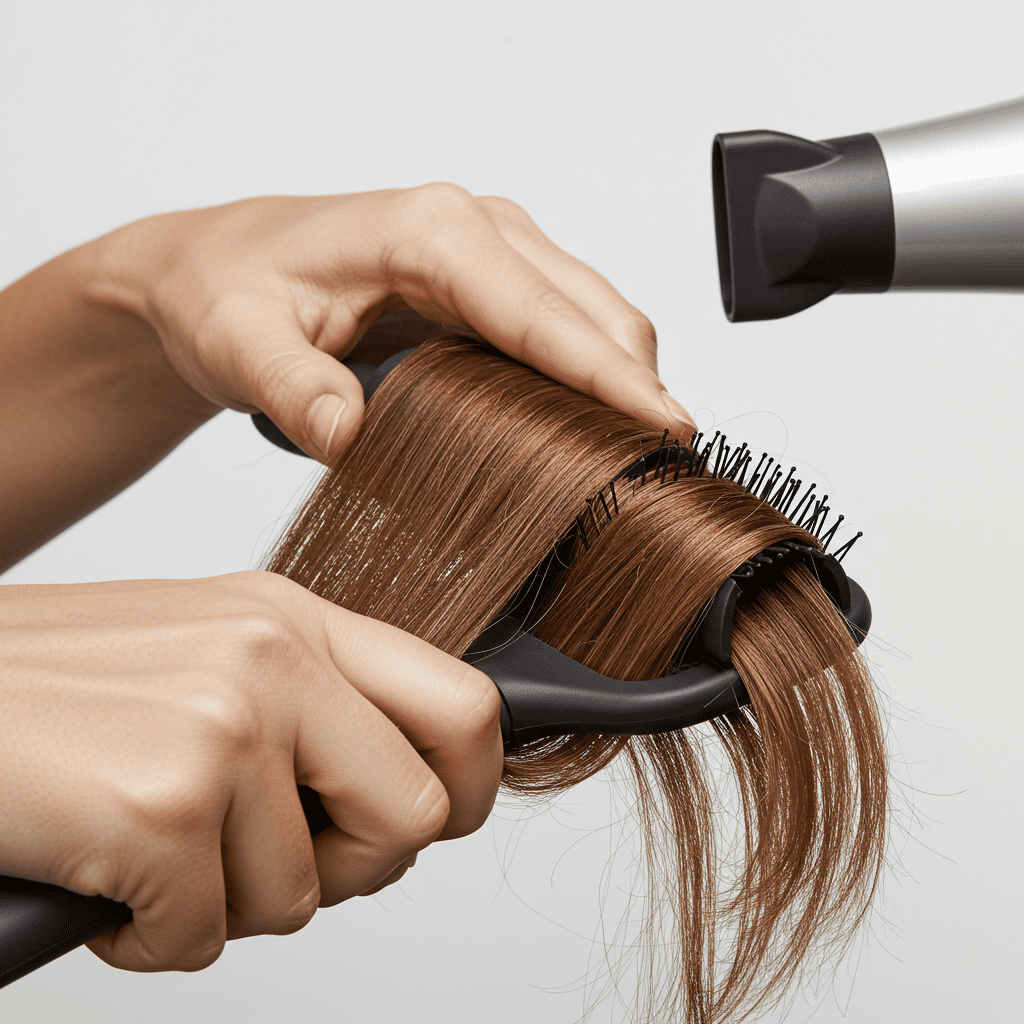
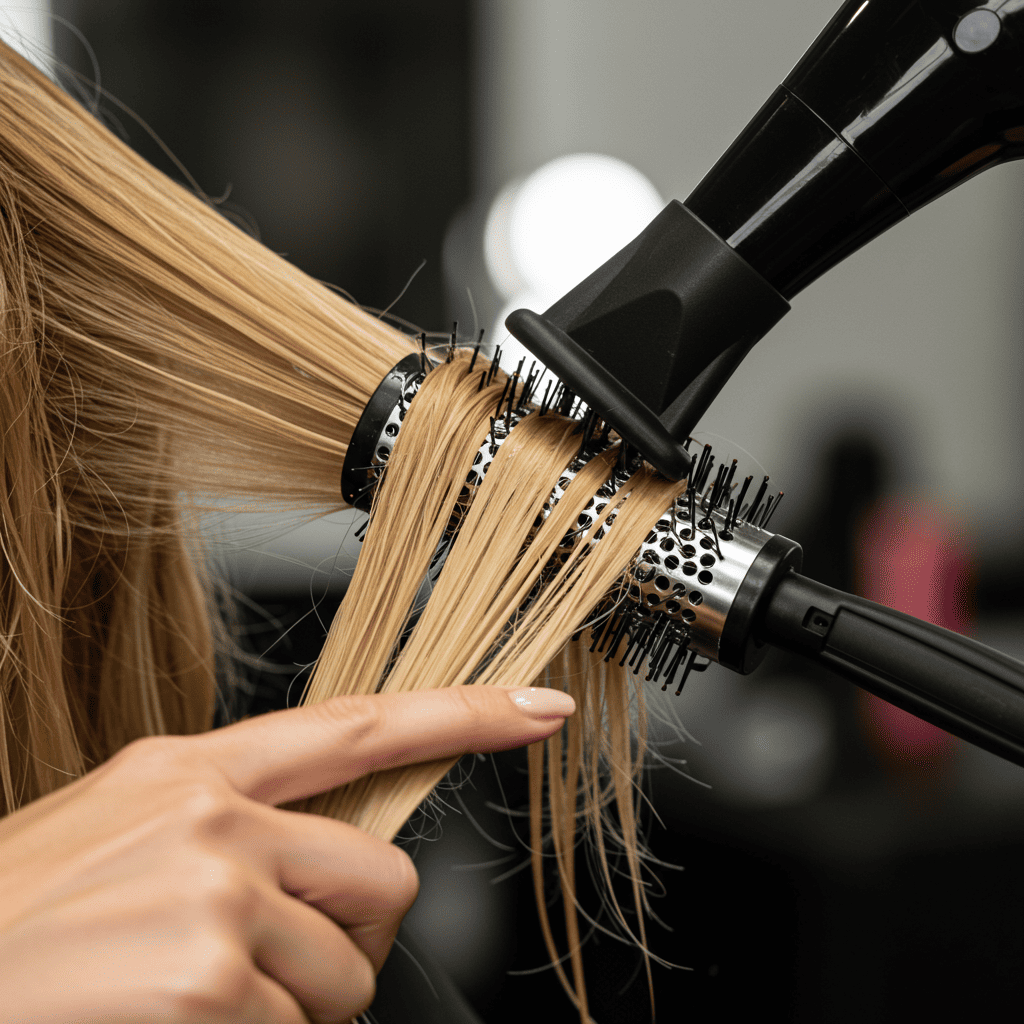
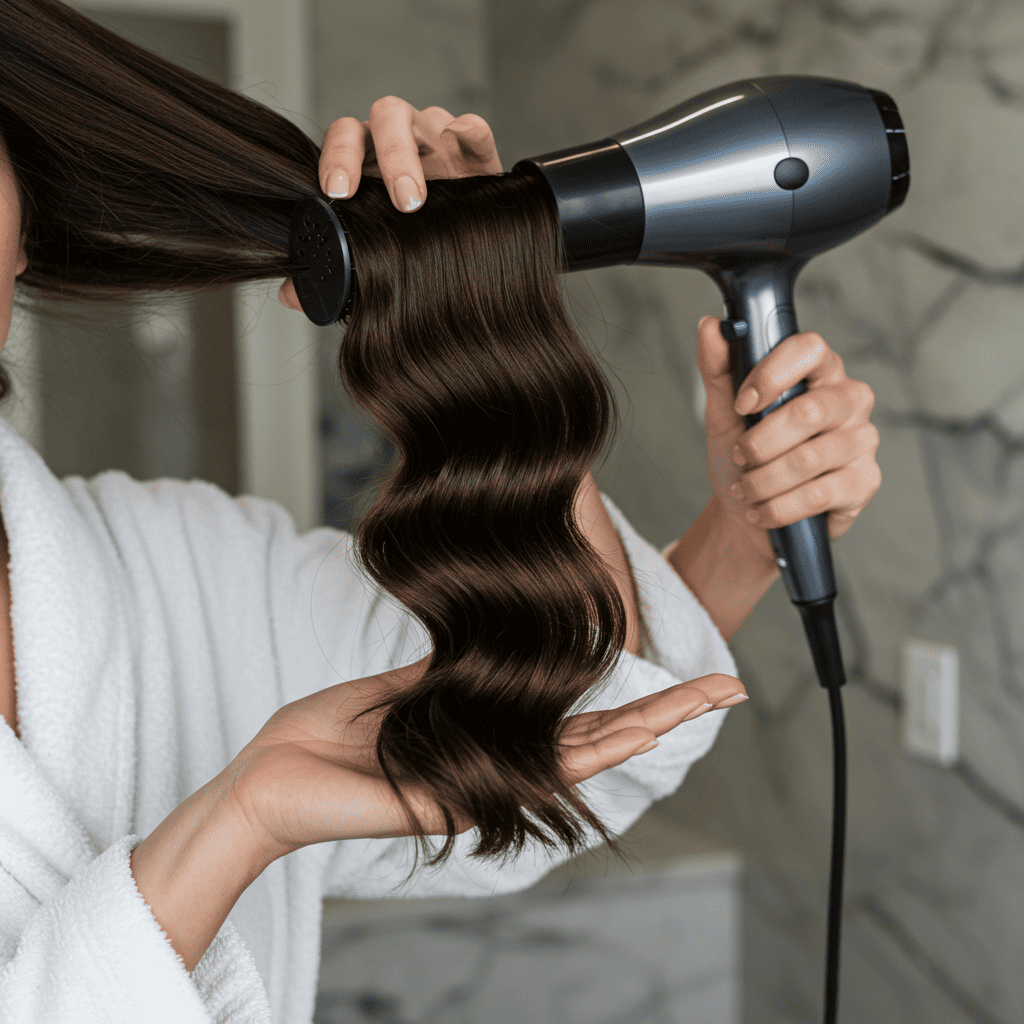
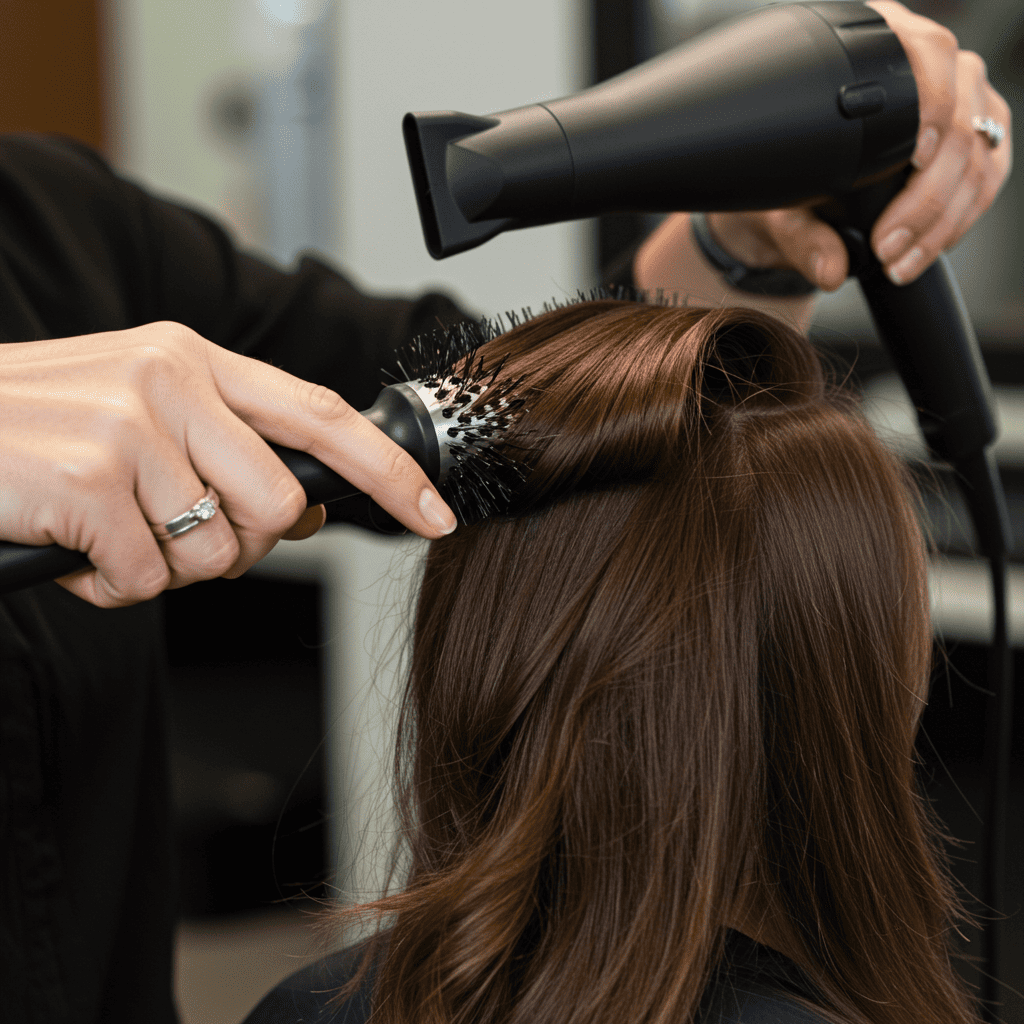
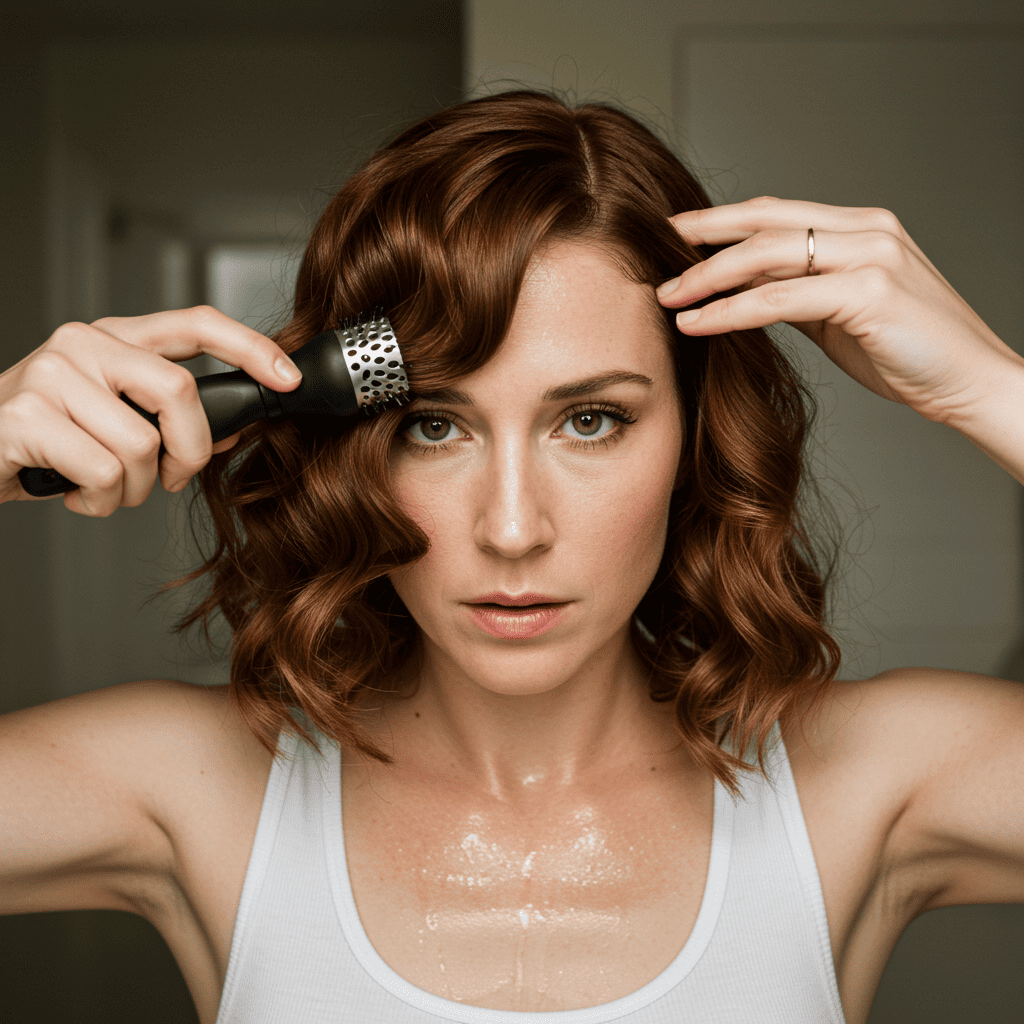
Take a 2-inch section of hair and place your round brush underneath, close to the roots. Position your blow dryer at a 45-degree angle to the brush, with the concentrator nozzle pointing downward along the hair shaft. Slowly pull the brush through the hair while following with the dryer, maintaining tension throughout. As you reach the mid-length, begin rotating the brush to create the wave pattern, wrapping the hair around the barrel as you continue to the ends.
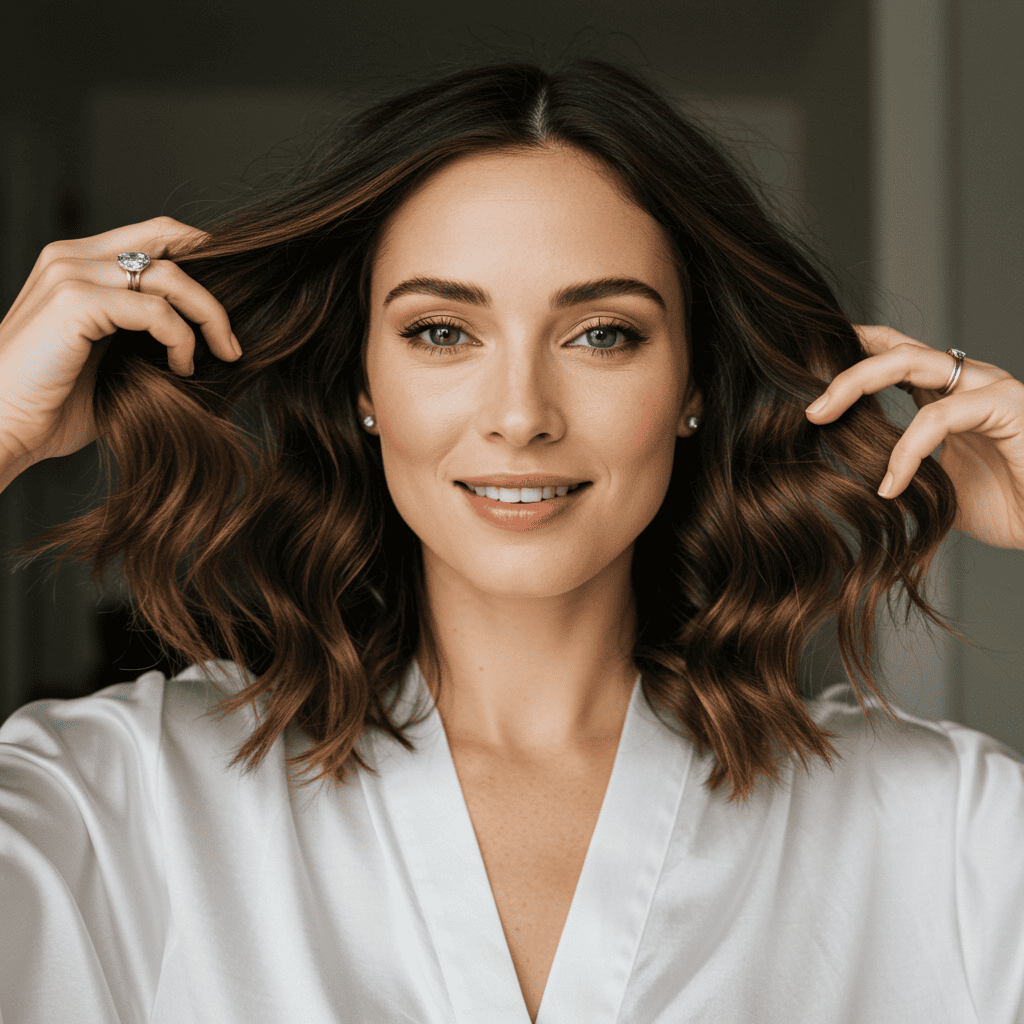
The secret to professional-looking waves lies in the cooling phase. Once you've created the wave with heat, hold the hair wrapped around the brush and switch to the cool shot setting for 5-10 seconds. This crucial step sets the hydrogen bonds in their new wave formation, ensuring longevity. Carefully release the hair from the brush, allowing the wave to fall naturally without disturbing its shape. The wave should bounce slightly and hold its form without immediately falling flat.
Advanced Techniques for Different Wave Patterns
The versatility of blow dry waves extends far beyond a single style. By adjusting your technique, you can create various wave patterns to suit different occasions and preferences. For beachy, relaxed waves, use a larger brush and twist it less as you pull through the hair. Focus on creating subtle bends rather than defined curls, and finish by gently tousling with your fingers for that effortless, windswept appearance.
Creating vintage-inspired Hollywood waves requires more precision and control. Use a smaller round brush and work with narrower sections. As you dry each section, wrap the hair completely around the brush and hold for longer to create a more defined wave. All waves should move in the same direction for that classic, uniform Hollywood pattern. Once complete, gently brush through the waves with a paddle brush to connect them into one continuous wave pattern.
For modern, lived-in waves that look naturally effortless, alternate the direction of your brush rotation with each section – some toward your face, others away. This creates a more organic, tousled appearance that mimics natural wave patterns. Vary the tension slightly between sections to avoid uniformity, and leave the very ends straighter for a contemporary finish that prevents the style from looking too polished or dated.
Troubleshooting Common Blow Dry Wave Challenges
Even with proper technique, certain challenges can arise when creating blow dry waves at home. Flat roots are a common complaint that can make waves appear lifeless and drag down the entire style. Combat this by lifting each section perpendicular to your head while drying the roots, creating volume at the base. For extra lift, use a smaller round brush at the roots before switching to a larger brush for the lengths.
Frizz and flyaways can sabotage otherwise beautiful blow dry waves, particularly in humid conditions. Prevention starts with proper product application – ensure your heat protectant contains anti-humidity ingredients. Keep the blow dryer's nozzle pointed downward at all times to smooth the cuticle, and avoid touching your hair excessively during styling. If frizz appears after styling, smooth a tiny amount of hair oil or serum over the surface without disturbing the wave pattern.
Waves that fall flat within hours indicate either insufficient product support or improper setting technique. Ensure you're using the cool shot feature to set each wave completely, and consider adding a lightweight hairspray during the styling process rather than just at the end. For fine hair that struggles to hold waves, try using velcro rollers on dried sections while you continue working on other areas, providing extra set time for problematic sections.
Hair Type Considerations and Adaptations
Fine hair requires special consideration when creating blow dry waves to achieve volume without sacrificing wave definition. Use volumizing products specifically formulated for fine hair, avoiding anything labeled as "intensive moisture" or "heavy repair." Work with smaller sections to ensure each strand receives adequate heat and tension. Consider using a smaller round brush than typically recommended, as the reduced barrel size creates more lift at the roots while still producing beautiful waves.
Thick, coarse hair presents different challenges, primarily requiring more time and potentially higher heat to achieve smooth waves. Section your hair into smaller portions than you might think necessary – this ensures even heat distribution and prevents some sections from remaining damp while others are fully styled. Use a smoothing serum before blow drying to help manage texture, and be patient with the process. The extra time invested in properly drying and shaping thick hair pays off in longer-lasting waves.
Curly and textured hair can achieve stunning blow dry waves, though the approach differs from styling straight hair. Begin by stretching the natural curl pattern with a paddle brush during the rough-dry phase, getting the hair as smooth as possible before creating waves. Use a tension method, pulling the hair taut with your brush to temporarily straighten before forming your desired wave pattern. This technique provides more control over the final wave formation.
Professional Finishing Techniques for Polished Results
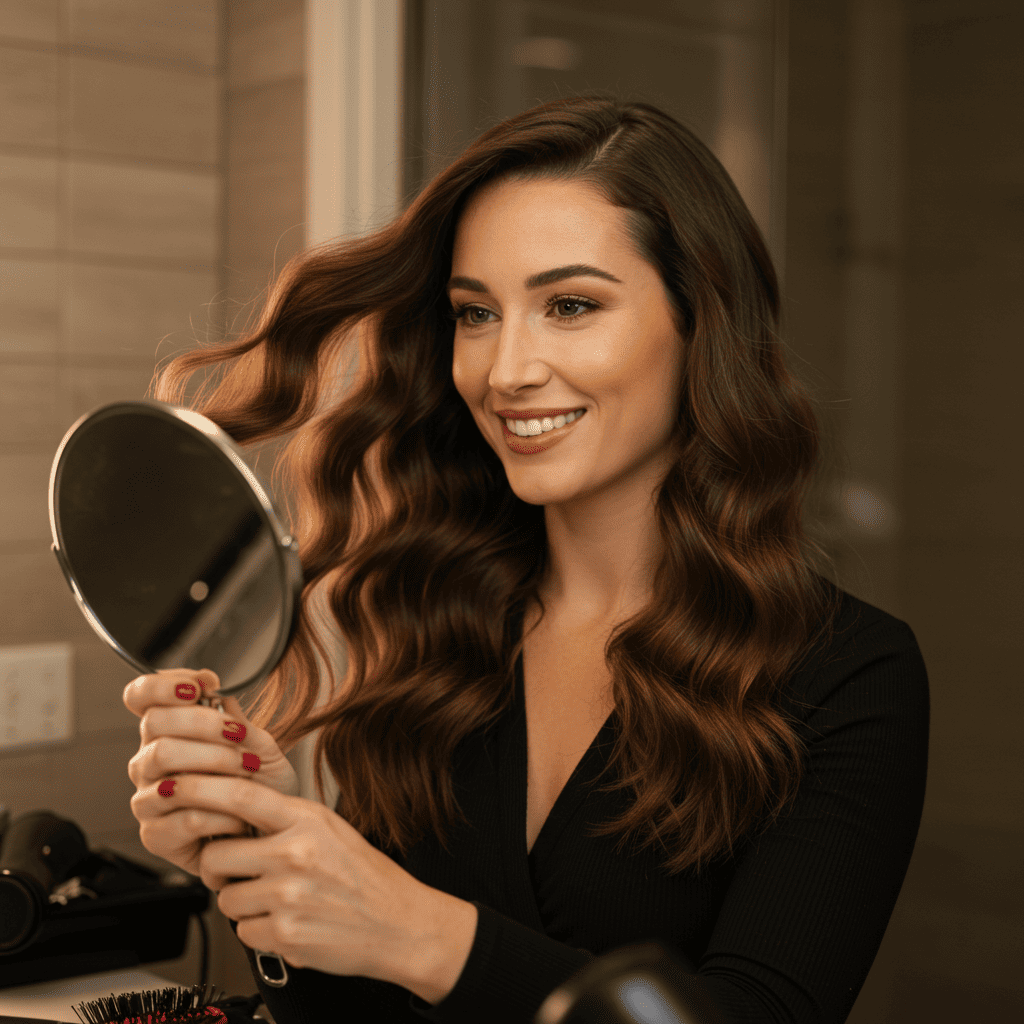
The difference between amateur and professional blow dry waves often lies in the finishing touches. Once all sections are complete and cooled, assess the overall shape and flow of your waves. Use your fingers to gently separate and arrange waves, creating a more natural, flowing appearance. For added dimension, take random small sections and rewrap them around your brush with heat, creating varying wave sizes that add visual interest.
Product finishing requires a delicate touch to enhance without overwhelming your waves. A lightweight shine spray applied from a distance creates luminosity without weight. For piece-y definition, warm a small amount of styling cream between your palms and scrunch gently into the mid-lengths and ends. This technique enhances wave separation while maintaining softness and movement.
Setting your completed style ensures your hard work lasts throughout the day and beyond. Hold your hairspray at least 12 inches from your hair and mist in a sweeping motion, avoiding concentrated application that creates stiff spots. For extra hold around the face where waves tend to fall first, spray a small amount onto a clean mascara wand and carefully apply to face-framing pieces without disturbing the overall wave pattern.
Maintaining Blow Dry Waves: Extended Wear Strategies
The longevity of blow dry waves depends significantly on overnight protection and daily maintenance. Before bed, loosely twist your hair into a high topknot, securing with a silk scrunchie to prevent creasing. This pineapple method preserves wave patterns while preventing tangling and flattening. Alternatively, loosely braid your waves for a slightly more textured look the next day. Always sleep on a silk or satin pillowcase to minimize friction and maintain smoothness.
Second-day waves often look even better than freshly styled ones, developing that coveted lived-in texture. Refresh your waves by misting lightly with water mixed with a leave-in conditioner, then scrunching to reactivate the wave pattern. For sections that have completely fallen, rewrap them around your brush with brief heat application, focusing only on problem areas rather than restyling entirely.
By day three, embrace a more relaxed wave aesthetic. Use dry shampoo at the roots for volume and oil absorption, then gather waves into a half-up style or loose side braid that showcases the texture while disguising any areas that have lost definition. This approach extends your style while transitioning naturally into a more casual, effortless look.
Time-Saving Tips and Professional Shortcuts
Professional stylists employ numerous efficiency techniques that reduce styling time without compromising results. The wrap-and-release method involves wrapping larger sections around your brush, applying heat, then releasing and moving to the next section while the previous one cools. Return to each section for final setting once you've completed the initial pass, significantly reducing overall styling time.
For rushed mornings, focus on face-framing sections and the top layer of hair, which are most visible. Create beautiful waves in these key areas while leaving underneath sections with a simpler blow dry. This strategic approach provides the appearance of fully styled hair in half the time. Pin back one side for an asymmetrical style that showcases your waves while requiring even less styling effort.
Invest in learning your hair's behavior patterns to streamline your routine. Most people have sections that wave easily and others that resist styling. Start with resistant areas while your patience and energy are highest, leaving cooperative sections for last. This approach ensures problem areas receive proper attention while preventing overall frustration with the process.
Common Mistakes and How to Avoid Them
One of the most frequent errors in blow dry waving is starting with hair that's too wet. This extends drying time, increases heat exposure, and often results in waves that won't hold. Always rough-dry to 80% before beginning detailed wave formation. If sections become too dry while you're working, lightly mist with water rather than soaking, maintaining the ideal moisture level for styling.
Using the wrong brush size for your hair length and desired wave pattern leads to disappointing results. A brush that's too small creates tight curls rather than waves, while one that's too large may not create enough definition. Test different sizes to find your ideal match, and consider having multiple brushes for creating varied wave patterns throughout your hair.
Neglecting the cool shot feature represents a missed opportunity for long-lasting waves. Many home stylists skip this crucial step in their rush to complete styling, but the extra seconds spent cooling each section can add days to your wave longevity. Make cooling an non-negotiable part of your routine, even if it means allowing extra time for styling.
Conclusion: Mastering Your Professional Blow Dry Wave Journey
Achieving professional-quality blow dry waves at home is an attainable goal that combines proper technique, quality tools, and practice. This versatile styling method offers endless possibilities for customization, allowing you to create everything from polished corporate waves to relaxed beachy textures using the same fundamental technique. The investment in learning proper blow dry waving pays dividends in both daily styling efficiency and the health of your hair, as this method combines drying with styling for reduced heat exposure.

Remember that mastery comes with practice and patience. Professional stylists spend years perfecting their blow dry technique, so don't expect perfection on your first attempt. Each styling session teaches you more about your hair's unique characteristics and helps you refine your personal technique. Document your progress with photos, noting which techniques and products work best for your hair type.
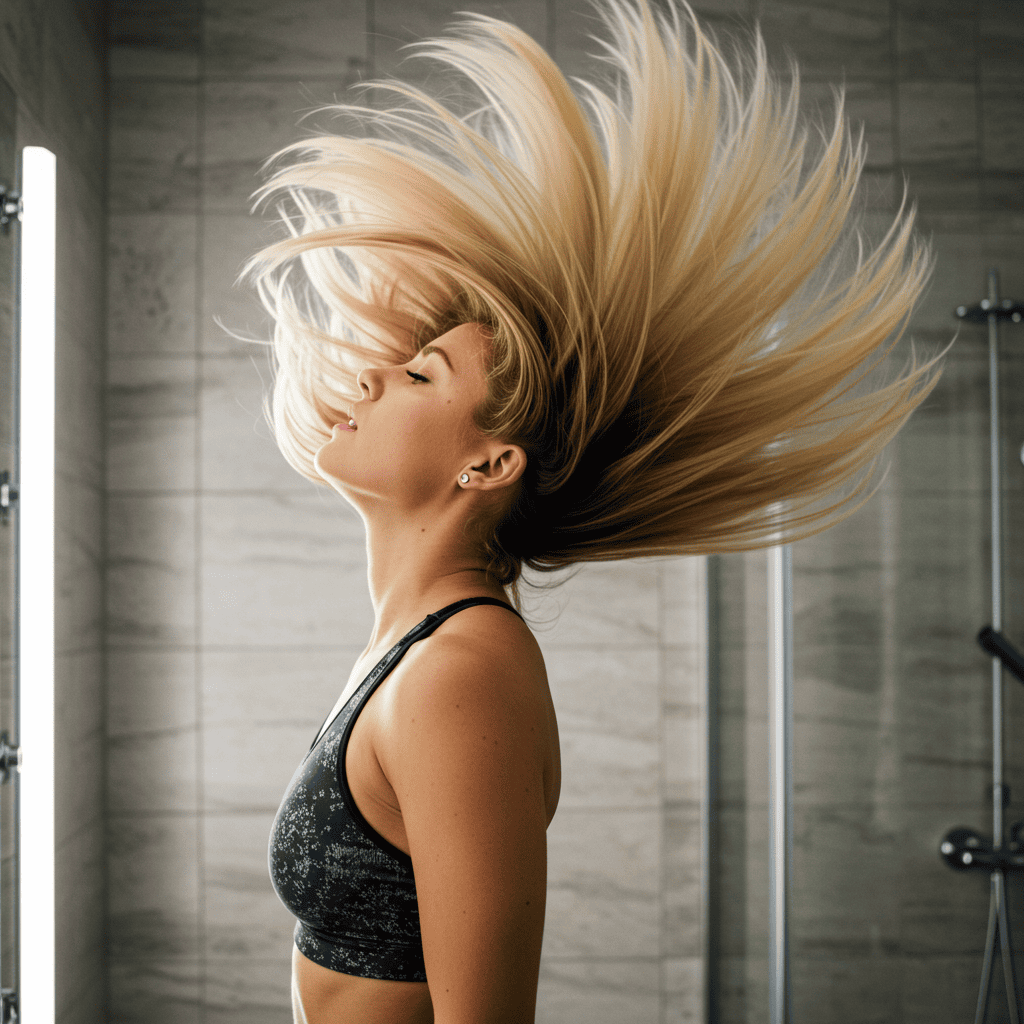
The beauty of blow dry waves lies not just in the final result but in the process itself – the transformation from wet, unstyled hair to polished, bouncing waves using skill rather than excessive heat or products. As you continue practicing these professional techniques, you'll develop the confidence and expertise to create stunning blow dry waves that rival any salon service. Embrace the journey, celebrate small improvements, and soon you'll be creating magazine-worthy waves in the comfort of your own home, saving both time and money while looking absolutely fabulous.


