Corrective Color Guide: How to Fix a Hair Dye Disaster at Home | Pro Tips & Safe Methods
Introduction: The Moment of Panic
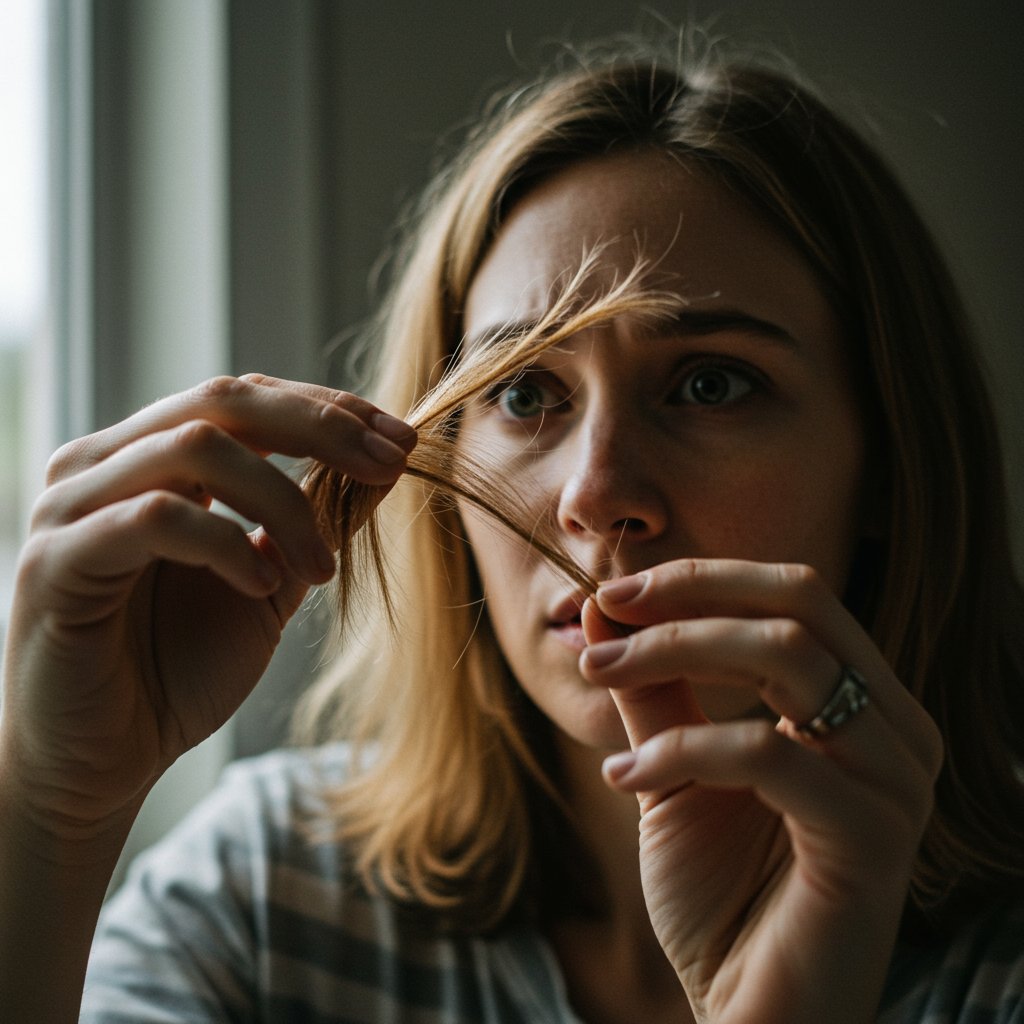
It’s a feeling many at-home hair color enthusiasts know all too well: the final rinse, the towel dry, and the slow-motion turn to face the mirror. Instead of the rich brunette or icy blonde you envisioned, you’re met with a patchy, brassy, or alarmingly dark reality. This is the moment a DIY hair project turns into a hair dye disaster. Before you reach for another box of dye or consider a dramatic, unplanned haircut, take a deep breath. You’ve entered the world of corrective color, a process dedicated to fixing hair color mishaps. This comprehensive guide will walk you through how to assess the damage, understand what went wrong, and take safe, measured steps to fix a hair dye disaster at home.

While tackling corrective color yourself can be empowering, it's also fraught with risks that can lead to further damage. The goal is to improve the situation without compromising the integrity of your hair. We'll explore gentle methods, essential tools, and specific solutions for common problems like brassiness, unevenness, and over-darkened strands. Most importantly, we'll help you identify the critical point at which it's time to put down the bowl and brush and seek the expertise of a professional stylist. Think of this as your first-aid manual for hair color emergencies, designed to guide you toward a calmer, more confident resolution.
Assess the Damage: The First 24 Hours are Crucial
The immediate aftermath of a hair color catastrophe is a critical window. Your first instincts might be to panic and immediately apply another color on top, but this is often the worst thing you can do. The initial 24-48 hours should be about assessment and planning, not impulsive action. Freshly colored hair, especially if it was lightened, is in a fragile, porous state. Adding more chemicals without a clear plan can result in unpredictable, muddy colors and severe damage, including breakage.
Don't Panic! Breathe and Evaluate
First, step away from the mirror and find some good, natural lighting. Artificial bathroom lighting can distort color, making yellow tones look warmer and ash tones look duller. Take photos from multiple angles—front, back, and sides—to get an objective view of the situation. Is the color patchy? Are the roots a different color from the ends (a phenomenon known as "hot roots")? Is the primary issue the tone (e.g., too orange, too ashy) or the level (too dark, too light)? Write down your observations. This calm evaluation will be your roadmap for the corrective color process. Avoid washing your hair with harsh shampoos or trying any DIY stripping methods you find on questionable forums during this initial phase. Let your hair and scalp settle.
The "Strand Test" is Non-Negotiable
Before you apply any corrective product to your entire head—be it a toner, a gloss, or a color remover—you must perform a strand test. This is the single most important step to prevent making the disaster even worse. Snip a small, inconspicuous piece of hair from the nape of your neck or behind your ear. Apply your chosen corrective product to this strand, following the timing instructions precisely. Rinse, dry, and examine the result in natural light. Does it fix the problem? Does it create a new one? Does the hair feel overly gummy or damaged? The strand test is your crystal ball; it shows you the potential outcome without risking your entire head of hair. If the strand test looks promising, you can proceed with caution. If it doesn't, you've saved yourself from a bigger problem and know it’s time to consult a professional.
Common Hair Dye Disasters and Their Causes
Understanding why your hair color went wrong is the key to choosing the right solution. Most at-home dye disasters fall into a few common categories, each with a specific chemical reason behind it. Identifying your specific issue will help you target your corrective color approach effectively.

The Brassy Blight: Orange and Yellow Tones
This is perhaps the most common complaint, especially for those attempting to go blonde or light brown at home. Brassy tones appear when hair is lightened, but not enough to lift past the natural underlying pigments. All hair, even dark hair, contains red, orange, and yellow pigments. As bleach or lightener lifts your natural color, it reveals these warm tones in stages. If you don't lift the hair light enough for your desired shade or fail to tone it afterward, you'll be left with unwanted orange or yellow hues. For example, lifting dark brown hair to a medium blonde will inevitably expose strong orange undertones that must be neutralized.
The Patchy Predicament: Uneven Application
Splotchy, uneven color is usually a result of poor application technique. This can happen for several reasons: not using enough product to fully saturate the hair, starting the application in the wrong section, or working too slowly, which allows some parts of your hair to process for much longer than others. Porosity also plays a huge role. Damaged, porous ends will soak up color much faster and darker than the healthier hair near the roots. To prevent this, professionals use precise sectioning and apply color strategically, often to the mid-lengths and ends before the roots.
Too Dark, Too Soon: Over-Processed Color
Did you aim for a warm chocolate brown and end up with something closer to black? This happens when the hair cuticle is overly porous from previous chemical services or damage. The porous hair shaft grabs onto color molecules far more intensely and rapidly than intended. Box dyes are notoriously progressive, meaning the longer you leave them on, the darker they get, with no fixed endpoint. Leaving the color on for even five minutes too long, especially on compromised hair, can result in a shade that is several levels darker than what was pictured on the box.
Your At-Home Corrective Color Toolkit
Attempting corrective color requires more than just another box of dye. You need a specialized set of products designed for adjusting, toning, or gently removing color without causing excessive damage. Building a small, effective toolkit will give you the best chance at a successful outcome.
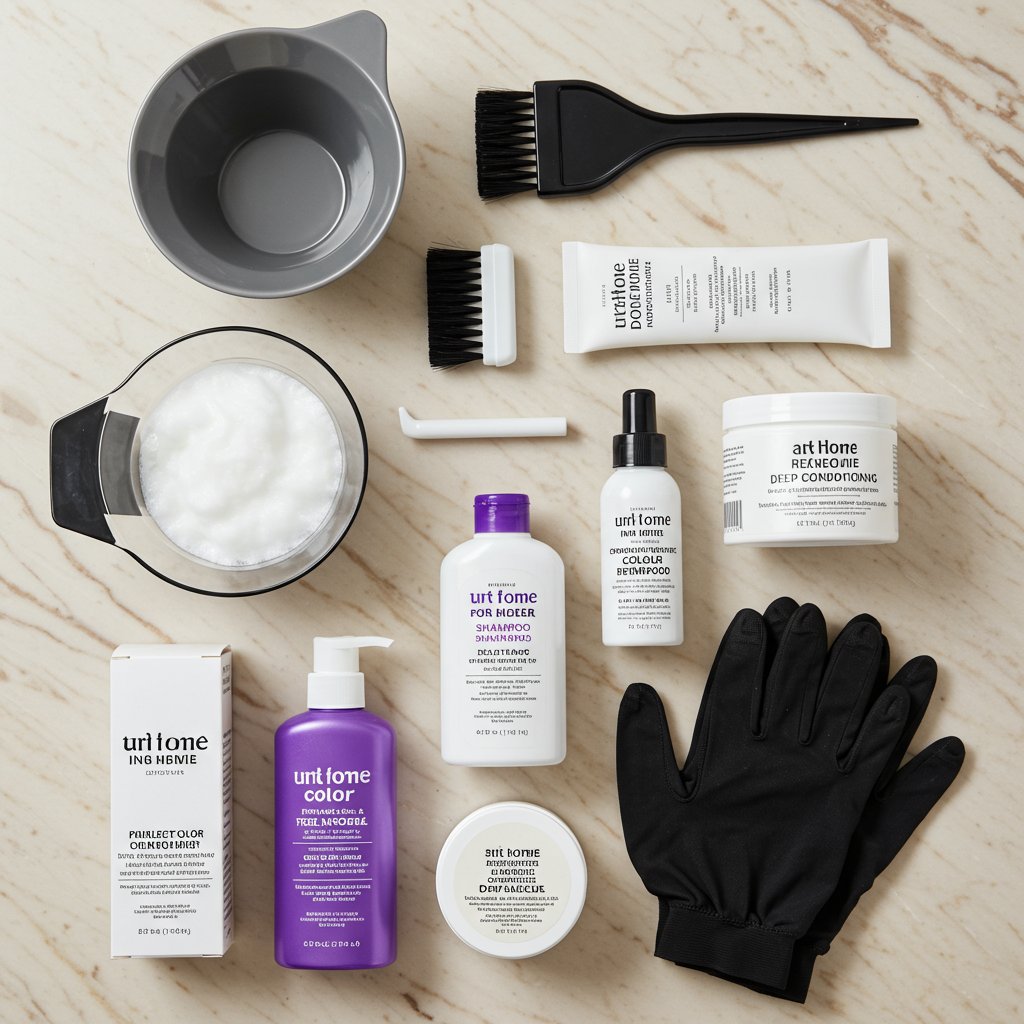
Essential Products for Your Arsenal
- Clarifying Shampoo: This is your first line of defense, especially for color that's too dark. A few washes can help fade fresh, semi-permanent, or overly-toned color without harsh chemicals.
- Toning Gloss or Glaze: These are your go-to for fixing tonal problems like brassiness. They deposit a sheer layer of color to neutralize unwanted tones (e.g., a purple gloss to cancel yellow). They are typically ammonia-free and less damaging than permanent dye.
- Blue/Purple Shampoo and Conditioner: A must-have for maintenance and minor toning. Blue neutralizes orange, while purple neutralizes yellow. These are great for a gentle, gradual fix.
- Deep Conditioning Mask: Corrective color processes are stressful for your hair. A high-quality, protein-free moisturizing mask is non-negotiable for restoring hydration and elasticity afterward.
Tools of the Trade
Using the right tools ensures a more even, professional-looking application. Ditch the bottle applicator that comes in the box. Invest in a non-metallic mixing bowl, a tinting brush for precision, disposable gloves to protect your hands, hair clips to create clean sections, and a timer to ensure accurate processing. Having these simple tools can make the difference between a patchy mess and a blended, successful correction.
Step-by-Step Fixes for Specific Problems
Now that you've assessed the damage and gathered your tools, it's time to address the specific issue. Approach this process methodically and, as always, perform a strand test first.
How to Fix Brassy, Orange, or Yellow Hair
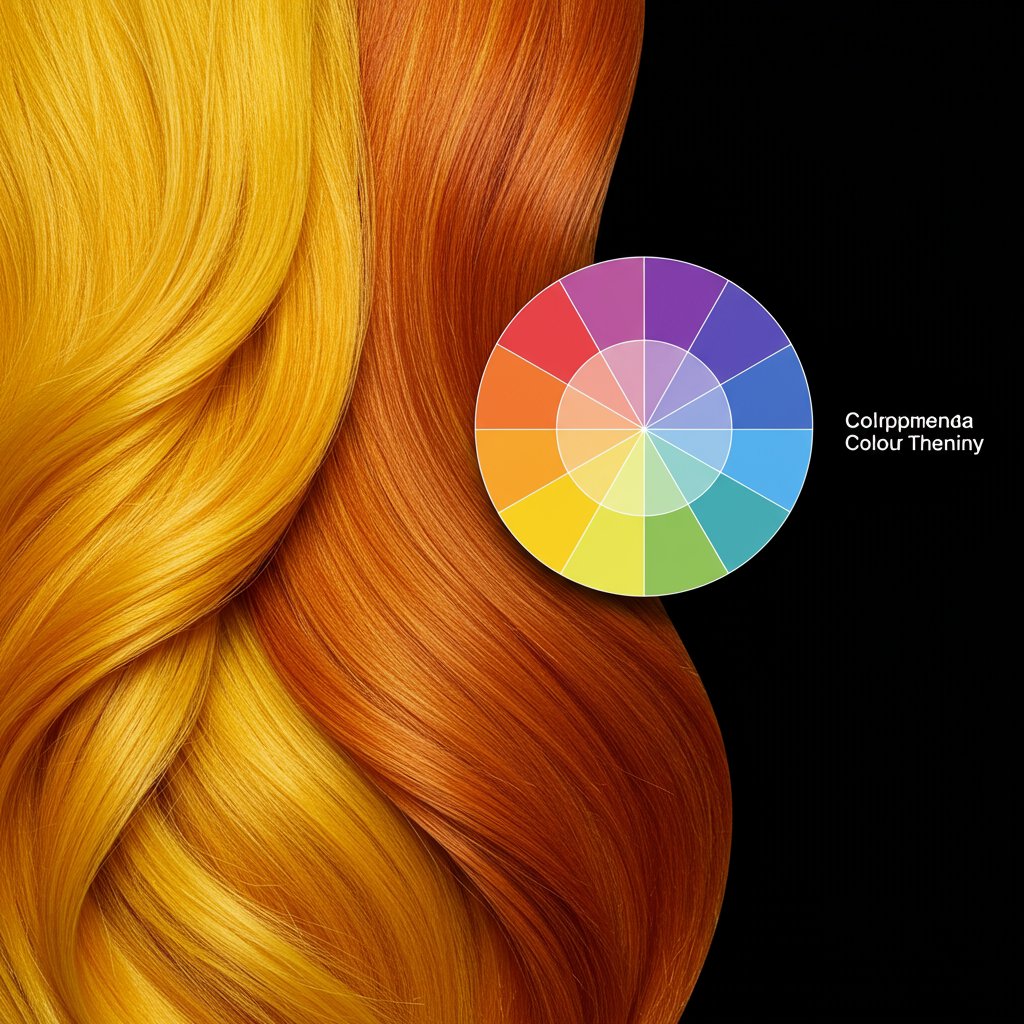
This is a tonal issue, fixed by applying the opposite color on the color wheel. For hair that is yellow, you need a purple-based toner or gloss. For hair that is orange, you need a blue-based toner or gloss. Start with the least aggressive method: a blue or purple shampoo. Lather it on damp hair and let it sit for 3-5 minutes before rinsing. If this isn't strong enough, move on to a semi-permanent toning gloss. Follow the package instructions precisely, applying it evenly to the brassy sections. Watch the hair carefully as it processes; toning can happen quickly, and leaving it on too long can result in purple or blue-tinged hair.
How to Lighten Hair That's Too Dark
If you've gone too dark with a permanent or demi-permanent dye, do not reach for bleach. Your best bet is a color remover. These products work by shrinking the artificial dye molecules so they can be rinsed away. The process can be lengthy and often requires multiple rounds of rinsing. It is also quite drying, so be prepared with a deep conditioner. A color remover will likely reveal the warm, brassy tones that were underneath the dark dye, so you will almost certainly need to follow up with a toner or a new, lighter color application afterward. For a very slight darkening, simply washing your hair several times with a clarifying shampoo can be enough to fade the color by about one level.
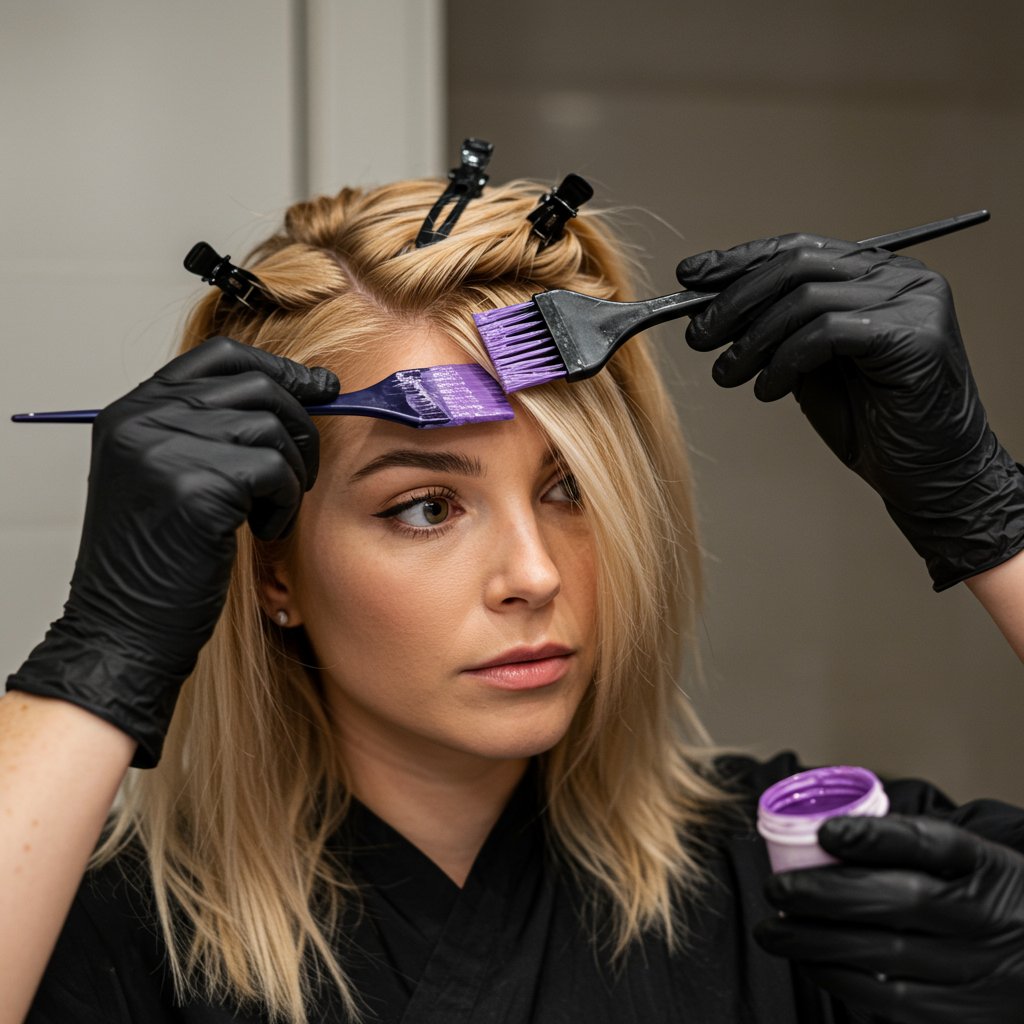
How to Blend Patchy Color or "Hot Roots"
Fixing patchy color is one of the most challenging at-home corrections. The best strategy is to spot-treat. If you have light patches, you'll need to fill them in with a semi-permanent color that matches the rest of your hair. Use a precision brush to apply the color only to the lighter spots. For "hot roots" (roots that are significantly lighter and brighter than the ends), you need to apply a slightly darker, ashier color just to the root area to tone them down and create a more blended "root smudge" effect. This requires a steady hand and careful application to avoid creating new bands of color.
The Power of Toning: Your Secret Weapon
Toning is one of the most misunderstood but crucial steps in hair coloring, especially corrective color. It’s the difference between brassy, raw-looking blonde and a sophisticated, intentional shade. Mastering the basics of toning can save you from many hair dye disasters.
What is a Toner and How Does it Work?
A toner is a type of demi-permanent or semi-permanent hair color that contains just enough pigment to neutralize unwanted tones. It doesn't lift or permanently alter the hair's color level; it simply adjusts the shade. Think of it like a sheer color filter for your hair. Toners work based on the principles of the color wheel: complementary colors cancel each other out. This is why a violet-based toner is used on yellow hair to create a neutral, cool blonde, and a blue-based toner is used on orange hair to create a neutral brown.
Choosing the Right Toner
The key is to accurately identify the underlying pigment you need to correct. If your hair looks like the inside of a banana peel (pale yellow), you need a violet toner. If it's more of a cheesy orange, you need a blue toner. If it's a mix, you may need a blue-violet toner. Professional brands like Wella Color Charm (e.g., T18 for light blonde) or Shades EQ glosses offer a wide range of toning options. Always use a low-volume developer (10 volume or less) with toners, as you only need to deposit color, not lift it.
Post-Correction Care: Rebuilding Your Hair's Health
Successfully correcting your hair color is only half the battle. The corrective process, no matter how gentle, puts stress on your hair strands. The final and most important step is to implement a dedicated aftercare routine to restore moisture, strength, and shine.
Hydration is Non-Negotiable
Your hair is thirsty. Replenish lost moisture with a series of deep conditioning treatments or hair masks. Look for ingredients like hyaluronic acid, shea butter, and glycerin. Avoid protein-heavy treatments initially, as hair that is overly dry can sometimes react poorly to too much protein, making it feel brittle. Focus on moisture for the first week, then you can incorporate a bond-building treatment (like Olaplex No. 3 or K18) to help repair the internal structure of the hair. Make leave-in conditioner your new best friend and consider using a hair oil on your ends to seal in moisture.
Protect Your New Color
Now that you've worked so hard to achieve your desired color, you need to protect it. Switch to a sulfate-free shampoo and conditioner, as sulfates can strip color and moisture. Wash your hair less frequently, using lukewarm or cool water, which helps keep the hair cuticle sealed. Always use a heat protectant spray before blow-drying or using hot tools, as heat is one of the fastest ways to fade color and cause further damage. Wearing a hat in the sun can also prevent UV rays from fading your new shade.
When to Surrender: Knowing When to Call a Professional
While this guide provides tools for handling minor to moderate issues, some hair dye disasters are simply beyond the scope of a DIY fix. Knowing when to admit defeat and seek professional help is a sign of wisdom, not failure. It can save you from irreversible damage that will cost far more time, money, and emotional distress to fix in the long run.
Signs You're Out of Your Depth
It's time to book a salon appointment if you experience any of the following: your hair feels gummy, stretchy like elastic when wet, or is visibly breaking off. If you have multiple bands of different colors from previous dye jobs, a professional is needed to even out the canvas. If you tried to use bleach at home and ended up with severe patchiness or a chemical reaction (like the foils getting hot), stop immediately. Any situation that requires precise lightening with bleach to remove permanent dark dye or fix major banding is a job for an experienced colorist.
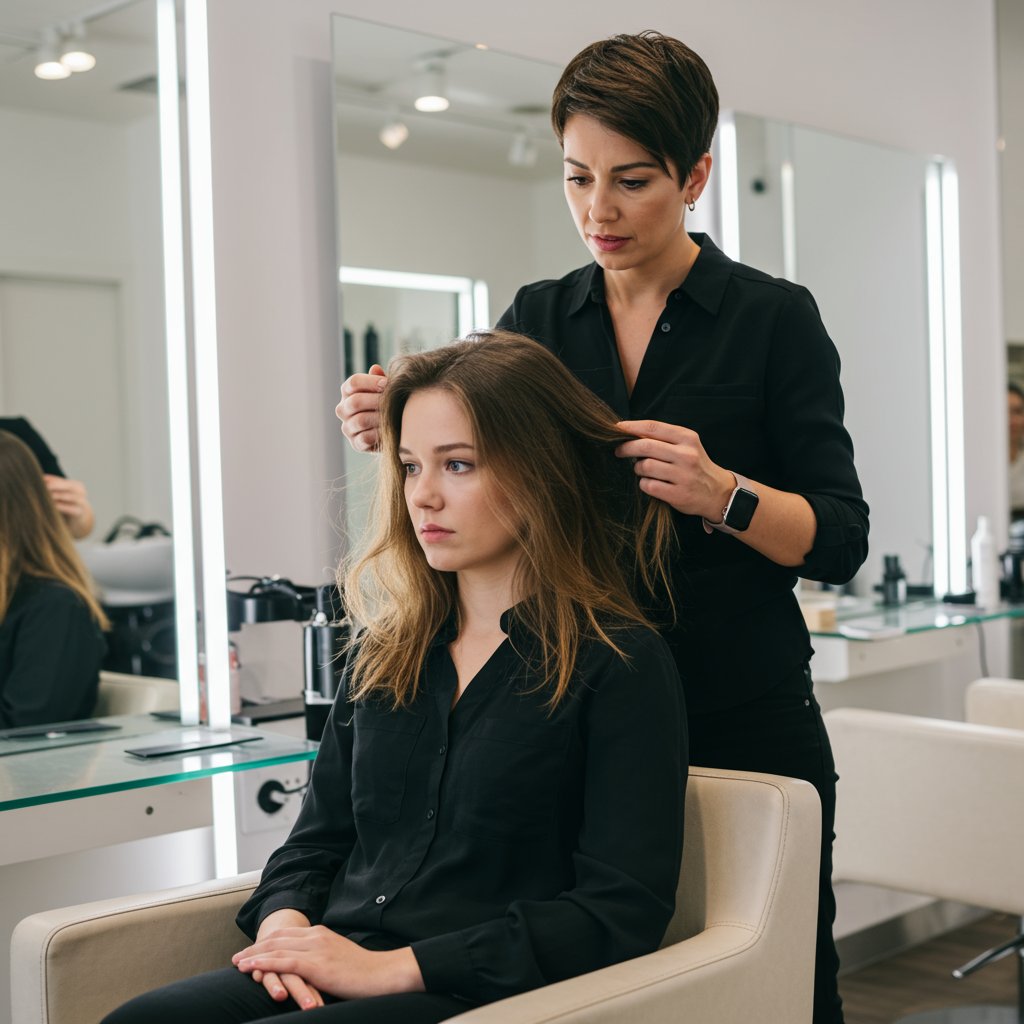
The Value of a Professional Consultation
Professional stylists have access to a wider range of products, including bond-builders that can be mixed directly into color formulas to protect hair integrity. They have years of training in color theory and can diagnose issues with your hair's porosity and underlying pigment that you might not see. A consultation with a colorist is invaluable. They can perform a strand test with professional products, give you a realistic assessment of what's possible, and map out a safe plan to get your hair back to a healthy, beautiful state. Sometimes, the most effective "at-home" fix is picking up the phone and scheduling that appointment.
Frequently Asked Questions About Corrective Color
Q1: Can I just put another box dye over the color I don't like?
This is rarely a good idea. Color doesn't lift color, so putting a lighter dye on top of dark hair won't work. Putting a dark dye over patchy, lightened hair can result in a muddy, uneven color because the damaged sections will absorb the pigment differently. It often complicates the problem, making it harder for a professional to fix later.
Q2: How long should I wait before trying to fix my hair color?
It's best to wait at least 48-72 hours. This gives your hair's natural pH a chance to settle and allows the cuticle to close slightly. It also gives you time to perform a few washes with a clarifying shampoo and deep condition your hair before attempting another chemical process.
Q3: Will vitamin C or dish soap really remove hair color?
These popular DIY methods can slightly fade semi-permanent color or a fresh toner, but they are not effective at removing permanent, oxidized dye. They work by creating a harsh environment that can open the cuticle, but they are also incredibly drying and can leave your hair feeling like straw. A clarifying shampoo is a safer and more effective alternative for gentle fading.
Q4: What's the difference between a color remover and bleach?
A color remover is formulated to shrink and remove artificial color molecules from the hair shaft. It does not affect your natural, virgin hair pigment. Bleach (or lightener) strips all pigment from the hair, both artificial and natural. Bleach is far more damaging and should be avoided for at-home corrective color whenever possible.
Q5: My hair turned green! What do I do?
Green tones usually appear when you dye bleached or very light blonde hair a dark, ashy color without re-introducing warm pigments first. To neutralize green, you need to use a red-toned product. A diluted red semi-permanent dye, a red-tinted gloss, or even a ketchup mask (yes, really, for a very temporary fix) can help cancel out the green hue.
Conclusion: Patience and Prioritizing Hair Health
Navigating a hair dye disaster at home can be a stressful experience, but it's not an impossible one. The keys to a successful corrective color journey are patience, a methodical approach, and an unwavering commitment to the health of your hair. Always start with a calm assessment, understand the root cause of the problem, and choose the least aggressive solution first. The strand test is your most trusted ally, and post-correction care is non-negotiable for restoring your hair's vitality.
Remember that some color corrections are complex chemical puzzles best left to the artists and scientists of the salon world. There is no shame in seeking professional help; in fact, it's often the smartest and most effective path to the beautiful hair you deserve. Whether you achieve a successful fix at home or decide to consult a stylist, treat the experience as a lesson learned in the intricate art of hair color. With the right knowledge and a gentle touch, you can turn a hair dye disaster into a story of recovery and resilience.


