DIY Hair Masks: 8 Natural Recipes for Every Hair Concern | Salon-Approved Guide
Unlocking Nature's Secrets: The Power of DIY Hair Masks
In the pursuit of luscious, vibrant hair, we often look to an array of professional products and treatments. While salon services are the cornerstone of exceptional hair health, there's a world of natural, nourishing care you can tap into right from your own kitchen. This is where the magic of DIY hair masks comes in. These simple, homemade concoctions harness the potent vitamins, minerals, and fatty acids found in everyday ingredients to target specific hair concerns, from dryness and damage to frizz and oiliness. Think of them as a wholesome, organic meal for your hair—a complementary ritual that enhances the benefits of your professional haircare routine.
This comprehensive guide will walk you through everything you need to know about creating and using effective DIY hair masks. We'll explore the science behind why natural ingredients work, provide a checklist for getting started, and share eight targeted recipes designed to address every common hair issue. By understanding how to blend nature's best offerings, you can elevate your hair care game, giving your locks the personalized attention they deserve between salon visits. Prepare to transform your hair with the pure, unadulterated power of nature.
The Science of DIY Hair Masks: Why Natural Ingredients Work
It’s easy to be skeptical about home remedies, but the effectiveness of natural ingredients in hair care is rooted in science. Unlike some mass-market products that rely on silicones for a superficial smoothness or harsh sulfates for cleansing, natural ingredients deliver essential nutrients directly to the hair shaft and scalp. Ingredients like avocado, coconut oil, and olive oil are rich in monounsaturated fats and oleic acid, which can penetrate the hair shaft to moisturize from within, rather than just coating the surface. This deep nourishment helps improve elasticity and reduce breakage, leading to genuinely healthier hair over time.

Furthermore, the molecular structure of these natural elements is key. For example, honey is a natural humectant, meaning it attracts and retains moisture, making it a superstar for hydrating dry, thirsty strands. Ingredients with a slightly acidic pH, like apple cider vinegar or yogurt (containing lactic acid), help to seal the hair cuticle. A sealed cuticle lies flat, resulting in smoother, shinier hair that reflects more light and is less prone to frizz and tangles. Antioxidants found in ingredients like strawberries (Vitamin C) and green tea help protect the hair from environmental stressors and free radical damage, which can cause hair to look dull and age prematurely. By choosing the right combination of ingredients, you are creating a targeted treatment that addresses the specific biochemical needs of your hair.
Essential Toolkit & Patch Testing: Your Pre-Mask Checklist
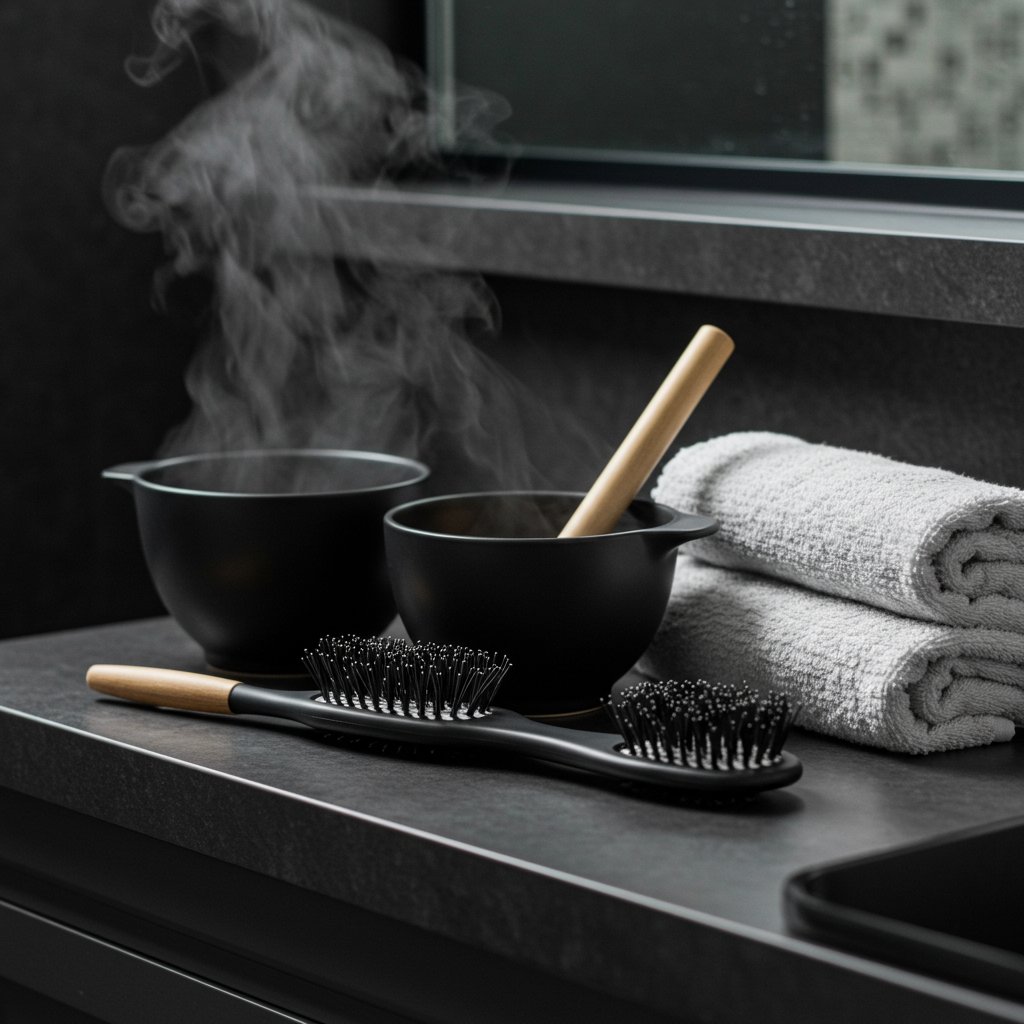
Before you begin raiding your pantry, a little preparation goes a long way in ensuring a smooth, effective, and mess-free masking experience. Having the right tools on hand will make the process feel less like a chore and more like a luxurious self-care ritual. Your essential toolkit is simple and can likely be assembled from items you already own. You will need a non-metallic mixing bowl (metal can sometimes react with ingredients like bentonite clay), a whisk or fork for blending, a hair color application brush for precise application (though your fingers work just fine!), a wide-tooth comb for even distribution, a shower cap or plastic wrap to trap heat and help the mask penetrate, and an old towel to drape over your shoulders to protect your clothing.
Equally as important as your toolkit is performing a patch test. Even the most natural ingredients can cause an allergic reaction or irritation, especially for those with sensitive skin. Before applying a new mask all over your scalp and hair, it's crucial to test it on a small, inconspicuous area of your skin, like behind your ear or on your inner elbow. Mix a small amount of the mask and apply it to the test spot. Leave it on for 30 minutes (or the recommended duration of the mask) and then rinse it off. Wait for 24 hours to see if any redness, itching, or irritation develops. If your skin remains clear, you can proceed with confidence. This simple step ensures your DIY spa day remains a relaxing and beneficial one.
For Dry & Damaged Hair: The Ultimate Hydration Mask
Dry, brittle, or damaged hair is crying out for moisture and protein. Chemical treatments, heat styling, and environmental factors can strip the hair of its natural oils, leaving it feeling like straw. This ultra-hydrating mask is a rich, creamy treatment designed to infuse life back into parched strands, restoring softness, elasticity, and shine. It combines the power of healthy fats, natural humectants, and nourishing oils for a truly restorative experience.
The Recipe
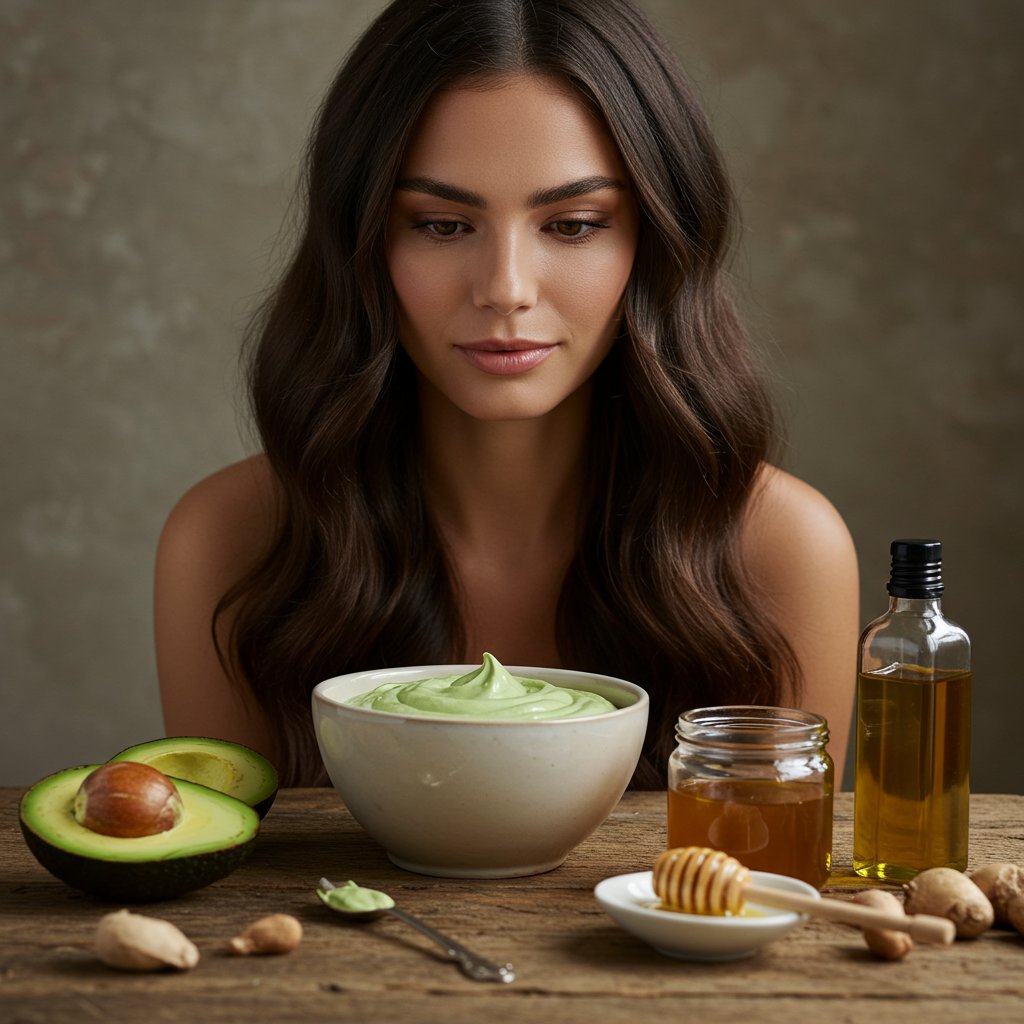
- 1/2 Ripe Avocado: Packed with fatty acids, vitamins A, D, and E, and potassium.
- 2 Tablespoons Olive Oil: An excellent emollient that penetrates the hair shaft.
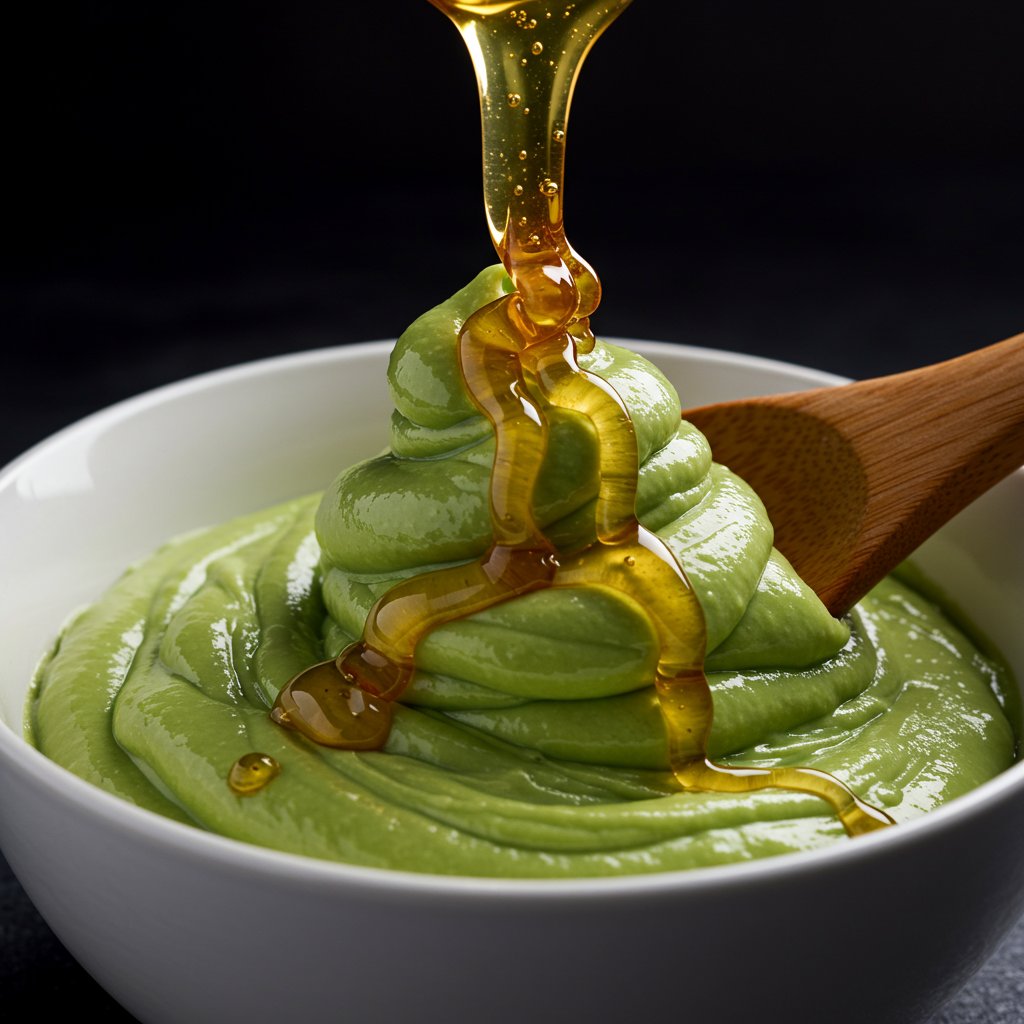
- 1 Tablespoon Honey: A natural humectant that attracts and seals in moisture.
Why It Works
The star of this mask is the avocado, which is a powerhouse of nourishment. Its high concentration of monounsaturated fats deeply moisturizes and strengthens the hair shaft, while its vitamins help to repair the scalp and foster a healthy environment for hair growth. Olive oil acts as a natural conditioner, smoothing the outer cuticle and imparting a beautiful shine. Honey completes the trio by drawing moisture from the air into your hair, providing lasting hydration and fighting off the frizz that often accompanies dryness.Application Steps
- Mash the ripe avocado in a bowl until it's completely smooth and free of lumps. A blender can be helpful for a creamier consistency.
- Stir in the olive oil and honey until the mixture is well-combined and has a uniform, creamy texture.
- Apply the mask to clean, damp hair, starting from the ends and working your way up to the roots. Pay special attention to the driest parts of your hair.
- Gently comb the mask through with a wide-tooth comb to ensure even distribution.
- Pile your hair on top of your head and cover it with a shower cap. Let it penetrate for 30-45 minutes. For an extra-deep treatment, you can apply gentle heat with a hairdryer over the cap for a few minutes.
- Rinse thoroughly with lukewarm water, followed by your regular shampoo and conditioner to remove all residue.
For Oily & Greasy Hair: The Deep Cleansing & Balancing Mask
An overproduction of sebum can leave hair looking flat, greasy, and lifeless, often requiring daily washing. The key to managing oily hair isn't to strip it with harsh detergents, but to rebalance the scalp and gently absorb excess oil. This clarifying mask uses natural absorbents and pH-balancing ingredients to deeply cleanse the scalp, remove buildup, and regulate oil production without causing dryness or irritation.
The Recipe
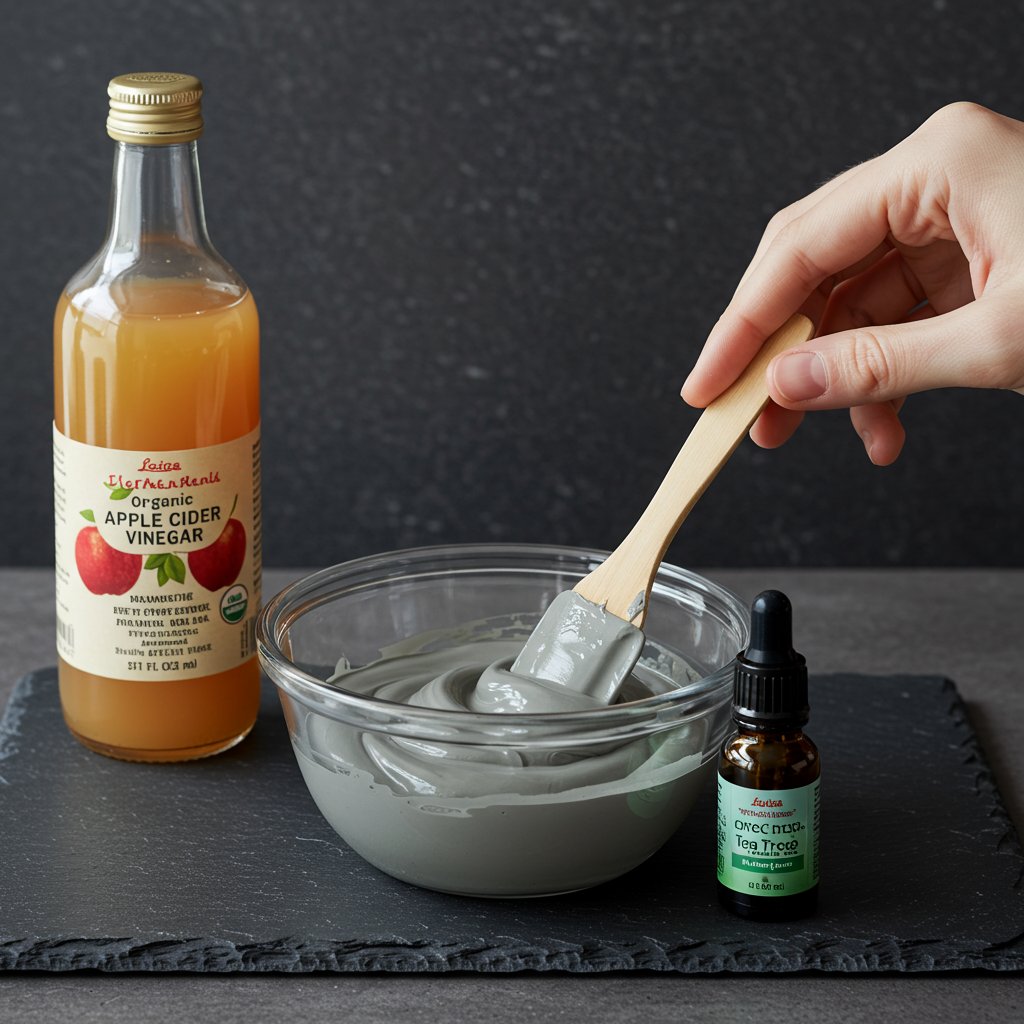
- 3 Tablespoons Bentonite Clay: A natural clay known for its ability to draw out impurities.
- 1 Tablespoon Apple Cider Vinegar (ACV): Helps to balance the scalp's pH and clarify.
- 3-5 Drops of Tea Tree Essential Oil: Known for its antimicrobial and clarifying properties.
- Water to create a paste.
Why It Works
Bentonite clay has a strong negative electrical charge, which allows it to bind to and draw out positively charged toxins, heavy metals, and product buildup from the scalp and hair. Apple Cider Vinegar helps to restore the scalp's natural pH balance, which can be disrupted by alkaline shampoos, leading to excess oil production. It also closes the hair cuticle, adding shine. Tea Tree Oil is a powerful natural antiseptic that helps to cleanse the scalp and unclog hair follicles, preventing the buildup that contributes to a greasy feeling.Application Steps
- In a non-metallic bowl, combine the bentonite clay, ACV, and tea tree oil. Do not use metal utensils, as they can reduce the clay's effectiveness.
- Slowly add water, a little at a time, and mix until you have a smooth, yogurt-like paste.
- Apply the mask primarily to your scalp and roots, where oiliness originates. You can lightly coat the lengths of your hair if you also have product buildup.
- Leave the mask on for 15-20 minutes. Do not let it dry completely, as it can become difficult to rinse out.
- Rinse thoroughly with warm water. You may need to rinse for several minutes to remove all the clay. Follow with a light conditioner on your ends only.
For Frizzy & Unruly Hair: The Smoothing & Taming Mask
Frizz occurs when the outer layer of your hair, the cuticle, is raised, allowing moisture from the air to enter and swell the strands. To combat frizz, you need ingredients that smooth down this cuticle and provide a protective barrier. This creamy, delicious-smelling mask is designed to tame flyaways, define curls, and leave all hair types feeling silky smooth and manageable.
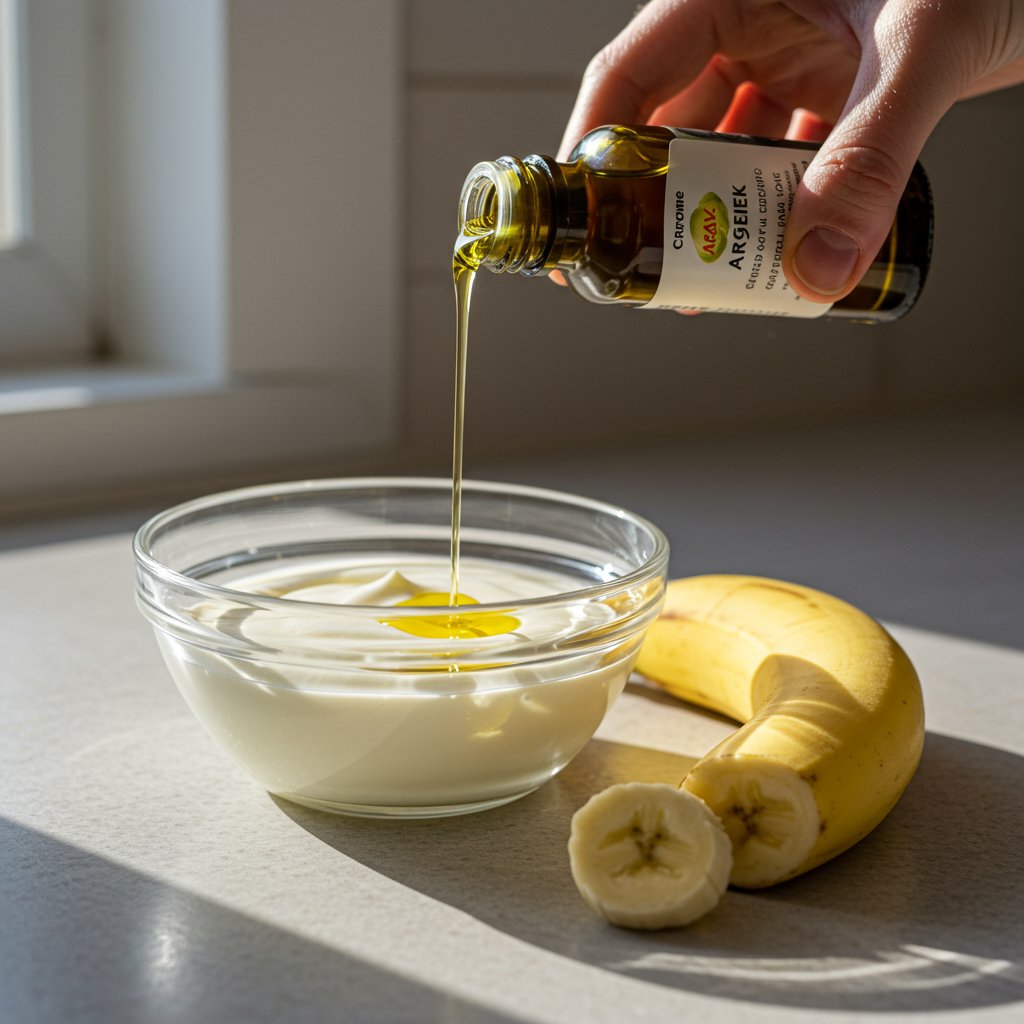
The Recipe
- 1 Ripe Banana: Rich in silica, a mineral that helps synthesize collagen and strengthens hair.
- 2 Tablespoons Plain Yogurt: Contains lactic acid, which gently exfoliates the scalp and smooths the hair cuticle.
- 1 Tablespoon Argan Oil: A lightweight oil that seals in moisture and adds shine without being greasy.
Why It Works
Banana is a secret weapon against frizz. The silica it contains helps to improve hair's thickness and prevents thinning, while its high potassium content moisturizes and strengthens. Yogurt's lactic acid gently removes dead skin cells from the scalp and works to smooth the hair's surface, taming unruly strands. Argan oil, often called 'liquid gold,' is rich in Vitamin E and fatty acids, forming a light, non-greasy film over the hair shaft that locks in moisture and blocks out humidity, the primary cause of frizz.Application Steps
- Blend the banana until it is a completely smooth purée. This step is critical—any small chunks will be very difficult to wash out of your hair.
- In a bowl, mix the banana purée with the yogurt and argan oil until you have a consistent, creamy mask.
- Apply generously to damp hair, from roots to tips, focusing on areas prone to frizz.
- Cover with a shower cap and let the mask work its magic for 30 minutes.
- Rinse very thoroughly with lukewarm water, using your fingers to work out the mask. Follow with your usual shampoo and conditioning routine.
For Thin Hair & Hair Growth: The Stimulating & Strengthening Mask
For those seeking more volume and encouraging healthy hair growth, the focus should be on scalp stimulation and strengthening the hair from the root. This protein-packed, circulation-boosting mask delivers essential nutrients directly to the follicles, creating an optimal environment for strong, healthy hair to grow. It fortifies existing strands to prevent breakage, which can make hair appear fuller.
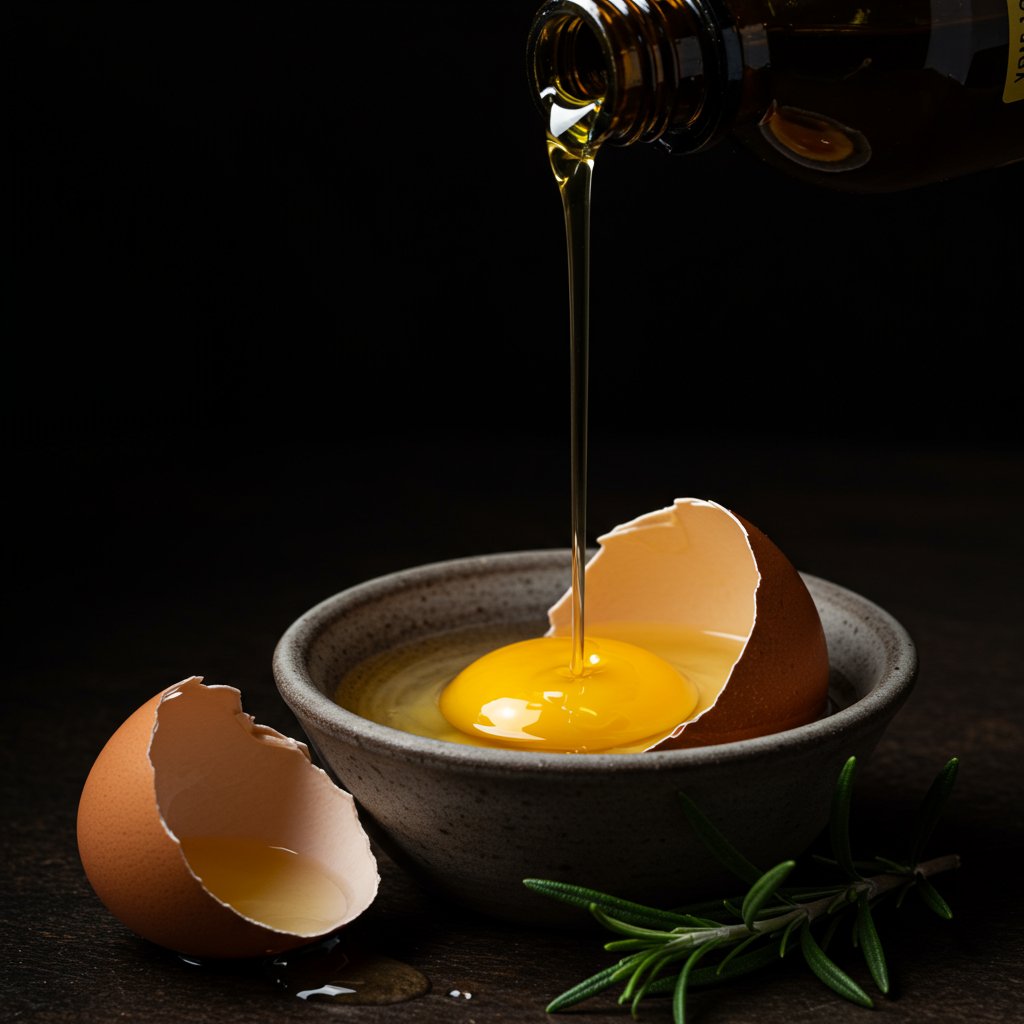
The Recipe
- 1 Whole Egg: A complete protein source, containing biotin and B vitamins.
- 1 Tablespoon Castor Oil: High in ricinoleic acid, which is believed to stimulate circulation to the scalp.
- 3-5 Drops of Rosemary Essential Oil: Known to improve circulation and cellular generation.
Why It Works
Eggs are one of the best natural sources of protein, the building block of hair. The protein helps to fortify the hair shaft, repairing weak spots and reducing breakage. Castor oil is a thick, nutrient-dense oil that has been used for centuries to promote hair growth. Its ricinoleic acid content helps increase blood flow to the scalp, delivering more oxygen and nutrients to the follicles. Rosemary essential oil complements this action, with studies suggesting it can be as effective as minoxidil (the active ingredient in Rogaine) for encouraging hair growth, but with fewer side effects like scalp itching.Application Steps
- In a bowl, whisk the egg until it is frothy.
- Add the castor oil and rosemary essential oil and continue whisking until the mixture is fully combined.
- Apply the mask to your scalp, using your fingertips to gently massage it in for 3-5 minutes. This massage further stimulates blood flow.
- Work the remaining mask down the lengths of your hair.
- Cover with a shower cap and leave on for 20-30 minutes.
- Crucially, rinse the mask out with cool or lukewarm water. Hot water will cook the egg in your hair, making it extremely difficult to remove.
- Follow with a gentle shampoo and conditioner.
For Dull Hair & Lack of Shine: The Radiance-Boosting Mask
When hair looks dull, it's often due to a combination of product buildup, mineral deposits from hard water, and raised cuticles that don't reflect light. This vibrant, refreshing mask is like a brightening facial for your hair. It uses gentle acids and vitamins to clarify strands and smooth the cuticle, revealing a brilliant, natural shine that's been hiding underneath.

The Recipe
- 4-5 Ripe Strawberries: High in Vitamin C, which helps with collagen production and adds gloss.
- 1 Tablespoon Lemon Juice: A natural clarifier that removes buildup (use with caution on dark or color-treated hair).
- 2 Tablespoons Coconut Milk: Rich in fats and proteins that nourish and soften.
Why It Works
Strawberries are packed with Vitamin C, an antioxidant that helps protect hair from damage and promotes shine. The mild acidity of strawberries and lemon juice works to clarify the hair, dissolving the residue from products and hard water that can make it look lackluster. They also help to flatten the hair cuticle, which is the key to light reflection and shine. The coconut milk balances the acidity, providing deep moisture and protein to ensure the hair isn't stripped, leaving it soft, nourished, and incredibly glossy.Application Steps
- In a blender, purée the strawberries, lemon juice, and coconut milk until the mixture is completely smooth.
- Apply the mask to clean, damp hair from roots to ends.
- Cover with a shower cap and let it sit for 15-20 minutes.
- Rinse thoroughly with cool water to seal the cuticle and lock in the shine.
- Follow with a light conditioner if needed.
Pro Tips for Maximum Mask Efficacy
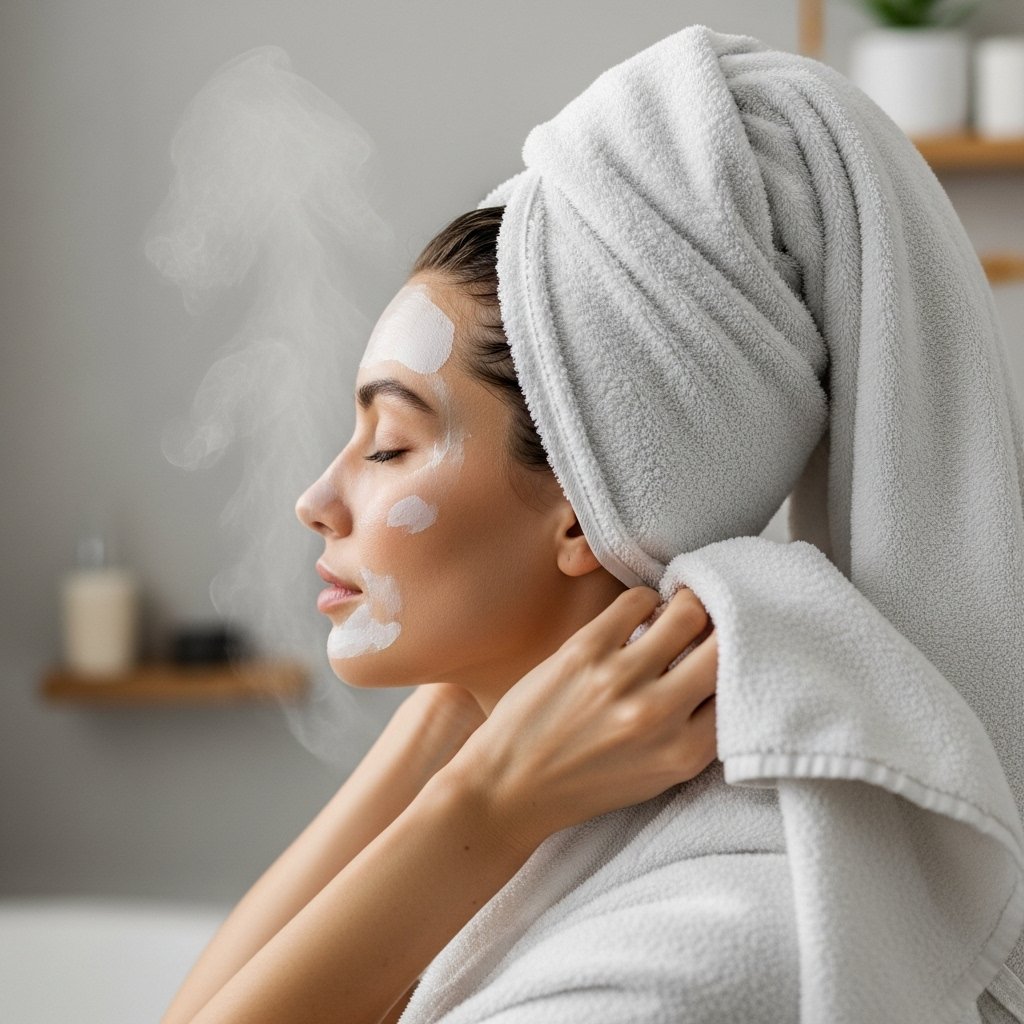
To get the most out of your DIY hair mask sessions, a few professional tips can make a significant difference. First, always apply your mask to clean, damp hair. Shampooing first removes any product buildup, allowing the nutritious ingredients to penetrate the hair shaft more effectively. Towel-dry your hair until it's damp, not sopping wet. Second, harness the power of heat. After applying your mask and covering your hair with a shower cap, wrap a warm, damp towel around your head. The gentle heat helps to open up the hair cuticle, allowing the mask to absorb more deeply.
Consistency is key, but don't overdo it. For most hair types, using a deep-conditioning mask once a week is sufficient. Over-masking, especially with protein-heavy recipes, can sometimes lead to brittle hair. Always rinse thoroughly. Any residue left behind can weigh your hair down and make it feel greasy or sticky. Use lukewarm or cool water for the final rinse to help seal the cuticle. Finally, while DIY masks are fantastic, they work best as part of a holistic hair care routine. They are a supplement to, not a replacement for, high-quality shampoos, conditioners, and professional salon treatments that can address issues like split ends and color maintenance on a deeper level.
Frequently Asked Questions About DIY Hair Masks
How often should I use a DIY hair mask?
For most hair types, once a week is the ideal frequency. If your hair is extremely dry or damaged, you might benefit from using a hydrating mask twice a week initially. For those with oily hair, a clarifying mask every 1-2 weeks is usually sufficient to avoid over-stripping the scalp.
Can I leave a hair mask on overnight?
While it might seem like more time equals more benefits, it's generally not recommended. Leaving a wet mask on for an extended period can lead to a condition called hygral fatigue, where the hair shaft swells excessively with water, weakening it over time. Furthermore, certain ingredients, like acids or clays, can cause irritation if left on the scalp for too long. Stick to the recommended time of 20-45 minutes for best results.Why is my hair greasy after a DIY mask?
The most common culprits are using too much oil or not rinsing thoroughly enough. Be mindful of the amount of oil in your recipe, especially if you have fine or low-porosity hair. When rinsing, use lukewarm water and make sure you gently massage your scalp and lengths until the hair no longer feels slick or coated.Can these masks replace my regular conditioner?
No, DIY masks should be seen as a deep-conditioning treatment, not a daily conditioner. Regular conditioners are formulated to have a specific pH that seals the cuticle after shampooing and are designed for quick, light use. Hair masks are more intensive and are used less frequently to provide a concentrated dose of nutrients.Do DIY hair masks work for color-treated hair?
Yes, but with caution. Natural ingredients are generally gentler than many commercial products. However, highly acidic ingredients like lemon juice or apple cider vinegar can potentially lighten or alter hair color over time. If you have color-treated hair, it's best to stick to hydrating and nourishing masks (like the avocado or banana recipes) and always perform a strand test first.When should I see a professional stylist instead of using a DIY mask?
DIY masks are for maintenance, nourishment, and addressing mild concerns. You should always consult a professional stylist for significant issues like severe breakage, hair loss, major color correction, or persistent scalp conditions. A stylist can provide a professional diagnosis and offer targeted treatments, trims, and products that home remedies cannot replace. They can also provide personalized advice on which DIY ingredients would best complement your specific hair type and salon treatments.Conclusion: A Natural Boost for Salon-Beautiful Hair
Embracing the world of DIY hair masks is a wonderful way to connect with your hair care routine on a deeper level. By using fresh, natural ingredients, you can provide your hair with targeted nourishment that addresses its unique needs, from quenching dryness to calming frizz and boosting shine. These simple, effective recipes serve as a powerful testament to the fact that sometimes the best ingredients are found not in a lab, but in nature itself.
Remember to view these masks as a valuable part of your hair care arsenal—a perfect complement to the expertise, precision, and advanced treatments you receive at a professional salon. They can help maintain your hair's health and vitality between appointments, ensuring that the beautiful results of your cut and color last longer. So, have fun experimenting with these natural recipes, listen to what your hair needs, and enjoy the journey to your healthiest, most radiant hair yet. For a truly personalized hair care plan, always feel empowered to discuss your routine and concerns with an experienced stylist.


