DIY Haircuts: 6 Styles You Can Actually Try at Home | A Stylist's Guide
The Allure and The Risks of DIY Haircuts
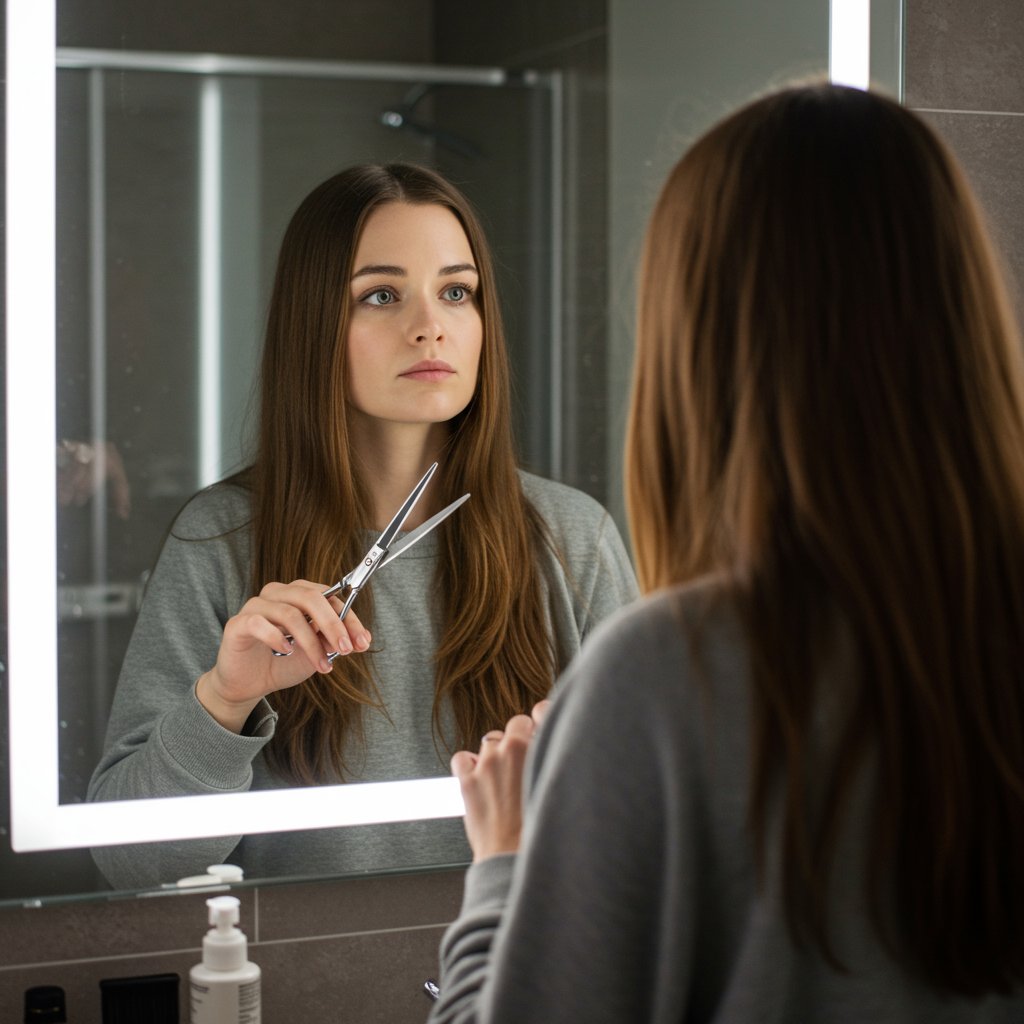
The idea of a DIY haircut can be incredibly tempting. Whether driven by a sudden creative impulse, a desire to save time and money, or simply the challenge of learning a new skill, many have found themselves standing in front of a mirror, scissors in hand. While the internet is filled with tutorials promising salon-perfect results, the reality can be much trickier. A successful at-home haircut hinges on knowledge, preparation, and, most importantly, knowing your limits. This guide is designed to walk you through the styles that are genuinely achievable for a beginner, the essential tools you'll need, and the professional techniques that can make all the difference between a hair triumph and a hair disaster that requires a professional fix.
Before we dive into the 'how-to,' it's crucial to set realistic expectations. Complex styles involving intricate layers, sharp asymmetrical lines, pixie cuts, or advanced texturizing are best left to the trained hands of an experienced stylist. These cuts require an understanding of head shape, hair growth patterns, and precision angles that are nearly impossible to replicate on your own. The goal of a safe DIY haircut is maintenance and simple style adjustments, not a complete transformation. By focusing on manageable trims and basic shapes, you can refresh your look and maintain hair health between professional salon visits.
This comprehensive guide will empower you to tackle simple DIY haircuts with confidence. We will cover everything from assembling the right toolkit and prepping your hair correctly to step-by-step instructions for specific, beginner-friendly styles. We'll also explore common mistakes, share pro tips for a polished finish, and answer your most pressing questions. Remember, the key to a great DIY haircut is not just about cutting hair; it's about doing it safely, smartly, and knowing when to put the scissors down and book an appointment at a professional salon.
The Essential DIY Haircut Toolkit: Gathering Your Supplies
Attempting a DIY haircut with kitchen scissors and a bathroom comb is the fastest route to uneven lines and damaged hair. Investing in the right tools is non-negotiable for achieving a clean, precise, and healthy cut. Think of it as setting up your own mini-salon station. The quality of your equipment directly impacts the quality of your results. Professional tools are designed for one purpose: to cut hair cleanly without causing split ends or breakage. A one-time investment in a proper kit will serve you for many maintenance trims to come.
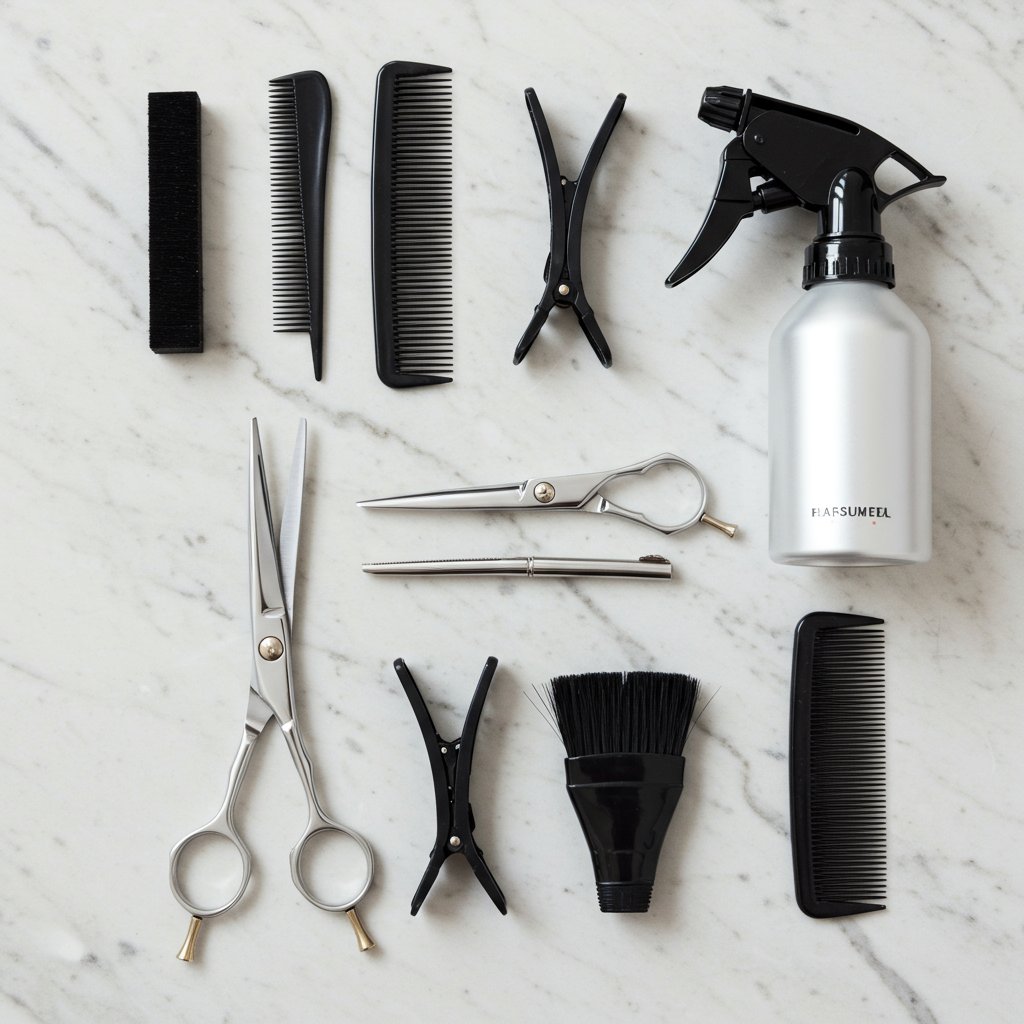
- Professional Hair Shears: This is your most important tool. Look for shears made from high-quality stainless steel. They are incredibly sharp and designed to slice through hair cleanly. Never use them for anything other than cutting hair to maintain their sharpness. A 5.5 to 6.5-inch shear is a versatile size for most tasks.
- Sectioning Clips: You cannot achieve an even cut without properly sectioning your hair. Large alligator clips or duckbill clips are essential for holding sections of hair out of the way while you work on a specific area. This prevents accidental snips and ensures you're cutting methodically.
- Fine-Tooth Comb & Wide-Tooth Comb: A fine-tooth comb (especially one with a parting tail) is crucial for creating clean sections and ensuring even tension when pulling hair taut for a cut. A wide-tooth comb is perfect for detangling wet hair before you begin, minimizing breakage.
- Multiple Mirrors: A dual-mirror setup is vital for seeing the back and sides of your head. You can use a three-way mirror or position a large handheld mirror to reflect the view from your main bathroom mirror. You must be able to see your hair from all angles to ensure an even result.
- Haircutting Cape or Old Towel: To avoid getting tiny, itchy hair clippings all over your clothes and body, drape a cape or an old towel around your shoulders. A spray bottle with water is also handy for keeping hair evenly damp if you choose to do a wet cut.
Prep Work is Key: How to Prepare Your Hair for a Cut
Proper preparation is just as important as the cutting technique itself. Starting with a clean, well-prepared canvas will make the entire process smoother and the results more predictable. The first decision you need to make is whether to cut your hair wet or dry. Each method has its pros and cons, and the best choice often depends on your hair type and the style you're attempting. Generally, straight or wavy hair is more forgiving when cut wet, as it allows for cleaner, blunter lines. However, cutting dry allows you to see exactly how the hair will fall, which is particularly important for curly hair and for cutting bangs, as you can account for shrinkage and natural texture.
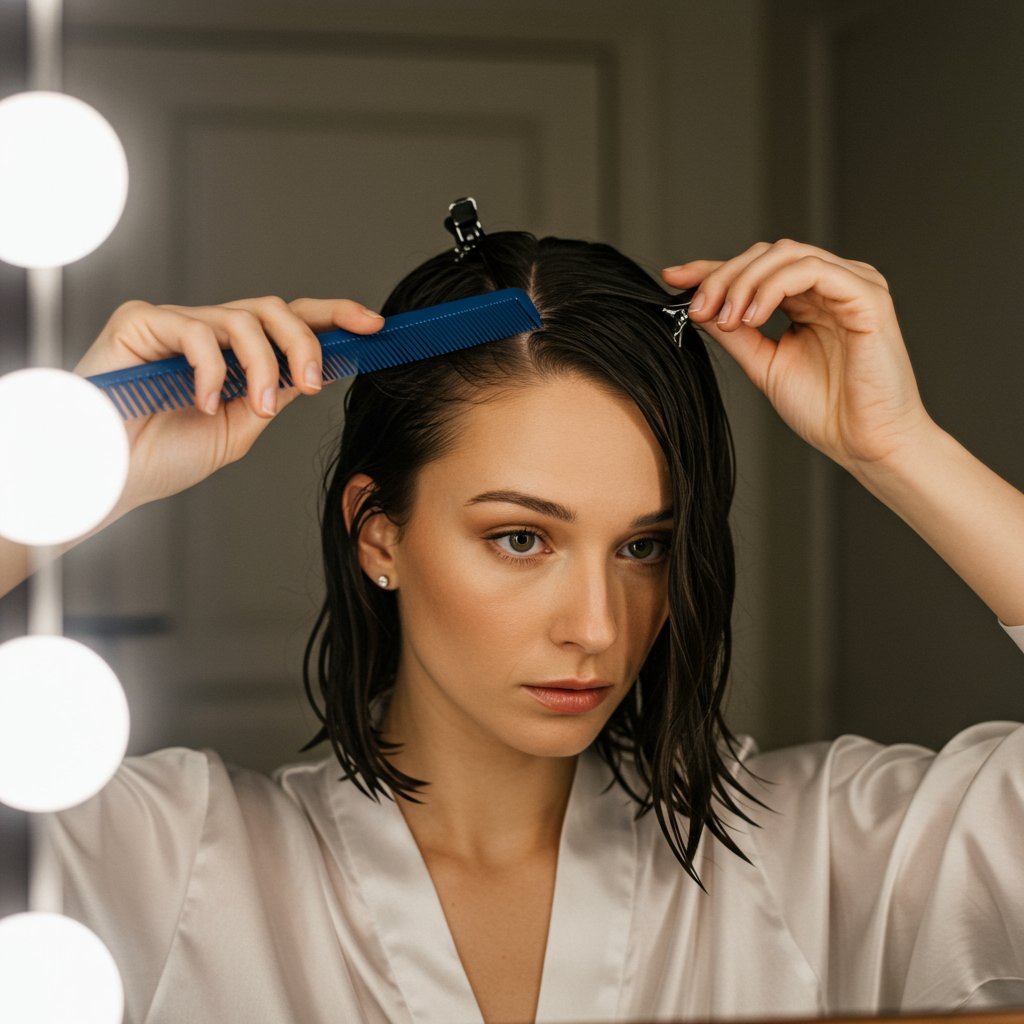
If you opt for a wet cut, start by washing and conditioning your hair as you normally would. Gently towel-dry it until it's damp but not dripping. It's crucial that the hair is evenly damp all over; uneven moisture can lead to an uneven cut once it dries. Use a wide-tooth comb to gently detangle, starting from the ends and working your way up to the roots to prevent breakage. Once detangled, use your fine-tooth comb to create your primary part (center, side, etc.) as this will be the foundation for your cut.
Regardless of whether you cut wet or dry, sectioning is the next critical step. Do not try to cut your hair all at once. Use your sectioning clips to divide your hair into at least four manageable quadrants: two in the front and two in the back. If you have very thick hair, you may need six or eight sections. Working with small, controlled sections of hair is the secret to precision and control. It prevents you from getting overwhelmed and ensures that each part of your haircut is deliberate and even. This methodical approach is what separates a thoughtful trim from a chaotic hack job.
Style 1: The Simple Dusting & Split End Trim
The most straightforward and safest DIY haircut is a simple trim, often called 'dusting.' This technique is designed to remove split ends and refresh your hair's ends without altering your length or style significantly. It’s the perfect entry point for at-home haircutting as it carries the lowest risk and is focused purely on hair health. This method works best on medium to long hair that is straight or wavy. The primary goal is to create a clean, straight line across the bottom, which is easiest to manage on your own.
There are two popular methods for a basic trim. The first is the 'ponytail method.' Brush your hair until it is completely smooth and free of tangles. Lean forward and gather all of your hair into a very neat, tight ponytail at the very front of your hairline, centered on your forehead (like a unicorn). Secure it with a hair tie. Slide another hair tie down the ponytail until you reach the point where you want to cut. This second tie will act as your guide. Holding the end of the ponytail taut, use your sharp shears to make a clean, straight cut just below the guide tie. When you release the ponytail, you’ll have very subtle, face-framing layers and freshly trimmed ends. Double-check for any stray long hairs and snip them.
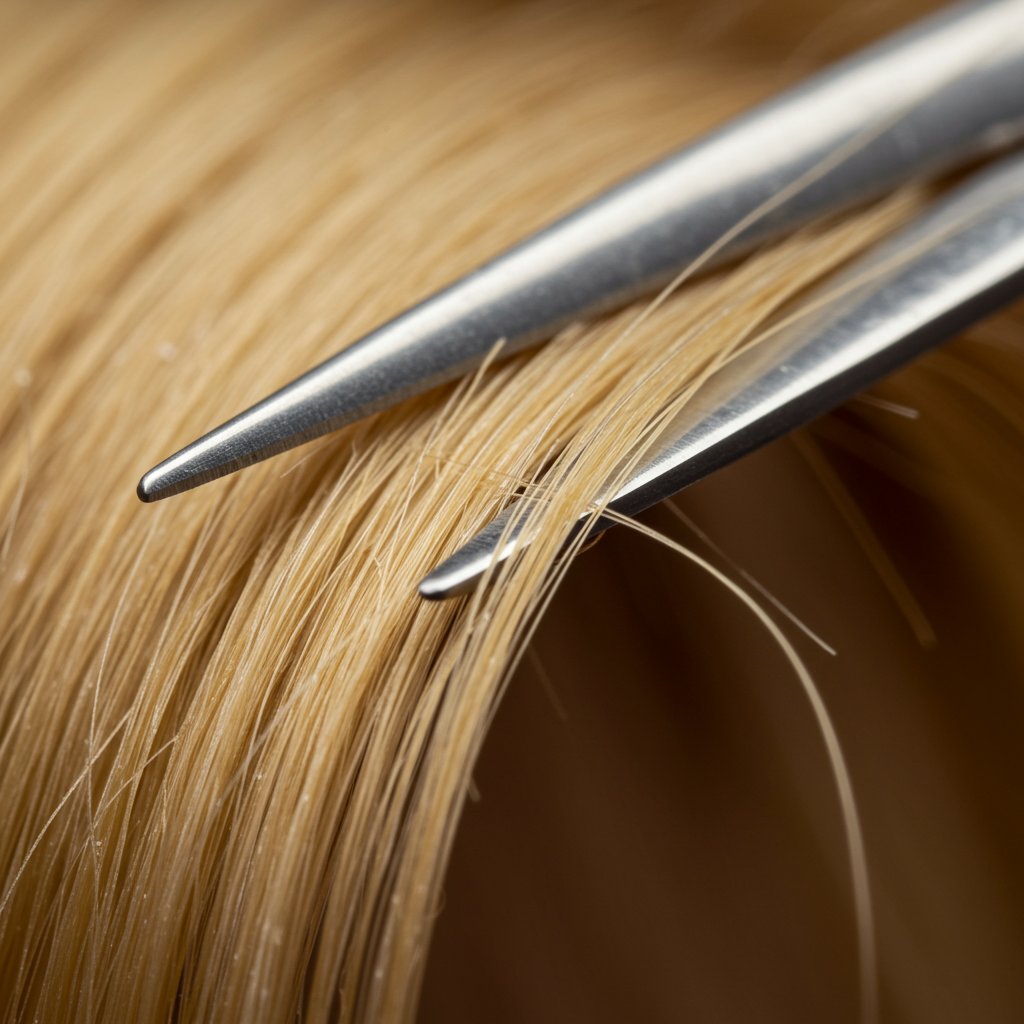
The second method, ideal for finding and eliminating individual split ends, is the 'twist method.' Take a small, one-inch section of dry hair and twist it tightly from root to tip. As you twist, the damaged, split ends will poke out from the sides of the twisted section. Carefully hold your shears parallel to the hair section and snip off only these tiny stray ends that are sticking out. Be meticulous and work in small sections across your entire head. This is a time-consuming process, but it’s incredibly effective for maintaining hair health between major cuts without sacrificing any noticeable length.
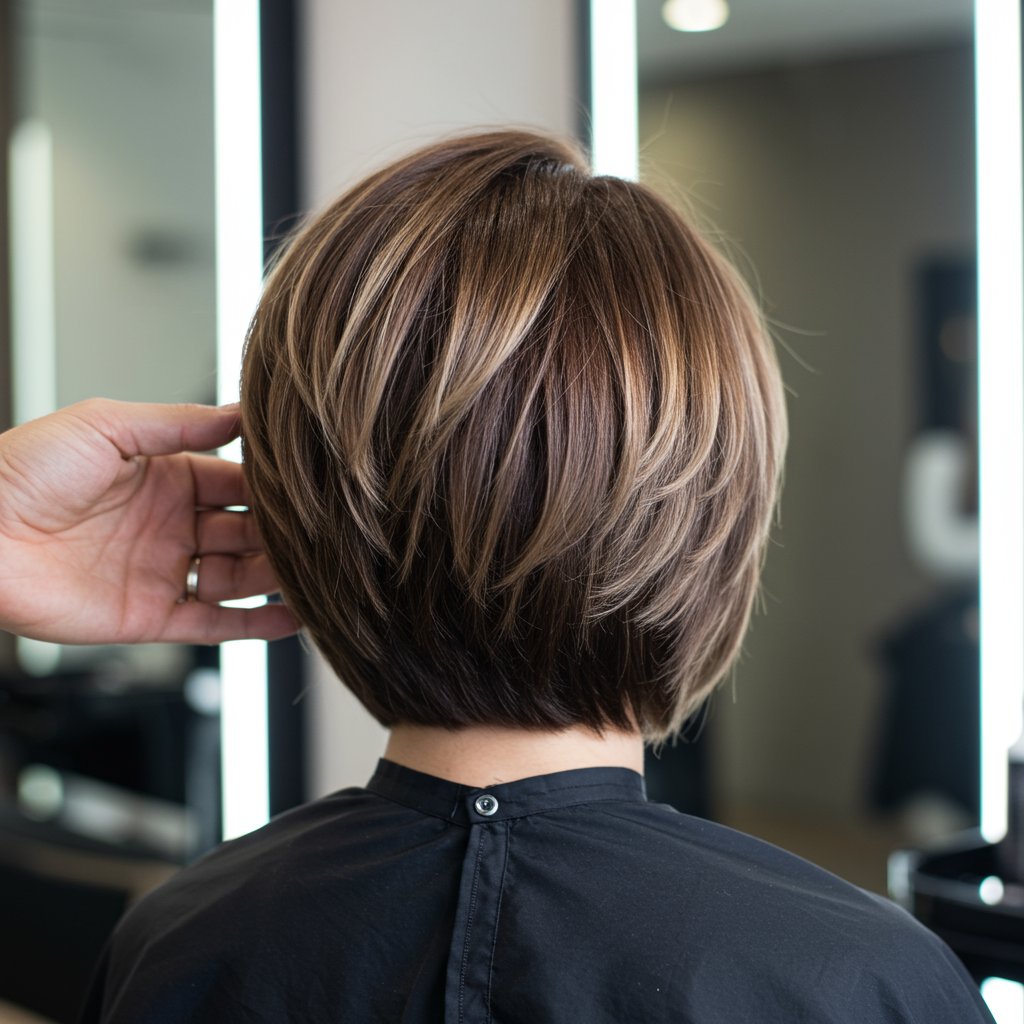
Style 2: The One-Length Bob or Lob
Attempting a bob or lob (long bob) at home is a step up in difficulty, but it is achievable with careful preparation and a steady hand. This style is best for those with straight or slightly wavy hair, as the blunt lines are a key feature of the look. The key to success is creating a precise, unwavering guideline. The most reliable DIY method for a one-length bob involves creating two low, tight pigtails. This ensures symmetry, which is notoriously difficult to achieve when cutting freehand.
Start with clean, damp, and thoroughly detangled hair. Part your hair exactly where you want it to fall—a sharp center part is often easiest for ensuring balance. Create two low pigtails, securing them with hair ties just behind your ears. The placement should be perfectly symmetrical. Use your comb to ensure the hair is smooth and flat against your head leading into the ties. Now, slide a second set of hair ties down each pigtail to the desired cutting length. Use a mirror to ensure they are perfectly level with each other. This is your cutting guide, so take your time to get it right.
With your guidelines in place, it's time to make the cut. Hold one pigtail taut below the guide tie and, with your shears, make a clean, blunt cut directly underneath it. Repeat the exact same process on the other side. Once both sides are cut, remove all the hair ties and let your hair down. It will likely need some refinement. Use your comb and mirrors to check for any unevenness in the back. You may need a trusted friend to help you clean up the back neckline. To soften the blunt ends, you can use a technique called 'point cutting.' Hold the scissors vertically and make tiny snips into the ends of the hair. This will break up the hard line and give the bob a more natural, slightly textured finish.
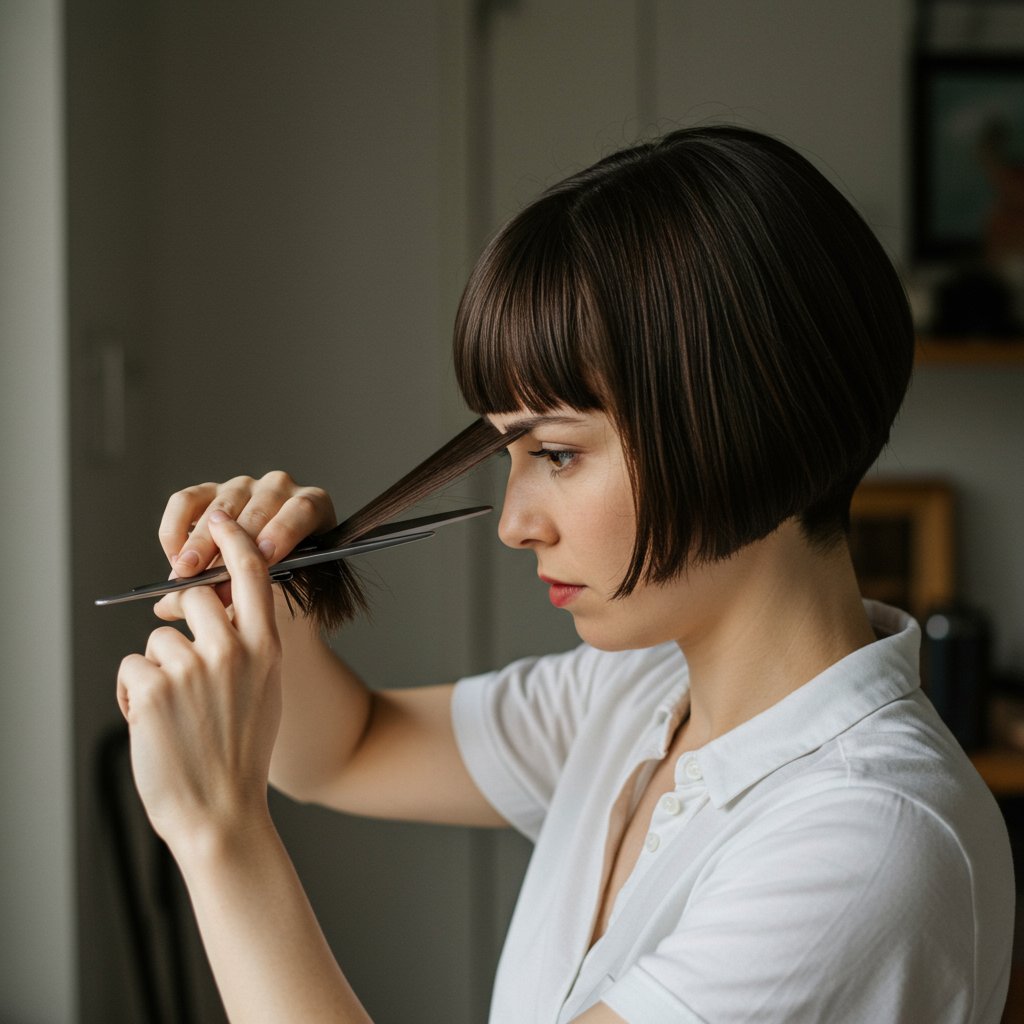
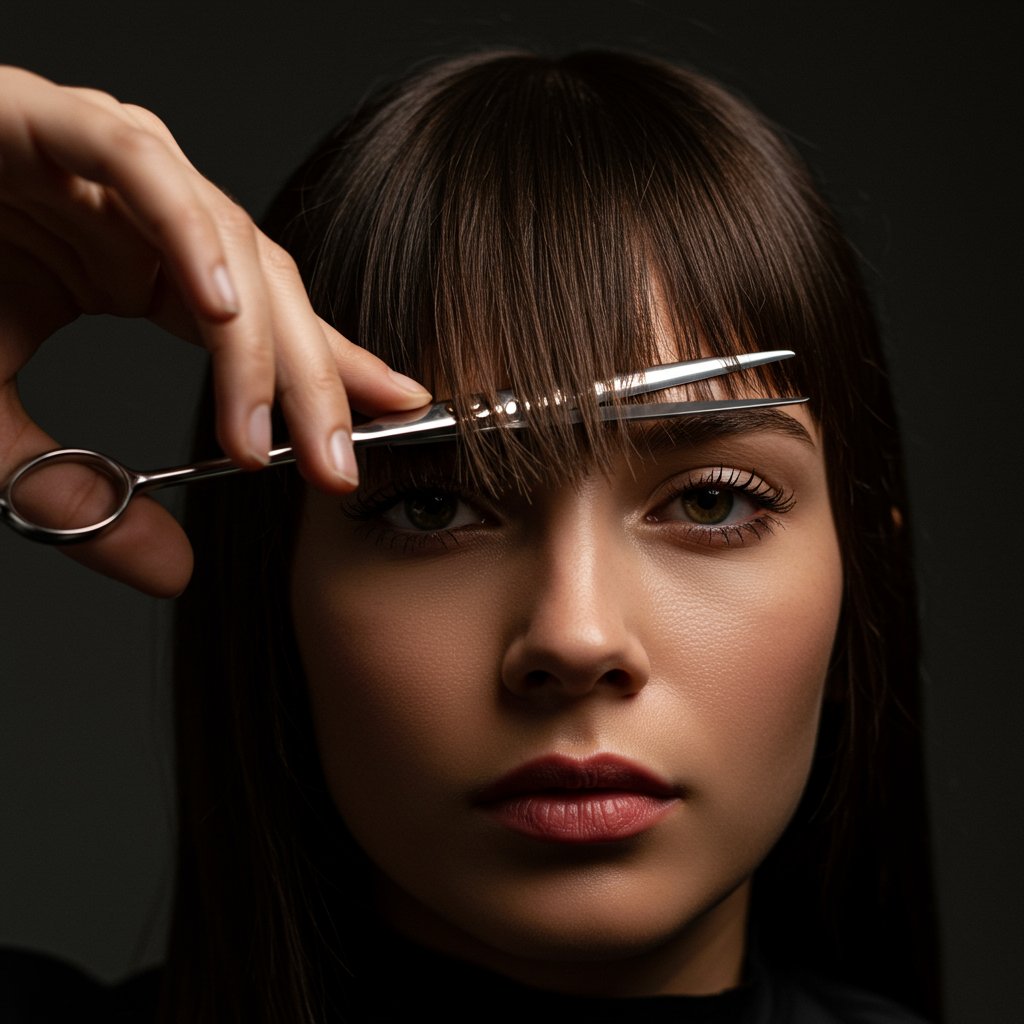
Style 3: DIY Bangs - The Curtain & Blunt Fringe
Cutting your own bangs is perhaps the most iconic—and riskiest—of all DIY haircuts. Done right, it can instantly refresh your look. Done wrong, it can lead to a few months of creative pinning and headband-wearing. The golden rule of cutting bangs is to always, always cut them dry. Hair shrinks as it dries, and cutting wet bangs is a recipe for a fringe that ends up much shorter than intended. Always start by cutting them longer than you think you want, as you can always trim more off, but you can't add it back on.
The Soft Curtain Bang
Curtain bangs are a more forgiving option for DIYers as they are designed to be soft and blended. Start by sectioning out a triangle of hair at the front. The peak of the triangle should be at your center part, about an inch or two back from your hairline. The sides of the triangle should extend down to the outer corners of your eyebrows. Clip the rest of your hair back securely. Split this triangle section into two halves down the center part. Take the first half, pull it diagonally across your face towards the opposite cheek, and make your first cut at around lip level. Use point cutting (snipping vertically into the ends) rather than a blunt cut to create a soft, feathered edge. Repeat on the other side, ensuring the length is symmetrical. The goal is to have the bangs be shorter in the middle and gradually get longer as they sweep to the sides.The Classic Blunt Fringe
For a straight-across blunt fringe, the setup is similar. Create your triangle section, but this time, comb it straight down over your forehead without any part. Hold the section between your index and middle fingers, pulling it taut. Do not pull it down too tightly, or the bangs will spring up and be too short. Decide on your desired length—usually just at or slightly below the eyebrows. Make your first cut in the center, cutting a small section straight across. This is your guide. Then, working from the center outwards to one side, continue the cut. Repeat on the other side, constantly checking in the mirror to ensure your line is perfectly horizontal. To avoid a severe, blocky look, you can do very subtle point cutting into the ends to soften the line ever so slightly.Common DIY Haircut Mistakes and How to Avoid Them
Even with the best intentions, several common pitfalls can turn a DIY haircut into a regrettable experience. Foreknowledge of these mistakes is your best defense against them. The most frequent error is simply cutting off too much hair at once. The excitement or nervousness of the moment can lead to a single, drastic snip that you can't undo. The solution is simple: always cut less than you think you need. Aim to trim a quarter-inch at a time. You can always go back and cut more, but you can't reverse a cut that's too short. This incremental approach gives you control and room for adjustments.

Another major mistake is using the wrong tools, as we've discussed, but a related error is failing to create a proper cutting environment. A dimly lit bathroom with a single, foggy mirror is not conducive to precision work. Ensure you have bright, even lighting, preferably from multiple sources, to eliminate shadows. Likewise, a clean and organized workspace with all your tools within reach will prevent clumsy mistakes. Trying to perform a cut while juggling tools or being unable to see clearly is a recipe for uneven results and potential injury.
Finally, a lack of methodical sectioning is a guaranteed path to a choppy, uneven haircut. Many beginners simply grab chunks of hair and start snipping, which makes it impossible to track progress or ensure symmetry. Following the professional practice of clean, careful sectioning is non-negotiable. It may feel tedious, but it's the only way to maintain control and ensure that the hair on the left side of your head matches the hair on the right. Patience is your greatest ally. Rushing the process will almost certainly lead to errors that are difficult to fix.
Pro Tips for a Salon-Worthy Finish at Home
Once the primary cutting is done, a few finishing techniques can elevate your DIY haircut from 'good enough' to 'surprisingly professional.' These small details are what stylists use to add movement, texture, and a polished look to a haircut. One of the most effective techniques is point cutting, which we mentioned for bobs and bangs. Instead of cutting bluntly across the hair, you hold the shears vertically (pointing up into the hair) and make small snips into the ends. This technique breaks up hard lines, removes bulk, and creates a softer, more textured finish that looks less like a home job.
Another technique, for those feeling a bit more adventurous, is 'slide cutting' or 'slicing' to create subtle face-framing pieces. This should be done with extreme caution. Take a small vertical section of hair around your face. Open your shears slightly and, starting at about cheek level, slide the shears down the hair shaft towards the ends. The key is to apply very light pressure and keep the shears moving. This removes weight and creates a soft, blended layer. Practice this on a very small, inconspicuous piece of hair first to get a feel for the pressure required.
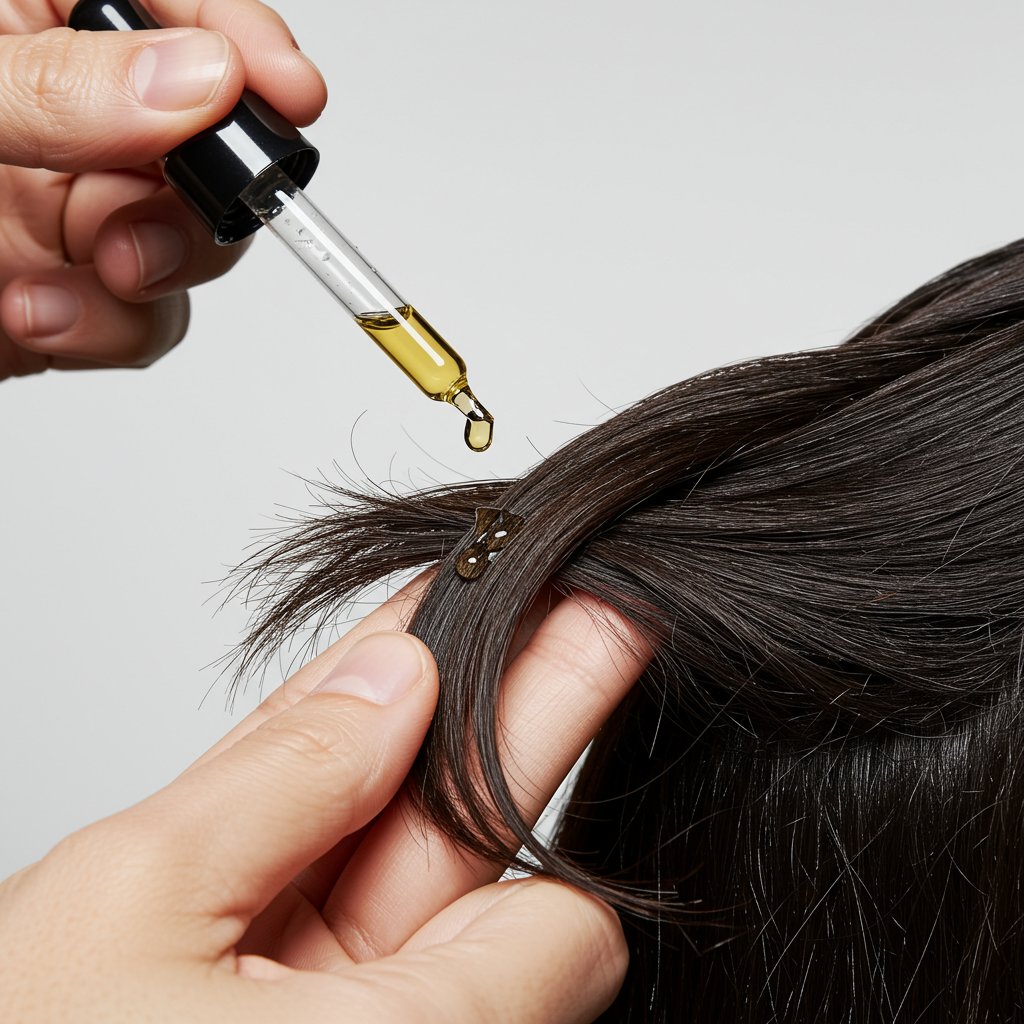
Don't underestimate the power of styling. After your cut, blow-drying your hair with a round brush can help smooth the cuticle and shape the ends, revealing the true form of your new cut. A flat iron can further define blunt lines on a bob, while a curling wand can enhance the movement of curtain bangs or soft trims. A small amount of texturizing spray or smoothing serum can be the final touch that tames flyaways and gives your hair a healthy, polished shine. Proper styling can often hide minor imperfections and make your DIY haircut look intentional and well-executed.
The Ultimate FAQ on At-Home Haircuts
1. What's the best hair type for a DIY haircut?
Straight (Type 1) and wavy (Type 2) hair are generally the most forgiving for at-home haircuts. The strands are more uniform, making it easier to see and create even lines. Very curly and coily hair (Types 3-4) has complex patterns and shrinkage, making it extremely difficult to achieve an even cut without professional training in cutting these specific hair types. It's often recommended to cut curly hair dry, curl by curl, a technique that requires significant expertise.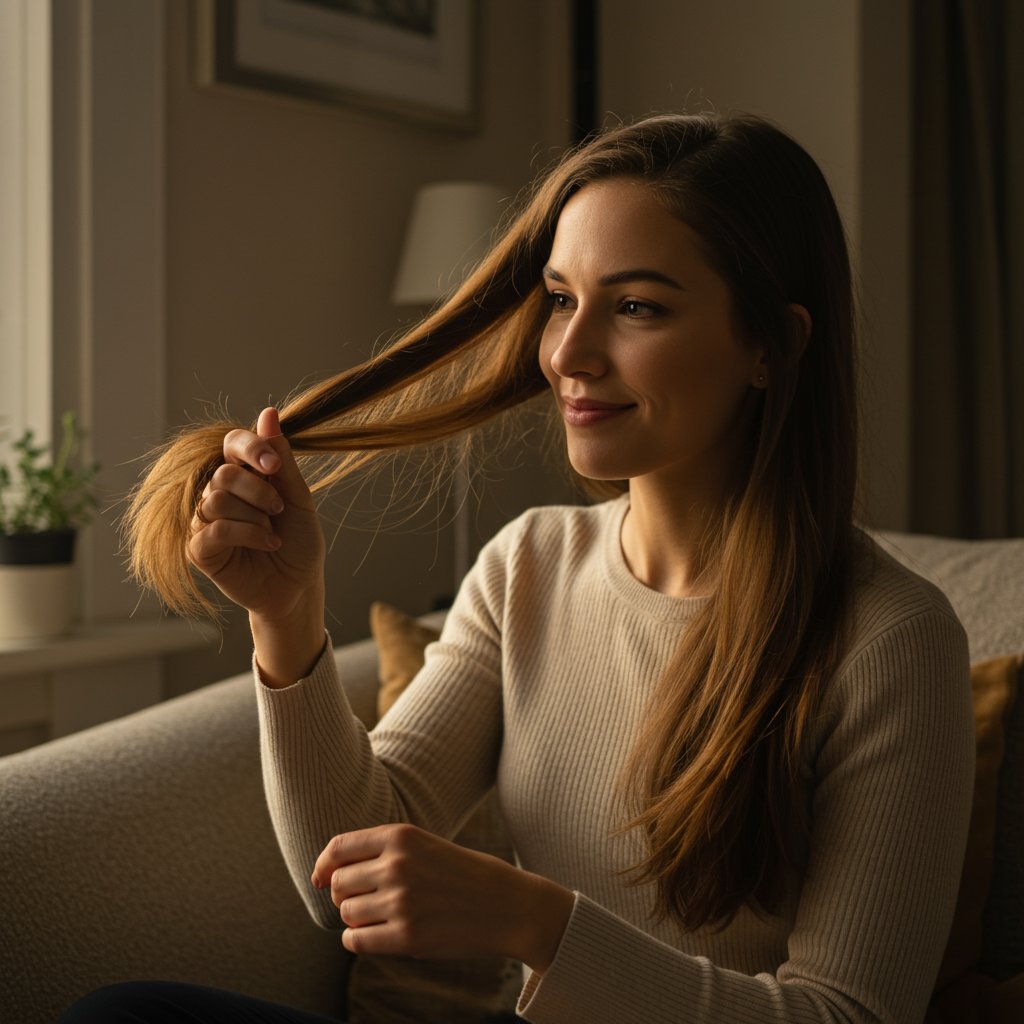
2. How often should I trim my own hair?
For a simple dusting to remove split ends, you can do it as needed, typically every 8-12 weeks. This helps maintain the health of your hair and prevents splits from traveling up the hair shaft. If you're maintaining a specific style like a bob or bangs, you may need to do small touch-ups every 4-6 weeks as the hair grows out.3. Can I cut my own layers?
The short answer is: it's not recommended. Cutting layers involves complex angles, elevation, and an understanding of how hair will fall from all over the head. While some tutorials show methods like the 'ponytail on top of the head' cut, the results are often unpredictable and can lead to choppy, disconnected layers that are very difficult to fix. This is a job best left for a professional stylist.4. What is the single biggest mistake to avoid?
Cutting your guideline. Your first snip on your first section of hair creates the guideline that every other section will be matched to. If you accidentally cut subsequent sections shorter than that initial guide, you lose your reference point and will likely end up with a crooked, uneven haircut. Protect your guideline at all costs.5. How do I fix a DIY haircut that has gone wrong?
First, stop cutting. Don't try to fix it in a panic, as this often makes it worse. Step away, take a deep breath, and assess the damage. If it's a minor issue, like a slightly uneven bang, you might be able to carefully correct it. However, for major mistakes like very crooked lines or unintentionally short layers, the best course of action is to book an appointment at a professional hair salon. An experienced stylist can often reshape a bad haircut into a new, shorter style that looks chic and intentional.Conclusion: Know Your Limits & When to Call a Professional
Embarking on a DIY haircut journey can be a rewarding and empowering experience. By arming yourself with the right tools, proper techniques, and a healthy dose of patience, you can successfully manage simple styles like split-end trims, one-length bobs, and even basic bangs from the comfort of your home. These maintenance cuts can keep your hair healthy and your style fresh between visits to the salon, saving you time and giving you a greater sense of connection to your own look. The key is to embrace the process, work methodically, and never rush.
However, it's equally important to recognize the artistry and technical skill of professional hairstylists. Complex cuts, color services, and significant style transformations require years of training and an expert eye. Your at-home trims should complement, not replace, the expertise of a professional. If you find yourself wanting a shag, a pixie cut, intricate layers, or a new hair color, booking an appointment is always the wisest choice. A great stylist can not only achieve your hair goals but also help you maintain your hair's health for the long term. So, enjoy your newfound trimming skills, but always value the irreplaceable craft of the professionals who dedicate their careers to the art of hair.


