Flat Iron Waves vs. Curling Wand Waves: The Ultimate Guide to Choosing Your Perfect Wave
The Great Wave Debate: Flat Iron vs. Curling Wand
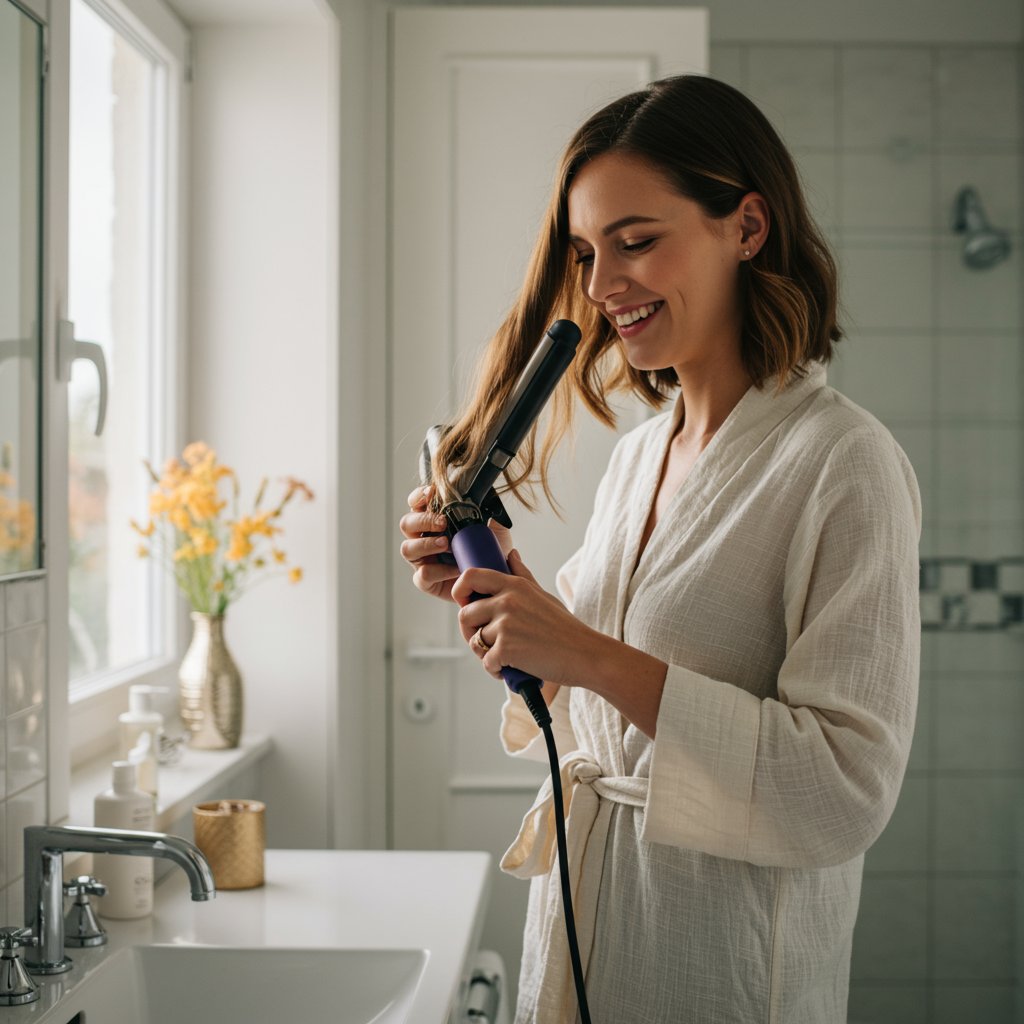
The quest for the perfect wave is a timeless hair goal. From the effortless, sun-kissed texture of beach waves to the polished, glamorous waves seen on the red carpet, achieving that ideal bend and movement is an art form. At the heart of this styling journey lies a fundamental question that divides hair enthusiasts and professionals alike: which tool reigns supreme? This is the ultimate showdown of flat iron waves vs. curling wand waves. While both tools use heat to shape the hair, the methods, techniques, and resulting aesthetics are surprisingly distinct. One creates an undone, edgy texture, while the other delivers polished, uniform curls.
Choosing the right tool isn't just about preference; it's about understanding your hair type, the specific look you want to achieve, and the techniques required to get there. Are you aiming for a relaxed, 'I woke up like this' vibe, or a more structured, voluminous style? This comprehensive guide will dissect every aspect of the flat iron waves vs. curling wand waves debate. We will explore the tools themselves, provide a deep dive into the styling techniques, compare the final looks, and offer advice tailored to different hair types and lengths. By the end, you'll have the expert knowledge to confidently select your weapon of choice and master the art of the perfect wave.
Understanding the Contenders: A Tale of Two Tools
Before you can master the techniques, it's crucial to understand the instruments. A flat iron and a curling wand may both be heat styling tools, but their design and function are fundamentally different, leading to their unique waving capabilities.
The Versatile Flat Iron (Straightener)
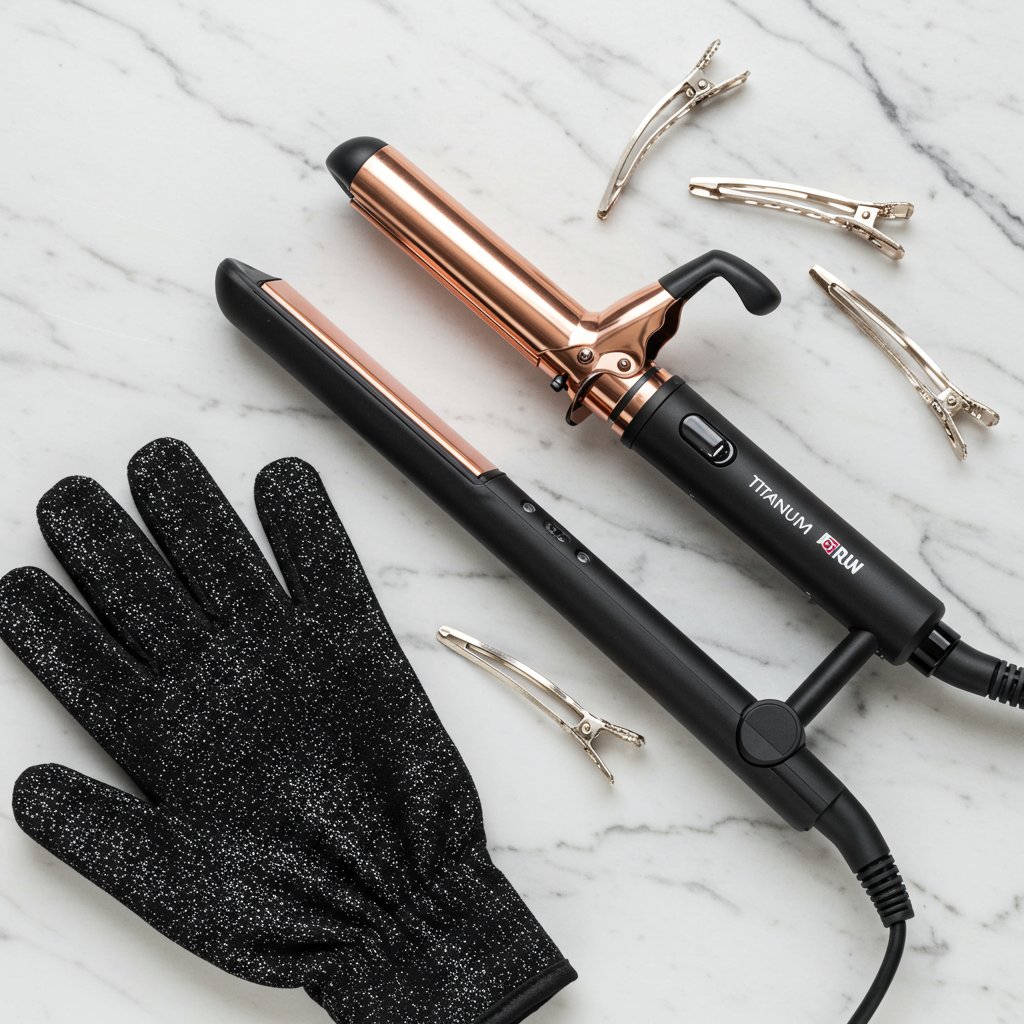
Originally designed for one purpose—to make hair pin-straight—the flat iron has evolved into one of the most versatile tools in any styling arsenal. It consists of two heated plates, typically made from ceramic, tourmaline, or titanium, that clamp down on a section of hair. Ceramic plates are known for their even heat distribution, making them a great choice for fine or damaged hair. Tourmaline plates emit negative ions to combat frizz and create a smoother finish. Titanium plates heat up incredibly fast and maintain a consistent high temperature, making them ideal for thick, coarse, or resistant hair. The magic of creating waves with a flat iron lies in its straight edges; by twisting and gliding the tool down the hair shaft, you can create sharp bends and a more angular, modern wave pattern.The Specialized Curling Wand
Unlike its multi-purpose counterpart, the curling wand is a specialist, designed explicitly for creating curls and waves. Its most defining feature is its clipless barrel, which can be either straight or conical (tapering from a wider base to a narrower tip). This clipless design is key to avoiding the dents or kinks that traditional curling irons can sometimes leave. By wrapping the hair around the heated barrel and holding it in place with your fingertips (using a heat-protectant glove, of course), you create a smoother, more natural-looking curl. Wands come in various barrel sizes, from small (for tight curls) to large (for loose, bouncy waves), and are also available in ceramic, tourmaline, and titanium to suit different hair needs. The round shape of the barrel naturally encourages a more rounded, spiral wave formation.Mastering the Technique: How Each Tool Creates Waves
The difference in the final look comes down to the application. The way you manipulate the hair and the tool dictates the shape, texture, and direction of the wave. Both methods require practice, but understanding the core mechanics is the first step.
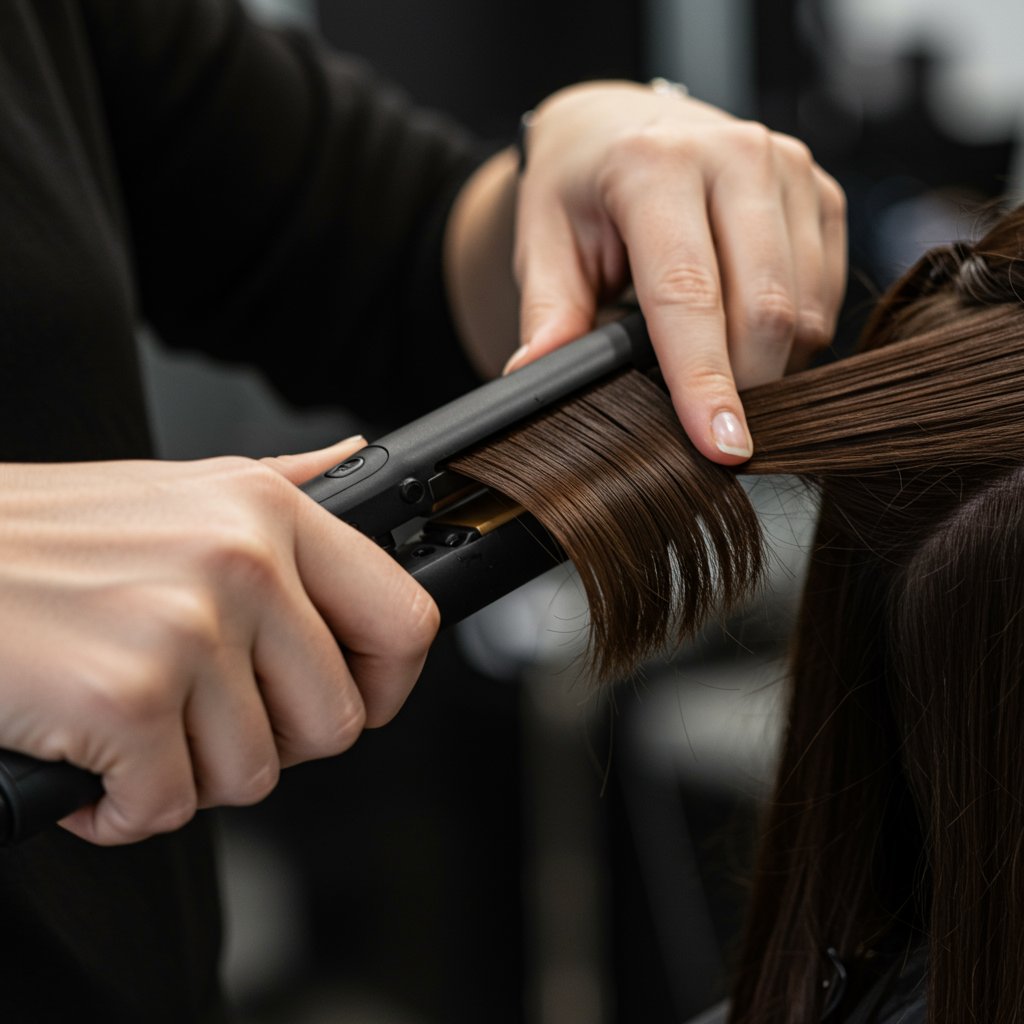
Creating Flat Iron Waves: The "Flick and Twist"
The technique for creating flat iron waves is all about controlled movement of the wrist. It's less about holding and more about gliding.- Prep and Section: Start with dry, heat-protected hair. Section your hair into manageable 1-2 inch pieces.
- Clamp and Turn: Clamp the flat iron on a section of hair a few inches from the root. As you begin to glide the iron down, immediately turn it 180 degrees (a half-turn), either away from or towards your face.
- Glide and Release: Continue to pull the flat iron smoothly down the length of the hair shaft while maintaining the twist. The speed of your glide affects the wave; a slower glide creates a more defined wave, while a faster glide results in a looser bend.
- The "S" Wave Variation: For a more modern, beachy "S" wave, clamp the hair and bend your wrist forward, glide down an inch, then bend your wrist backward and glide. Continue this alternating pattern down the hair section to create a flat, undulating wave rather than a spiral.
Crafting Curling Wand Waves: The "Wrap and Hold"
The curling wand technique is more straightforward and relies on wrapping the hair around a stationary heat source.- Prep and Section: Again, start with dry, heat-protected hair, sectioned off. Remember to wear your heat-protectant glove on the hand you'll be wrapping with.
- Point and Wrap: Hold the curling wand vertically, with the tip pointing down. Take a section of hair and wrap it flat around the barrel, starting from the base and working your way to the tip. Wrapping away from your face generally creates a more flattering, face-framing look.
- Hold and Release: Hold the hair for 5-10 seconds, depending on your hair's thickness and the heat setting. To release, simply let the end of the hair section slip from your fingers and allow the curl to drop from the wand.
- Cool Down: Let the curl cool completely in your palm for a few seconds (the 'cool shot' method) before letting it fall. This helps to set the shape and improve longevity.
The Aesthetic Showdown: Comparing the Final Wave Styles
This is the crux of the flat iron waves vs. curling wand waves debate. The tool and technique you choose directly translates into a specific aesthetic. Understanding this difference is key to achieving your desired result.

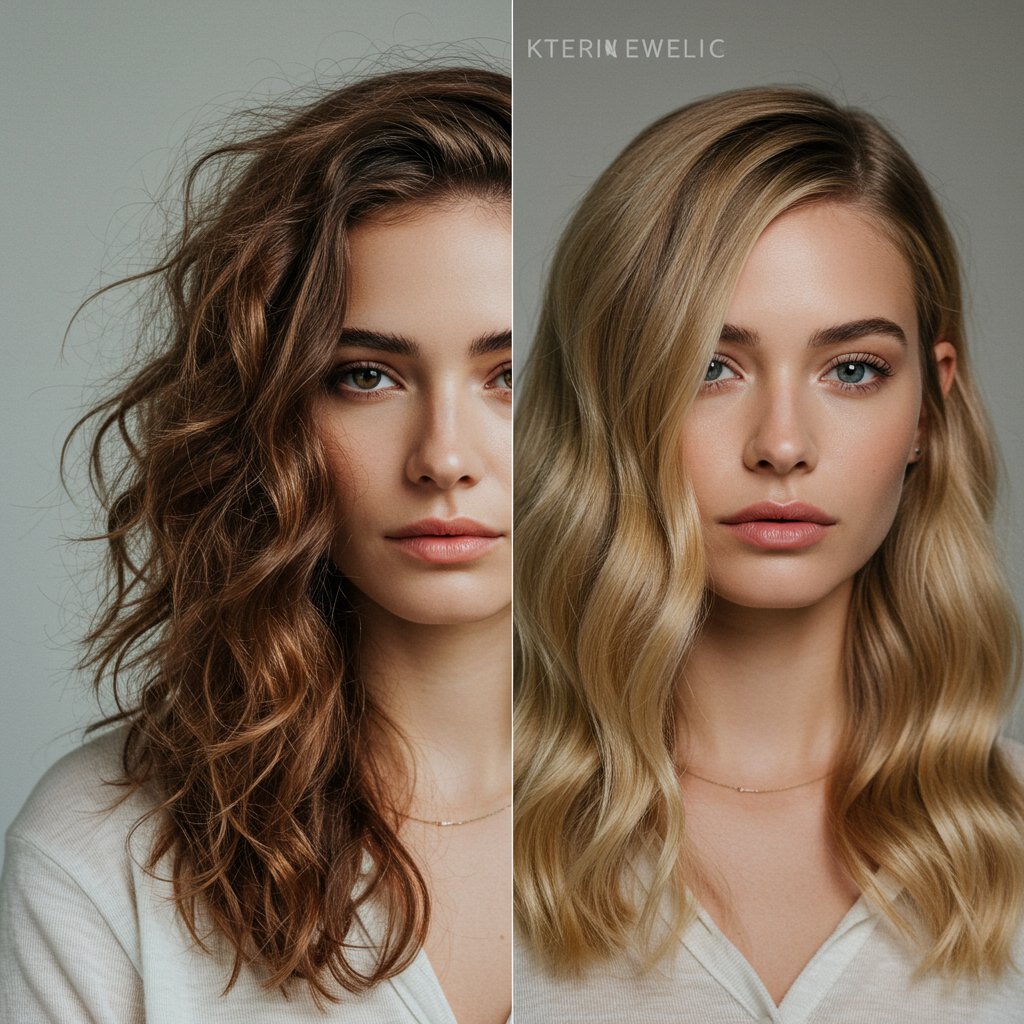
The Look of Flat Iron Waves: Effortless and Edgy
Flat iron waves are the epitome of 'undone' chic. Because the hair is being bent around a flat edge rather than a round barrel, the resulting wave is less uniform and has a more textured, piecey quality. Think of the cool-girl, second-day hair look. These waves are often flatter at the root and more defined through the mid-lengths and ends, which contributes to their natural appearance. They can range from subtle, barely-there bends to more pronounced 'S' waves. This style is perfect for those who want a modern, relaxed, and slightly edgy look that doesn't appear overly styled or 'perfect.' It's the go-to for achieving that coveted beachy texture.The Look of Curling Wand Waves: Polished and Voluminous
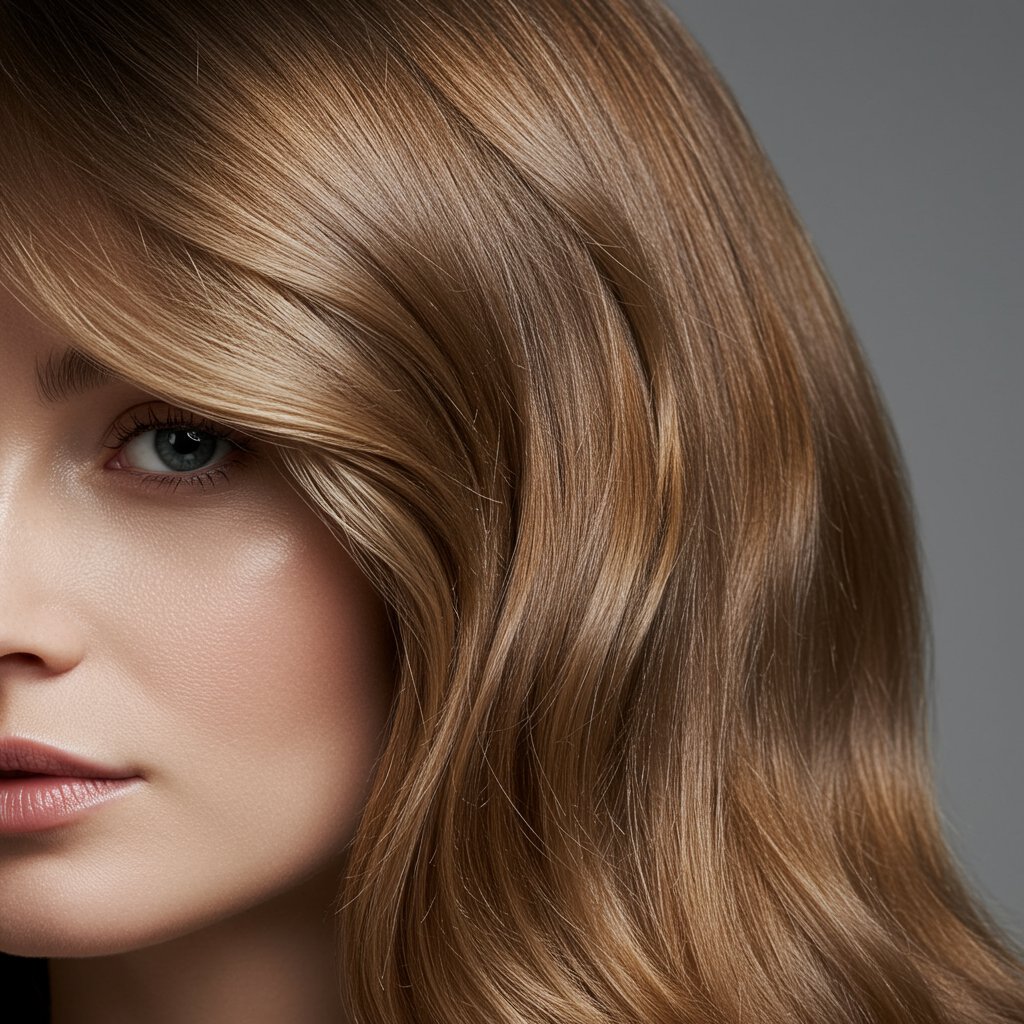
Curling wand waves, in contrast, tend to be more polished, bouncy, and uniform. The consistent circular shape of the barrel creates a rounder, more classic wave or curl pattern. Depending on the barrel size and how tightly you wrap the hair, you can achieve anything from glamorous, Hollywood-style waves to loose, romantic curls. The result is typically more voluminous and 'finished' than what a flat iron produces. This style is ideal for special occasions, formal events, or for anyone who prefers a more defined, elegant, and intentionally styled look. It delivers consistent, beautiful waves that have a soft and flowing quality.Which Tool is Right for Your Hair? A Hair Type Breakdown
The performance of each tool can vary significantly based on your hair's natural texture, density, and length. What works wonders for fine, straight hair might not be the best choice for thick, curly hair.
For Fine or Thin Hair
Fine hair can struggle to hold a curl and is prone to heat damage. A curling wand can be an excellent choice as it helps inject volume and creates a bouncier shape that can make hair appear fuller. Using a smaller barrel wand and pinning each curl to cool can maximize longevity. However, a flat iron with adjustable temperature settings used on low heat can create beautiful, soft bends without weighing the hair down. The key for fine hair is to work quickly and use a light-hold finishing spray to avoid stiffness.For Thick or Coarse Hair
Thick and coarse hair types often require higher, more consistent heat to manipulate their shape. A high-quality titanium flat iron is often the hero here. Its ability to maintain a steady, high temperature allows it to effectively create a wave that lasts. The gliding motion can also help to smooth the hair cuticle, reducing frizz. While a curling wand can also work, it may require holding the hair on the barrel for longer, increasing the risk of heat damage. A titanium wand is the best choice for this hair type.For Short, Medium, and Long Hair
For short hair (like a bob or lob), a 1-inch flat iron is incredibly effective for creating subtle bends and texture without losing length. A large curling wand can be too cumbersome. For medium-length hair, both tools work beautifully, and the choice comes down to the desired style. For very long hair, a curling wand with a long barrel can be more efficient, allowing you to wrap the entire length of the hair section in one go. Using a flat iron on long hair can be more time-consuming but can create a wonderfully consistent, mermaid-like wave pattern.Beyond the Waves: Speed, Ease, and Versatility Compared
When choosing a tool, practical considerations like how long it takes and how easy it is to use are just as important as the final result.
Speed and Efficiency
For a full head of hair, the curling wand is often the faster option. The 'wrap, hold, release' motion is rhythmic and quick once you get the hang of it. You can typically work with slightly larger sections compared to a flat iron. Creating flat iron waves, especially the precise 'S' wave pattern, can be more methodical and time-consuming as it requires careful wrist manipulation for each small section.The Learning Curve
For absolute beginners, the curling wand is generally considered easier to learn. The concept of wrapping hair around a hot stick is fairly intuitive. The biggest challenge is coordinating your hands and avoiding burns (hence the glove!). The flat iron wave technique has a steeper learning curve. Mastering the correct pressure, glide speed, and wrist flick takes practice, and it's common for beginners to end up with crimps or dents instead of smooth waves.Tool Versatility
This is where the flat iron truly shines. It is the ultimate multi-tasker. With one tool, you can straighten, create sharp bends, craft 'S' waves, or even produce bouncy curls. This makes it an excellent investment and a great travel companion. The curling wand is more of a specialist. Its primary function is to create curls and waves, and it does so exceptionally well, but it cannot straighten your hair. If you value having one tool that does it all, the flat iron is the clear winner.Protecting Your Strands: Heat Damage and Best Practices
No discussion about heat styling is complete without addressing hair health. Both tools can cause damage if used improperly, but understanding the risks can help you protect your hair.
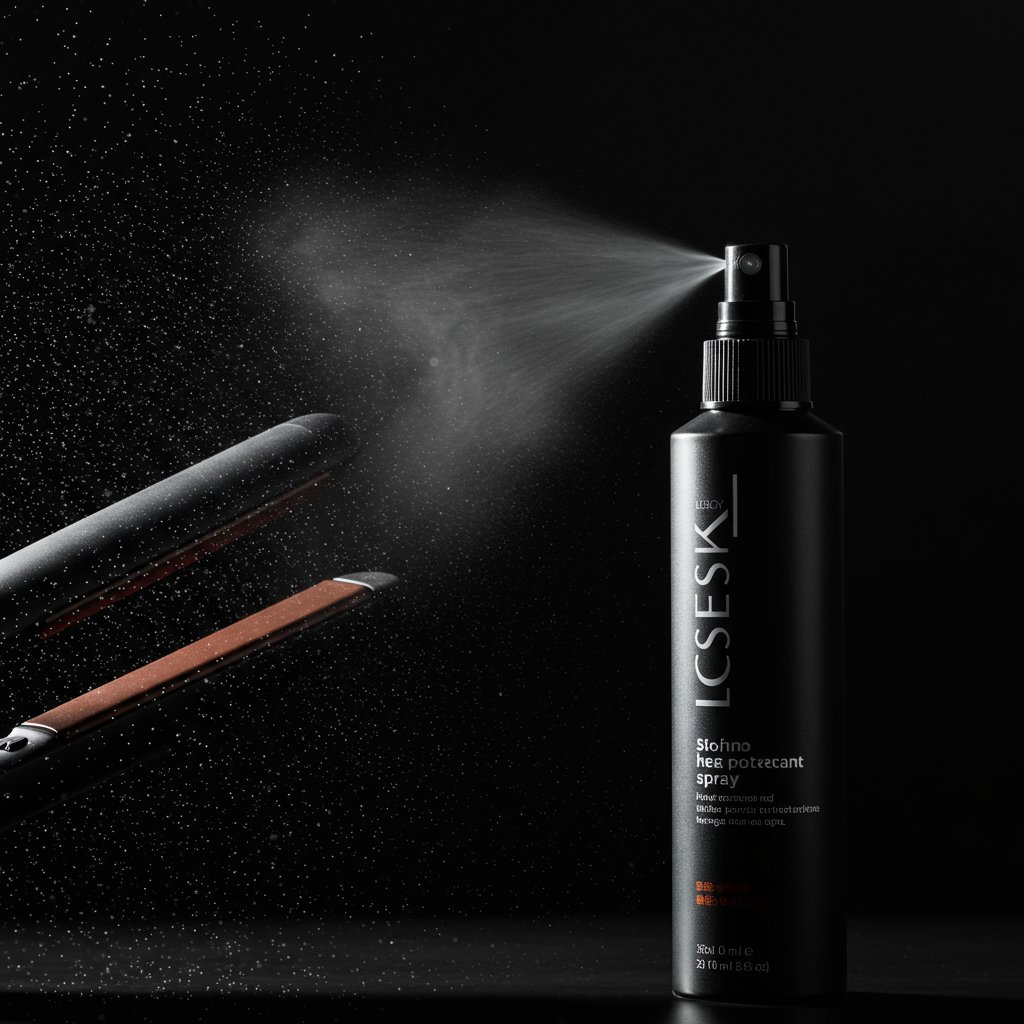
Always Use a Heat Protectant
A non-negotiable rule for any heat styling is to apply a quality heat protectant spray or cream to dry hair before you begin. This creates a barrier between your hair cuticle and the high temperatures, minimizing moisture loss and reducing the risk of breakage and split ends. Think of it as sunscreen for your hair.Temperature Matters
More heat is not always better. The ideal temperature depends on your hair type. Fine, color-treated, or damaged hair should stay in the lower range (around 300-350°F or 150-175°C). Normal to thick hair can handle temperatures in the medium to high range (350-450°F or 175-230°C). Always start low and only increase the heat if you're not getting the desired results. Quality tools with precise, digital temperature controls are a worthwhile investment in your hair's health.Technique to Minimize Damage
With a flat iron, the key is to keep the tool moving. Never pause or hold it in one spot for too long, as this concentrates heat and can easily scorch the hair. With a curling wand, avoid holding the hair on the barrel for more than 10 seconds. Listen to your hair; if you hear sizzling or smell burning, your heat is too high or your hair is not completely dry.Pro Tips for Flawless Waves, Every Time
Ready to put your knowledge into practice? Here are some professional tips to elevate your wave game, regardless of the tool you choose.
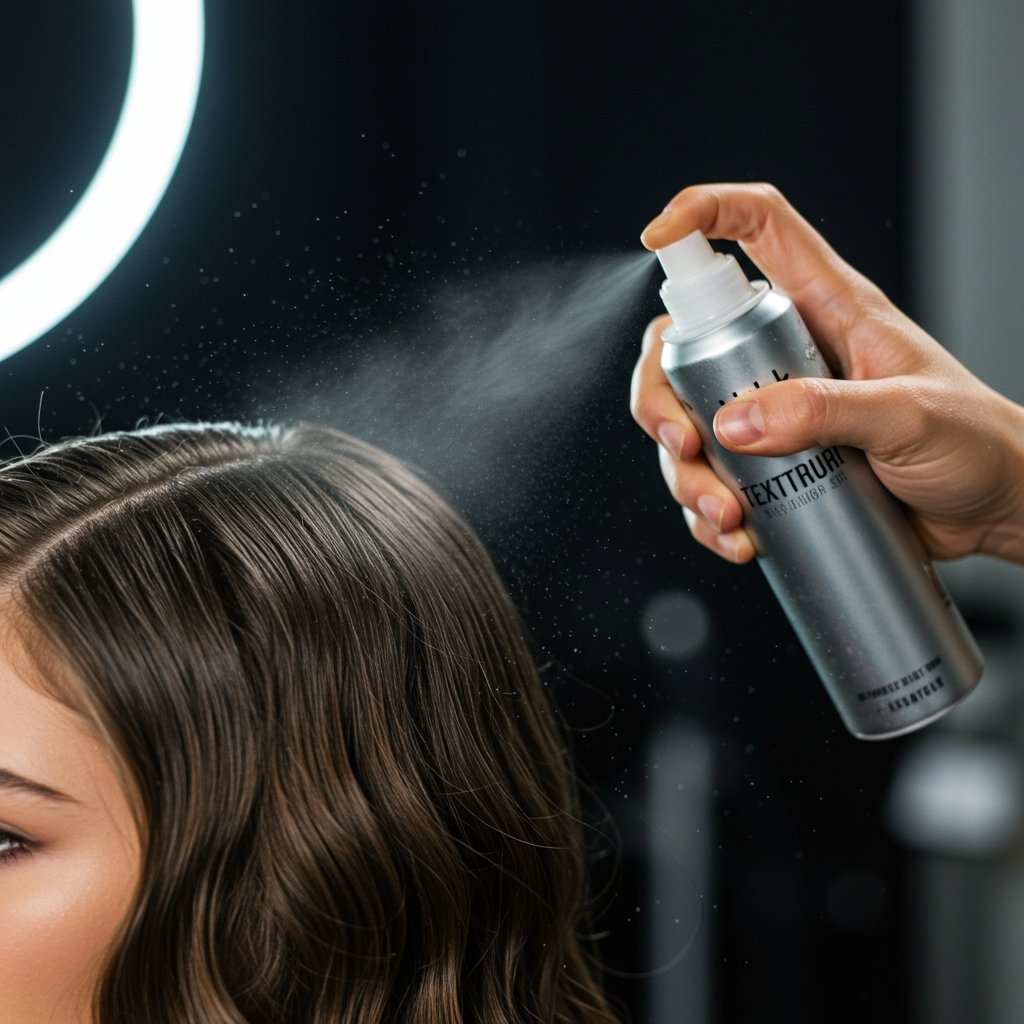
- Start with the Right Foundation: Waves hold best on day-old hair. If you must start with clean hair, add some grit with a texturizing spray or mousse first.
- Section, Section, Section: Don't try to style large chunks of hair. Working with clean, manageable 1-2 inch sections ensures even heat distribution and a more consistent result.
- Alternate Directions: For a more natural, less uniform look with either tool, alternate the direction of your waves (one section away from the face, the next towards the face).
- Leave the Ends Out: For a modern, beachy vibe, stop styling about an inch or two from the ends, leaving them relatively straight. This creates a more relaxed, effortless finish.
- Let Them Cool: This is a crucial step. Don't touch or brush your waves until they have completely cooled down. This allows the cuticle to close and sets the wave shape for maximum longevity.
- Break Them Up Gently: Once cool, use your fingers or a wide-tooth comb to gently break up the waves. A brush will create a softer, more uniform look, while fingers will maintain more of the piecey texture.
- Finish with the Right Product: A light-hold hairspray will provide memory without stiffness. A texture spray will add grit and volume. A shine spray can add a glossy, polished finish.
Frequently Asked Questions: Flat Iron Waves vs. Curling Wand Waves
Q1: Can I get beach waves with a curling wand?
Absolutely! To get beach waves with a wand, use a larger barrel (1.25 to 1.5 inches), wrap the hair loosely, leave the last 1-2 inches of the ends straight, and alternate the wrapping direction. Once cooled, tousle with your fingers and finish with a sea salt or texture spray.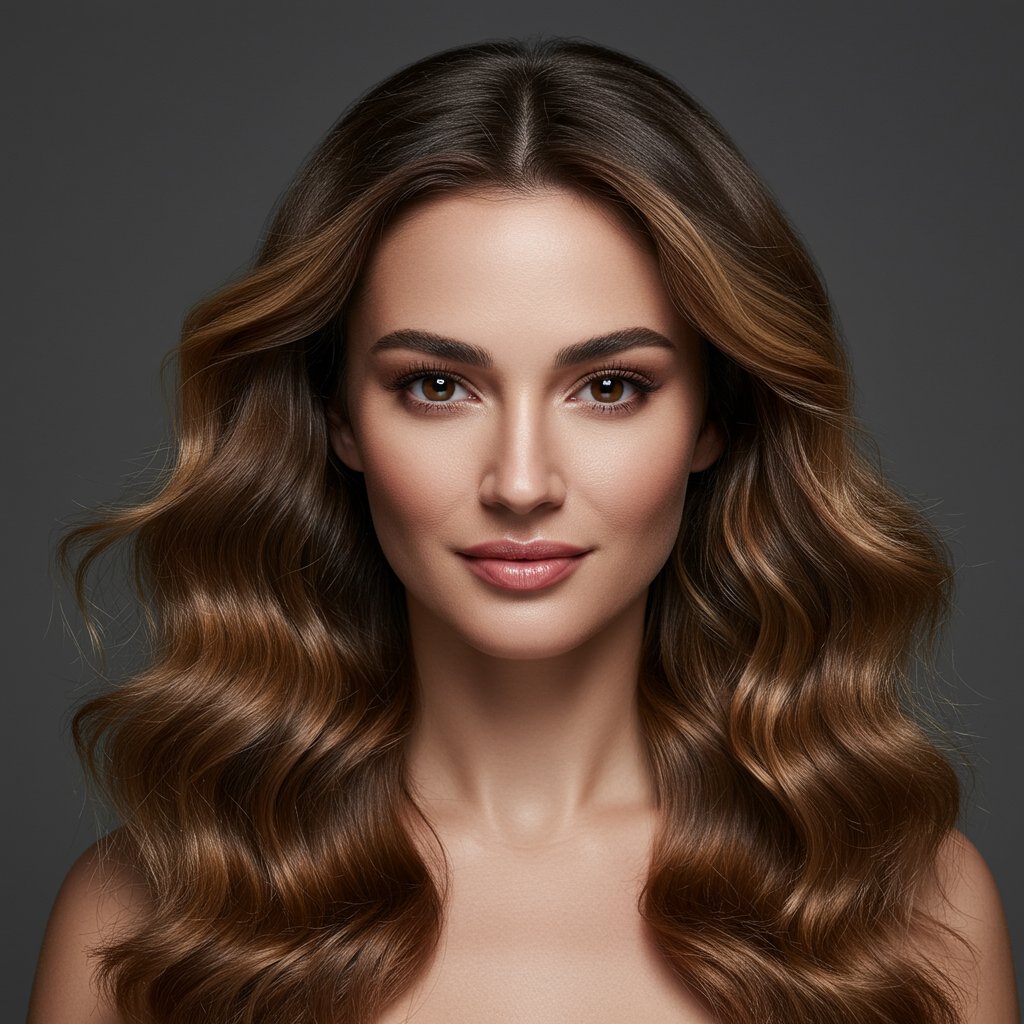
Q2: Which wave style lasts longer?
Longevity often depends more on your hair type, the prep products used, and the heat setting than the tool itself. However, because curling wand waves are often more structured and curled, they may appear to 'last' longer as they slowly fall into a looser wave. Flat iron waves start with a looser structure, so their evolution might be less dramatic.Q3: What's the best barrel size for a curling wand?
A 1.25-inch barrel is widely considered the most versatile size, creating everything from defined waves to loose curls on most hair lengths. A 1-inch barrel is great for tighter waves or shorter hair, while a 1.5-inch to 2-inch barrel is best for very loose, bouncy waves on long hair.Q4: What's the best plate width for a flat iron for creating waves?
A 1-inch plate width is the most versatile and easiest to maneuver for creating waves on most hair types and lengths. Wider plates (1.5 inches or more) are great for straightening thick, long hair quickly but can be clunky and difficult to twist for waving.Q5: Why are my flat iron waves looking crimped instead of wavy?
This usually happens for two reasons: you're applying too much pressure, or you're stopping the gliding motion. The key is a fluid, continuous glide from top to bottom with even, firm (but not crushing) tension. Also, ensure your wrist turn is a smooth rotation, not a sharp, angular bend.Q6: Do I need to use different products for each method?
While a heat protectant is essential for both, you might tailor your finishing products. For the polished look of curling wand waves, a light-hold hairspray or shine serum works well. For the textured, undone look of flat iron waves, a texturizing spray, dry shampoo, or sea salt spray is the perfect finishing touch to enhance the grit and piecey-ness.The Final Verdict: Which Wave is Your Winner?
In the great debate of flat iron waves vs. curling wand waves, there is no single champion. The 'best' tool is entirely subjective and depends on your personal style, hair type, and skill level. The winner is the tool that empowers you to create the look you love with confidence.
Choose the Flat Iron if: You crave versatility, love a modern and textured 'undone' look, and have mastered the wrist-flick technique. It's the perfect choice for creating edgy S-waves, subtle bends, and achieving that effortlessly cool vibe.
Choose the Curling Wand if: You prefer a more polished, voluminous, and classic wave. It's ideal for beginners due to its intuitive technique and is the go-to for creating everything from romantic curls to glamorous, bouncy waves with impressive staying power.
Ultimately, the best approach is to experiment. Both tools have a valuable place in a complete styling toolkit. Don't be afraid to try both methods to see which you enjoy using more and which result best reflects your personal style. For personalized advice or a professional styling session to see what works best for your hair, consulting an experienced stylist at a professional hair salon is always an excellent choice. They can provide a hands-on demonstration and recommend the perfect technique to help you achieve the flawless waves of your dreams.


