How to Create Flawless Curls with a Straightener | Your Ultimate Guide
The Surprising Secret to Perfect Curls: Your Straightener
It might sound counterintuitive, but one of the most versatile tools in your hair styling arsenal for achieving beautiful, lasting curls is, in fact, your flat iron. While curling wands and irons have their place, learning how to create flawless curls with a straightener unlocks a world of texture and style possibilities that a traditional curling iron can't always replicate. From loose, beachy waves to tight, bouncy ringlets, the modern flat iron offers unparalleled control and a unique finish that looks effortlessly chic.
This comprehensive guide is designed to demystify the process, transforming you from a novice to a pro. We will break down every essential step, from selecting the right tool and prepping your hair for heat, to mastering multiple curling techniques and ensuring your style lasts all day. Forget the frustration of kinks, dents, and curls that fall flat within minutes. By understanding the fundamentals of heat, tension, and motion, you can achieve salon-quality results right at home. Prepare to see your trusty straightener in a whole new light.
Choosing the Right Straightener for Curling
Not all flat irons are created equal, especially when it comes to curling. The right tool is the foundation of a great style and can make the difference between sleek, uniform curls and a frustrating, uneven mess. When selecting a straightener specifically for curling, there are several key features to consider that will dramatically improve your results and protect your hair's health.
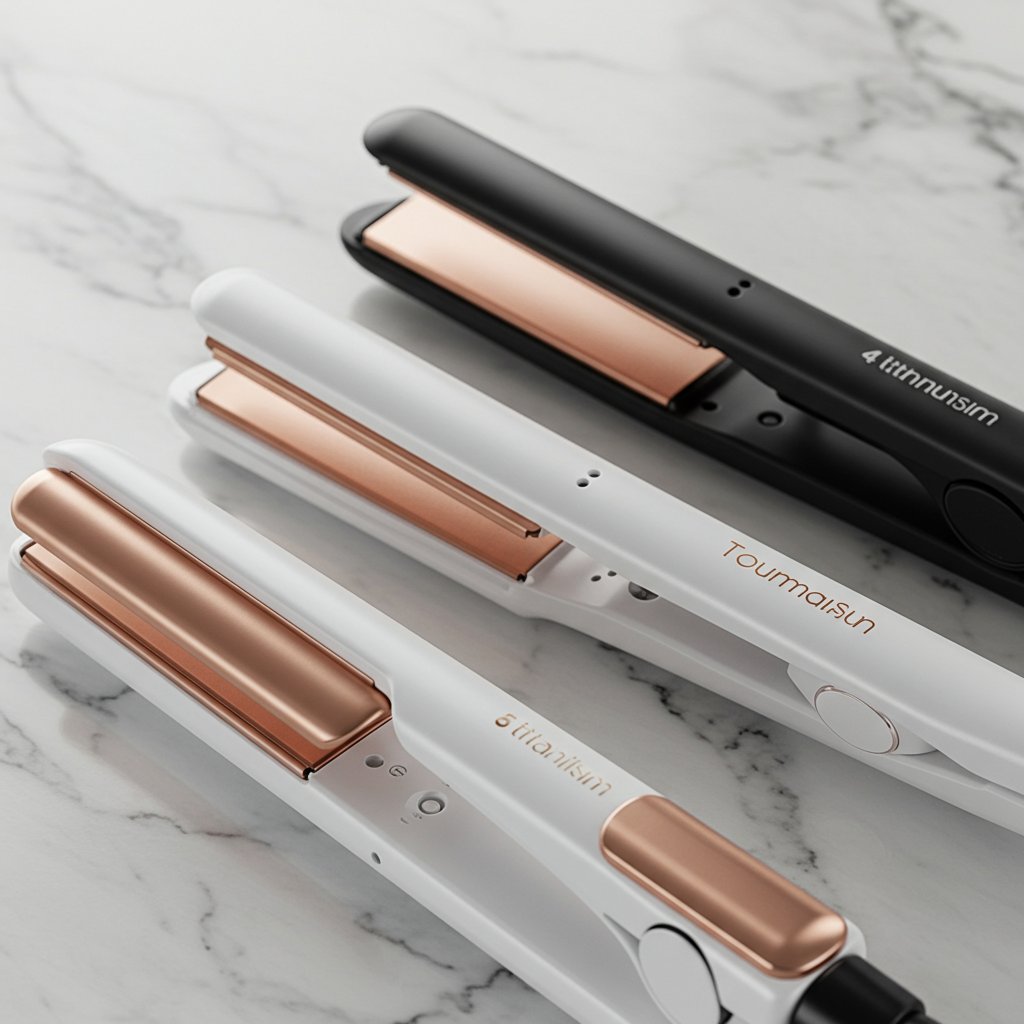
First, focus on the plates. Look for a straightener with plates that are between 1 and 1.5 inches wide. This size is the sweet spot—wide enough to handle a good section of hair but narrow enough to create a variety of curl sizes without being cumbersome. More importantly, the edges of the straightener's housing should be rounded. Sharp, squared-off edges are notorious for creating unsightly creases and dents in your curls. A smooth, beveled edge allows hair to glide effortlessly as you twist and pull, resulting in a seamless, professional-looking curl.
Plate material and temperature control are also paramount. Ceramic plates are excellent for even heat distribution and are gentle on most hair types. Titanium plates heat up faster and hold a higher temperature, making them ideal for coarse or thick hair, but they require a quicker hand to avoid damage. Tourmaline plates are a fantastic option as they emit negative ions to combat frizz and create a smoother, shinier finish. Regardless of the material, always choose a flat iron with adjustable temperature settings. Fine, color-treated, or damaged hair requires a lower temperature (around 300-350°F), while thicker, coarser hair may need a higher setting (350-400°F). Starting low and gradually increasing the heat is the safest approach to find the perfect temperature for your hair type without causing unnecessary damage.
Prepping Your Hair for Flawless, Heat-Styled Curls
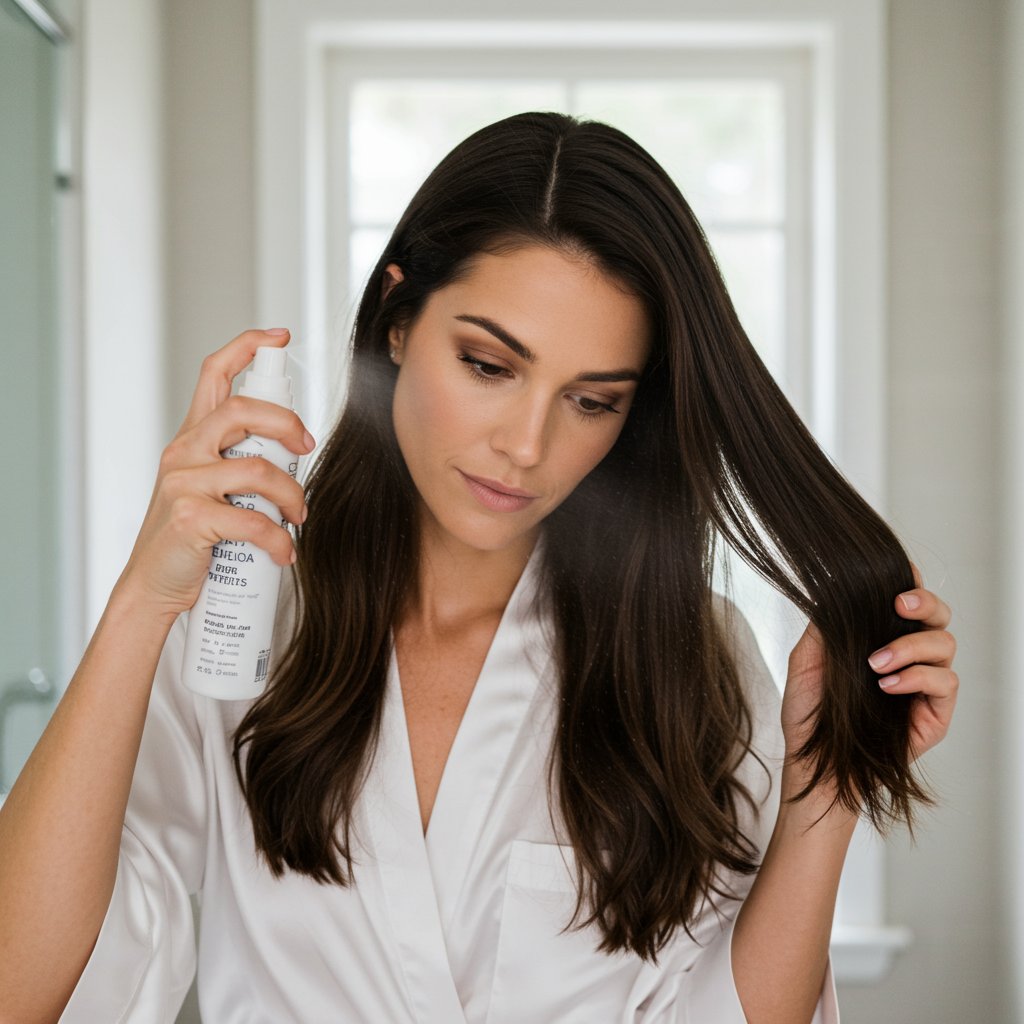
Proper preparation is a non-negotiable step to achieve beautiful, long-lasting curls and, more importantly, to protect your hair from heat damage. Starting with the right foundation will ensure your style not only looks better but also holds longer. The first rule of heat styling is to always work with completely dry hair. Using a hot tool on damp or wet hair can boil the water within the hair cuticle, causing severe, irreversible damage that leads to breakage and frizz. Whether you air-dry or blow-dry, ensure every strand is 100% dry before a straightener comes near it.
Before you apply any heat, the most crucial product to use is a high-quality heat protectant spray or serum. This creates a protective barrier between your hair and the hot plates of the straightener, minimizing moisture loss and reducing the risk of damage. Distribute the product evenly from roots to ends, combing it through to ensure every strand is coated. For added grip and texture, especially on fine or silky hair that struggles to hold a curl, you can apply a light mist of texturizing spray or a small amount of mousse before drying. This gives the hair a bit of 'memory' and grit, helping the curls to form and stay in place.
Once your hair is dry and protected, the final prep step is sectioning. Trying to curl large, unmanageable chunks of hair is a recipe for uneven results and frustration. Divide your hair into at least four manageable sections—two in the front and two in the back—using clips to keep them separate. If you have very thick hair, you may need six to eight sections. Working with smaller, 1-to-2-inch subsections from within these larger quadrants ensures that heat is distributed evenly and gives you much greater control over the final look of each curl.
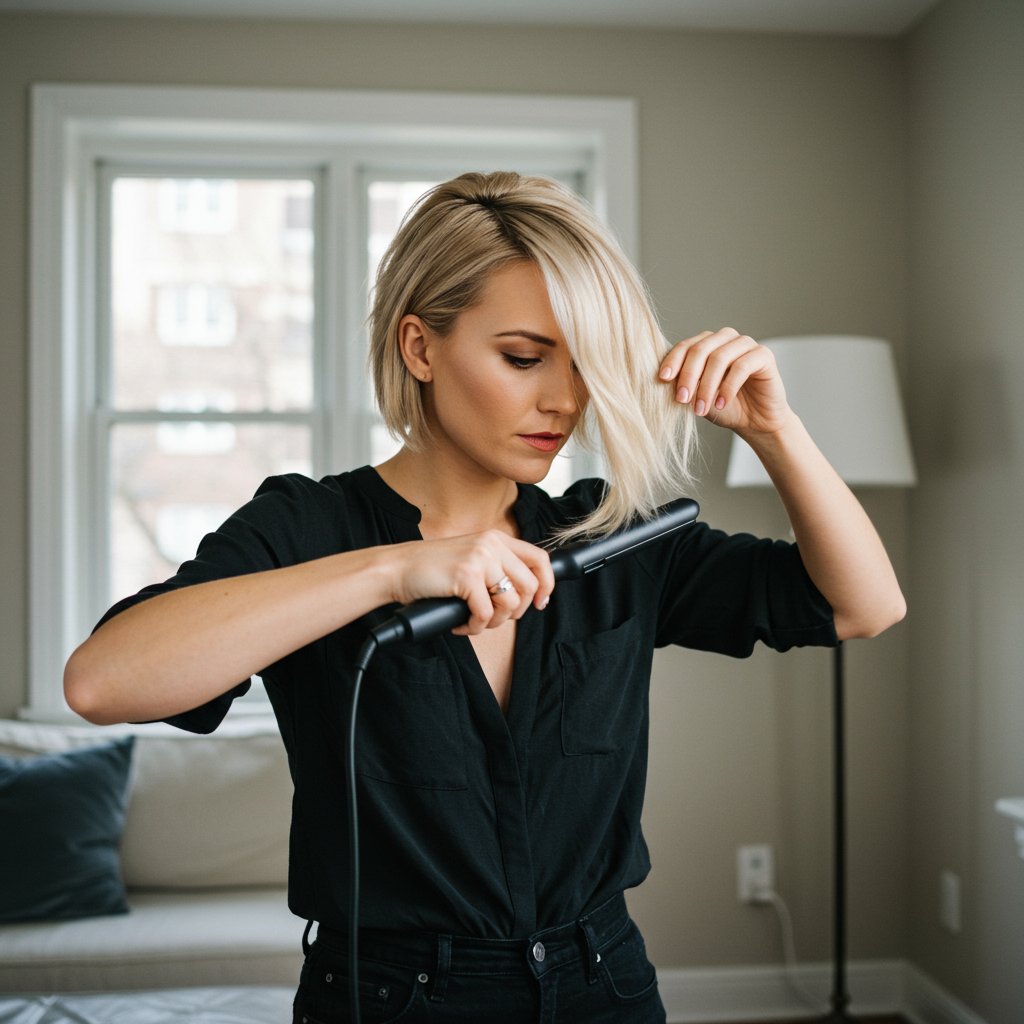
The Foundational Technique: Your First Straightener Curl
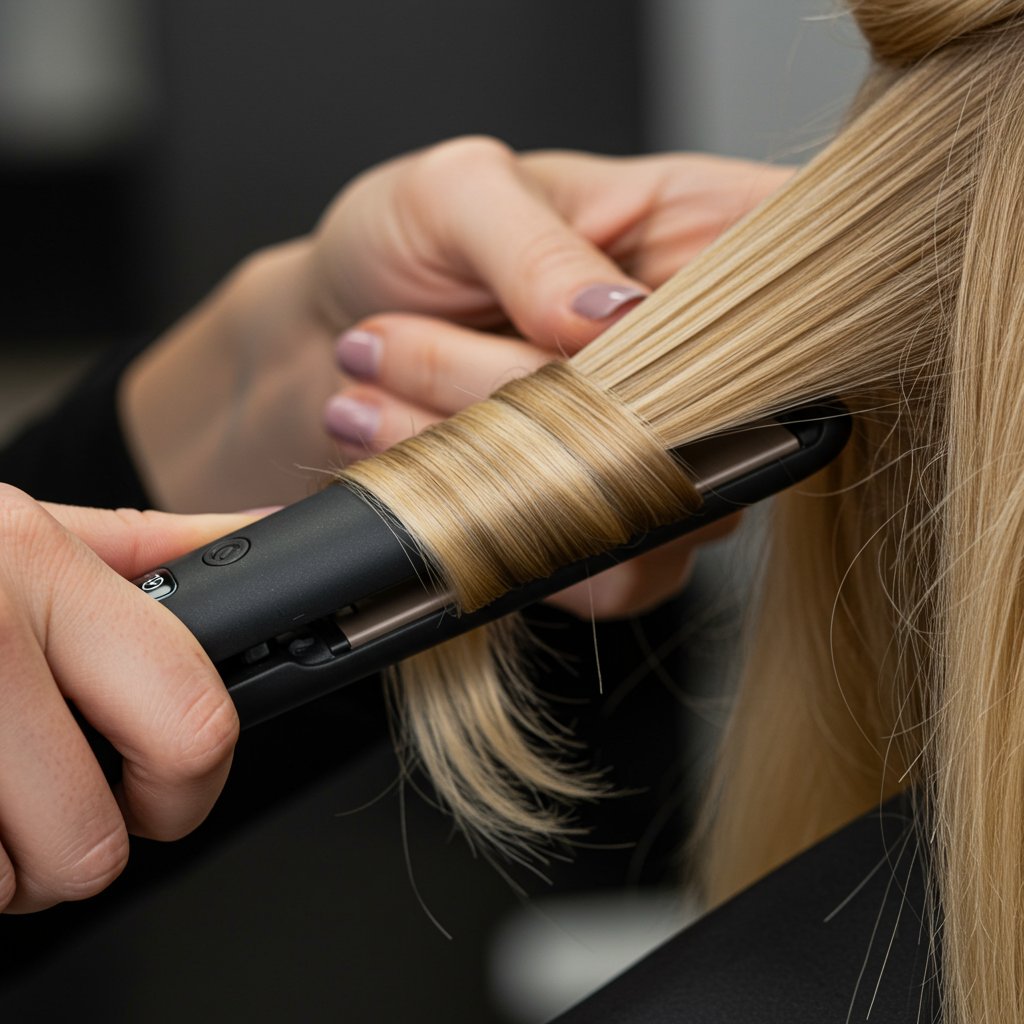
Mastering the basic technique is the key that unlocks all other styles. It might feel awkward at first, but with a little practice, the motion will become second nature. The core principle involves creating a bend in the hair and then gliding the straightener down the hair shaft to set that bend into a curl. It's a combination of clamping, twisting, and pulling in one fluid movement.
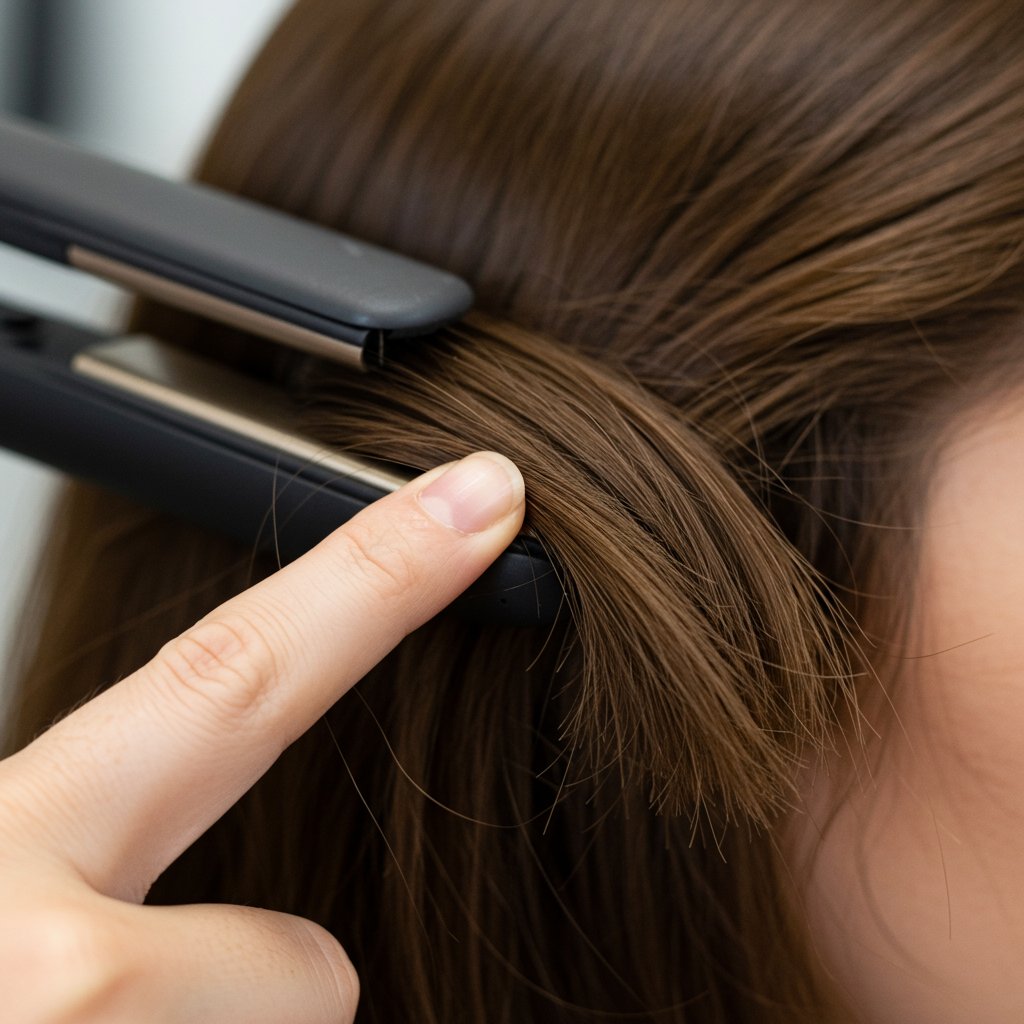
Start with a 1-inch section of hair. The smaller the section, the tighter the curl will be. Hold the section taut and away from your head. Position the straightener a few inches down from the root and clamp down gently. The amount of pressure is important; too tight, and you'll create a clamp mark and prevent the hair from gliding smoothly. Too loose, and the hair will slip out without forming a curl. As soon as you clamp, immediately begin the rotation. For a classic curl, rotate the straightener a full 180 degrees (a half-turn) away from your face.
Once you've made the half-turn, the most critical part is the glide. Without stopping, begin to pull the straightener smoothly and steadily down the length of the hair section all the way to the ends. The speed of your glide determines the tightness of the curl. A slower, more deliberate pull will result in a tighter, bouncier curl. A faster glide will produce a looser, more relaxed wave. Maintain consistent tension and rotation throughout the pull. As the hair is released from the plates, you'll see a perfect spiral. Let the curl cool completely in your hand or drop it to cool on its own before touching it further.
Mastering Different Curl Styles with Your Straightener
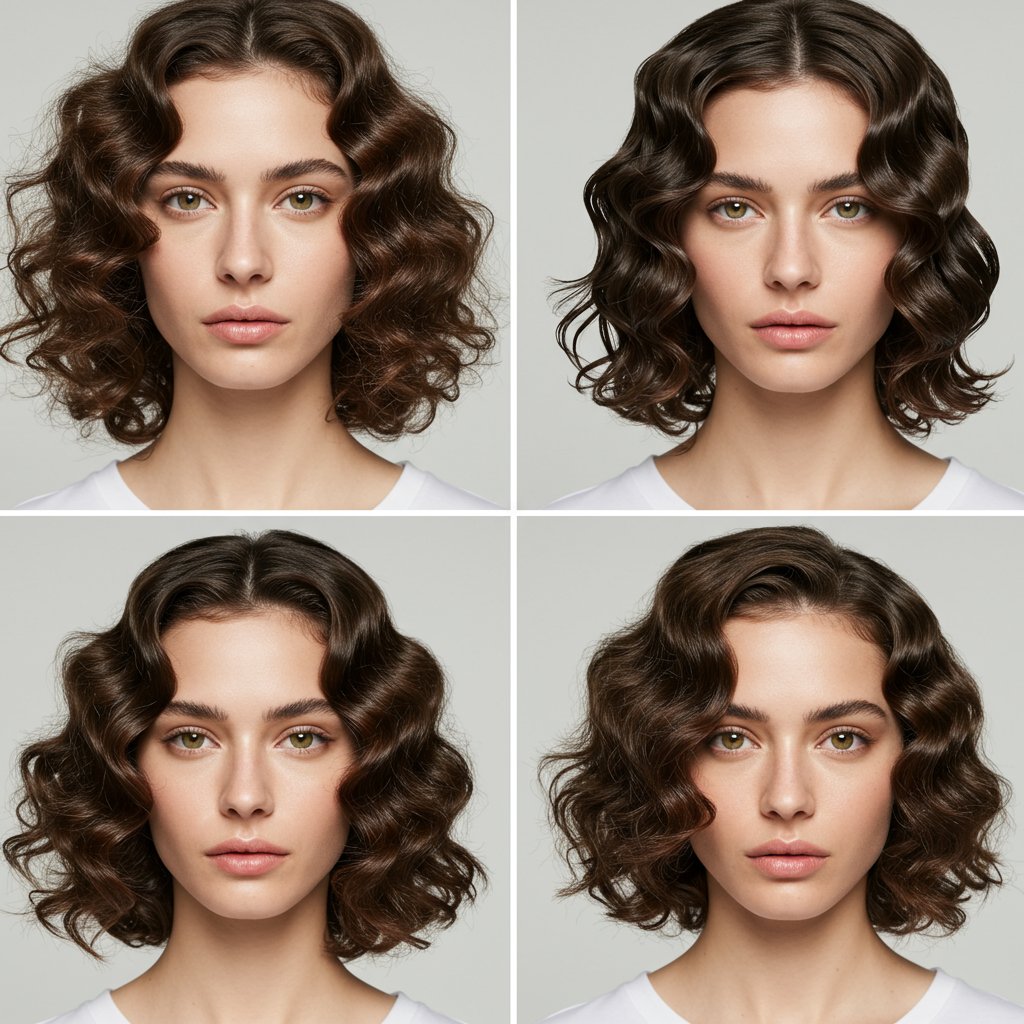
Once you've mastered the basic technique, you can easily adapt your method to create a wide variety of curl styles. The beauty of using a straightener is its versatility; slight changes in angle, speed, and motion can produce dramatically different results. Here’s how to create some of the most popular looks.
Effortless Beach Waves
For that perfectly undone, 'just-back-from-the-beach' look, the technique is less about perfect spirals and more about creating a gentle, textured bend. Start by clamping a section of hair mid-shaft. Instead of a full 180-degree rotation, only twist the straightener 90 degrees (a quarter-turn). Glide it down for an inch or two, then release. Move further down the same section, and this time, twist the straightener 90 degrees in the opposite direction. Continue this alternating pattern down the hair shaft, and be sure to leave the last one to two inches of the ends completely straight. This mimics natural, air-dried texture and is the key to an authentic beach wave. Once finished, tousle with your fingers and a bit of sea salt spray.
Bouncy, Voluminous Curls
To achieve big, bouncy, voluminous curls, you'll want to focus on section size and the angle of your pull. Use slightly larger 1.5-to-2-inch sections of hair. Clamp the hair near the root, rotate the straightener a full 180 degrees, and as you begin to pull, hold the straightener horizontally and pull it out away from your head. This horizontal angle creates more lift at the root and a wider, rounder curl. Use a slow and steady gliding motion to maximize the bounce. For extra volume, alternate the direction of each curl—one away from the face, the next toward the face. After all curls have cooled, gently rake your fingers through them to blend and create a full, glamorous look.
Sleek, Defined S-Waves
S-waves are a modern, chic style characterized by a continuous, undulating wave pattern rather than a spiral curl. This technique requires a different motion. Take a vertical section of hair and clamp it near the root. Create the first bend by pushing the straightener upwards to form a 'C' shape, hold for a few seconds, then release. Move the straightener down just below that bend and clamp again, this time pushing the straightener downwards to create a reverse 'C' shape. Continue this tapping motion, alternating directions, all the way down the hair shaft. This 'press-and-release' method creates a flat, defined S-pattern that is incredibly sleek and polished.
Curling Different Hair Types and Lengths
Tailoring your technique to your specific hair type and length is essential for achieving the best results. What works for long, thick hair won't necessarily be effective for a short bob or fine strands. Adjusting your section size, temperature, and approach can make all the difference.
Curling Short Hair (Bobs and Lobs)
Curling short hair with a straightener can be tricky due to the limited length, but it's entirely possible and creates beautiful texture. A 1-inch flat iron is your best friend here. For bobs and lobs, focus on creating bends and waves rather than full curls, which can make the hair appear shorter. Start your clamp mid-shaft rather than at the root to maintain length. Use quick, 90-degree twists and a fast glide to create loose, effortless waves. Alternating the direction of these waves will add dimension and prevent the style from looking too uniform. Leaving the ends straight is particularly flattering on shorter cuts.
Curling Long, Thick Hair
Long, thick hair presents its own challenge: weight. The weight of the hair can pull curls straight, so creating a strong, lasting curl is key. Use a higher temperature setting (around 375-425°F) that is appropriate for your hair's health. Work in smaller, 1-inch sections to ensure the heat penetrates all the way through. A slower glide will create a tighter, more robust curl that has a better chance of lasting. After creating each curl, catch it in your palm and let it cool for a few seconds, or clip it to your scalp in a pin curl. This allows the cuticle to set in the curled position, dramatically increasing the style's longevity.
Common Mistakes to Avoid When Curling with a Straightener
Achieving flawless curls often means knowing what not to do. Many common issues, like kinks, frizz, and curls that won't hold, stem from small mistakes in technique or preparation. Avoiding these pitfalls will elevate your styling game significantly. One of the most frequent errors is using a temperature that's too high for your hair type. Excessive heat doesn't create better curls; it creates damage. Always start with a lower temperature and only increase it if your curls aren't holding. For most hair types, a setting between 325°F and 375°F is more than sufficient.
Another common mistake is clamping down too hard on the hair. A death grip on your straightener will not only cause friction and damage but will also create a harsh clamp mark at the start of your curl and prevent the hair from gliding smoothly. The pressure should be just firm enough to hold the hair in place. The motion should be fluid and continuous. Pausing or stopping midway through the glide will result in an awkward dent in the hair. If you need to readjust, it's better to release the section and start again.
Finally, don't neglect the cool-down. Hair is malleable when it's hot and sets into its final shape as it cools. If you immediately touch, brush, or rake through your freshly-made, hot curls, you will pull them out almost instantly. Let each curl cool completely—either by letting it hang or by pinning it to your scalp—before you begin the finishing process. Patience during this final stage is the secret to a style that lasts for hours, not minutes.
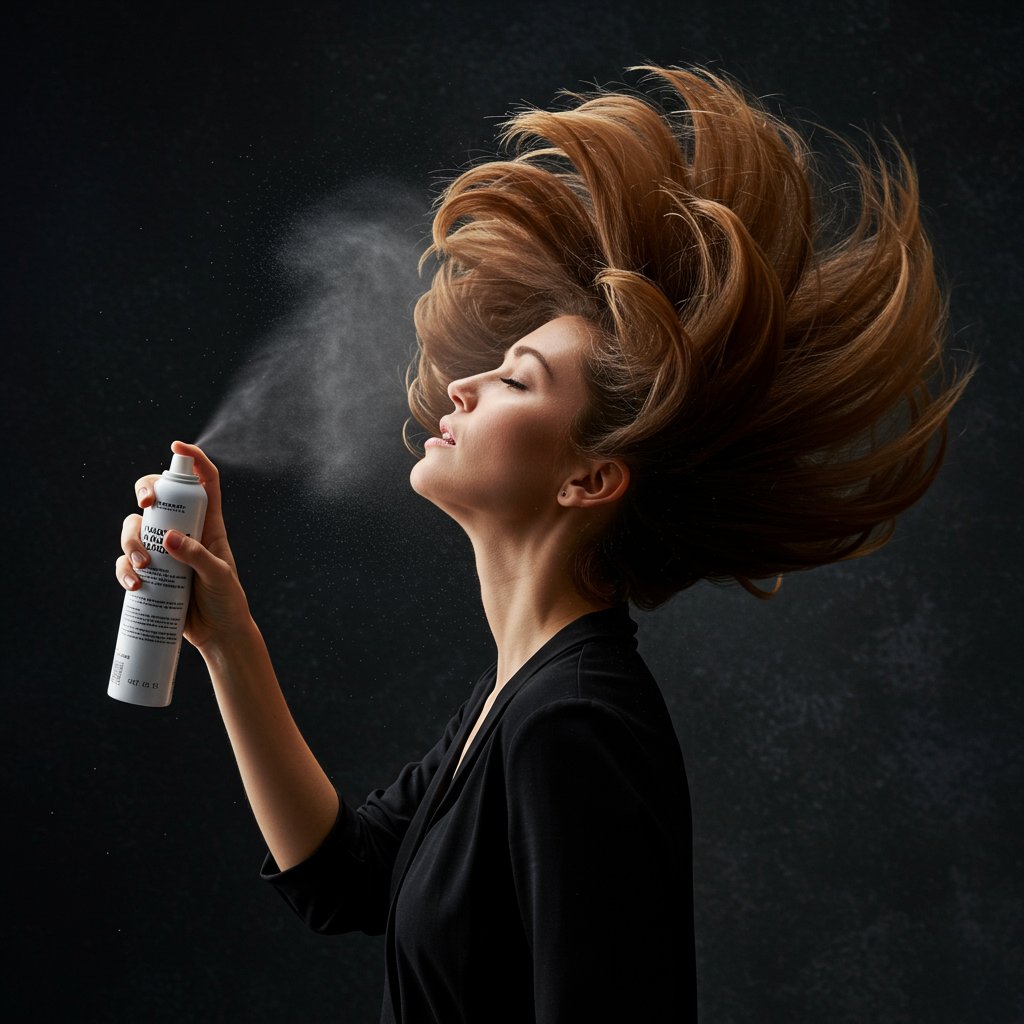
Setting Your Curls for All-Day Hold
Creating beautiful curls is only half the battle; making them last is the other. The finishing touches are what lock in your style and ensure it stays bouncy and defined from morning to night. As mentioned, the most critical step is allowing the curls to cool down completely before you do anything else. This step alone can double the lifespan of your style.
Once the curls are cool to the touch, it's time to apply your finishing products. The type of product you choose will depend on the look you're going for. For soft, touchable hold, a flexible-hold hairspray is ideal. Hold the can about 8-10 inches away from your head and mist it lightly over your hair. For maximum volume, flip your head upside down and spray underneath at the roots. If you desire a more separated, piecey look (perfect for beach waves), a texturizing spray or wax spray is a better choice. It adds grit and definition without the stiffness of a traditional hairspray.
After applying your holding product, you can gently style the curls. For a soft, romantic look, use your fingers to gently rake through the curls and break them up. This melds them together for a more cohesive style. Avoid using a brush, as it can pull out the curl pattern and create frizz. If you want to tame any flyaways or add a bit of polish, apply a small drop of shine serum or lightweight hair oil to your palms, rub them together, and then gently smooth them over the surface of your hair.
Frequently Asked Questions (FAQ)
Q1: What's the best temperature to use when curling hair with a straightener?
A: The ideal temperature depends entirely on your hair type. For fine, damaged, or color-treated hair, stay in the lower range of 300-350°F (150-175°C). For normal, healthy hair, 350-375°F (175-190°C) is a good range. For thick, coarse, or resistant hair, you may need to go up to 375-425°F (190-220°C). Always start lower and only increase the heat if necessary to minimize potential damage.
Q2: Why are my curls falling flat so quickly?
A: There are several common culprits. First, ensure your hair is 100% dry and properly prepped with a texturizing product for grip. Second, you might be using sections that are too large for the heat to penetrate evenly. Try working with smaller, 1-inch sections. Third, and most importantly, let your curls cool completely before touching them. Setting the curls while they are hot is the number one reason they fall flat. Finally, finish with a suitable holding spray.
Q3: How do I avoid getting kinks or clamp marks in my hair?
A: Kinks are usually caused by two things: clamping down too hard or pausing your motion. Apply just enough pressure to hold the hair, and focus on a single, fluid gliding motion from the moment you twist the straightener until you reach the ends. Also, ensure your flat iron has smooth, rounded edges, as sharp edges are more likely to create creases.
Q4: Can I curl damp hair with a straightener?
A: Absolutely not. This is extremely damaging to your hair. Applying a hot tool to wet or damp hair will cause the water inside the hair shaft to boil, leading to a phenomenon known as 'bubble hair.' This creates permanent structural damage, resulting in brittle strands, split ends, and breakage. Always ensure your hair is completely dry before heat styling.
Q5: Is curling with a straightener more damaging than using a curling iron?
A: When used correctly with proper heat protection, one tool is not inherently more damaging than the other. Damage is caused by excessive heat, incorrect technique, and lack of protection. Because a straightener's plates make direct, high-pressure contact on both sides of the hair, it's crucial to keep the tool moving and not hold it in one spot for too long. With any heat tool, using the lowest effective temperature and a quality heat protectant is the key to keeping your hair healthy.
Conclusion: Unlock Your Styling Potential
Learning how to create flawless curls with a straightener is a true game-changer, transforming a single-purpose tool into a multi-styler capable of creating an endless array of looks. By choosing the right flat iron, meticulously prepping your hair, and mastering the fundamental 'twist and glide' technique, you can achieve everything from casual beach waves to sophisticated, bouncy curls with a professional finish.
Remember that practice is essential. Your first few attempts may not be perfect, but with each session, your muscle memory will improve, and the process will become faster and more intuitive. Pay attention to your hair's needs, always prioritize its health with proper heat protection, and don't be afraid to experiment with different section sizes, speeds, and angles to discover the styles you love most. With these expert tips and techniques, you are well-equipped to unlock the full potential of your straightener and enjoy beautiful, long-lasting curls anytime you wish.


