How to Properly Tease Hair for Maximum Volume | The Ultimate Backcombing Guide
The Quest for Volume: An Introduction to Teasing
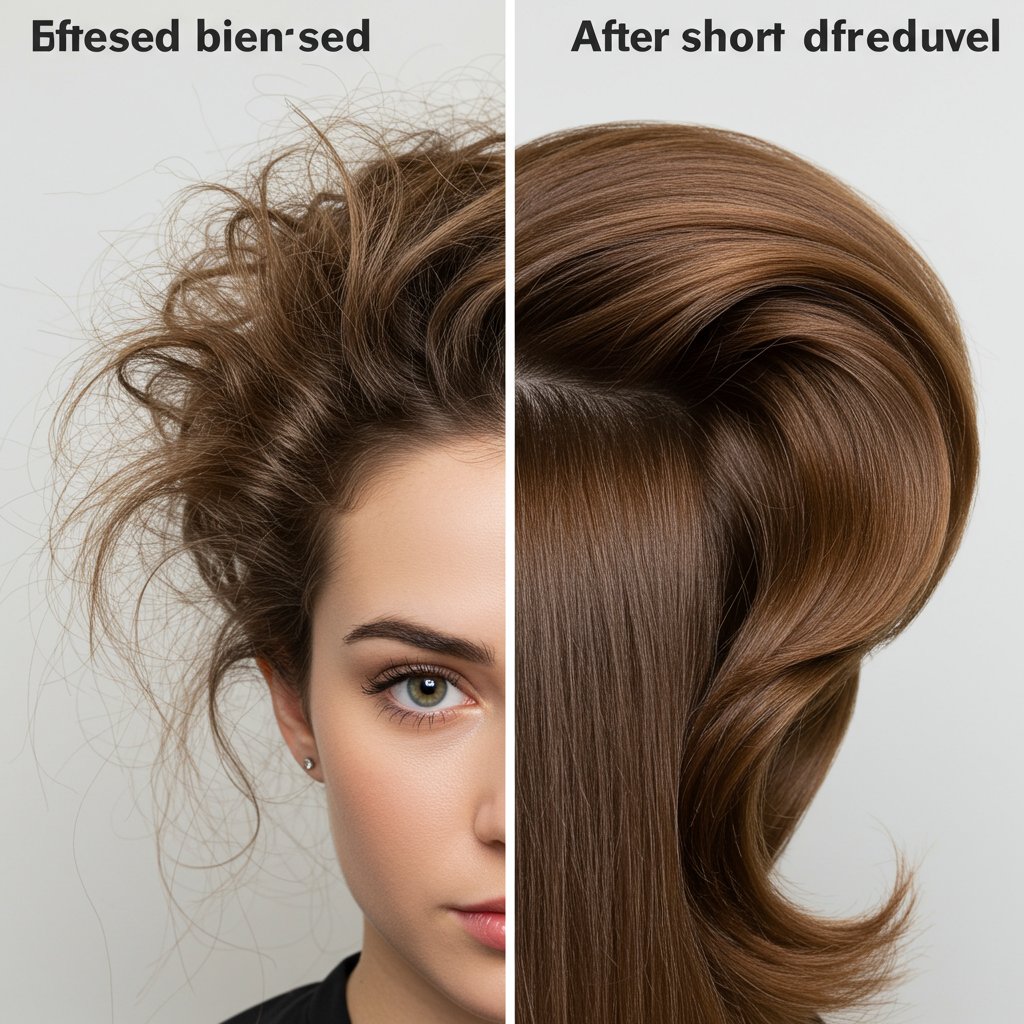
Gravity-defying volume, sky-high updos, and effortlessly full-bodied styles—what’s the secret? For decades, the answer has been a well-executed tease. Also known as backcombing, this foundational styling technique is the key to creating the structure and support needed for hairstyles that last. However, many people shy away from it, haunted by visions of tangled, damaged hair from aggressive teasing attempts in the past. The truth is, when done correctly, teasing is a safe and incredibly effective method to achieve the volume you've always dreamed of. Forget the frizzy, knotted messes; it's time to learn how to properly tease hair for maximum volume that looks polished, feels secure, and respects the health of your strands.

This comprehensive guide will demystify the art of backcombing. We will break down the science behind how it works, the essential tools you'll need, and the precise, step-by-step technique used by professional stylists. You'll learn not only how to build a strong foundation of volume but also how to create a smooth, beautiful finish that looks professionally done. We'll also cover the common mistakes to avoid and, crucially, how to safely take your hair down at the end of the day without causing breakage. Prepare to elevate your styling game and make limp, flat hair a thing of the past.
The Science of Structure: What Exactly is Teasing (Backcombing)?
Before you pick up a comb, it’s essential to understand what’s happening at the hair shaft level. Teasing isn’t just random ruffling; it’s a controlled technique designed to create a structural cushion at the root of the hair. When you backcomb, you are gently pushing shorter strands of hair down towards the scalp within a section. This action interlocks the cuticle layers of the hair strands, forming a dense, supportive base. Think of it as building a small, internal scaffolding that lifts the longer, visible hair up and away from the scalp, creating the illusion of fullness and significant volume.

While the terms 'teasing' and 'backcombing' are often used interchangeably, some stylists make a subtle distinction. Backcombing is often seen as the more methodical, foundational process of pushing hair down with a comb to build a solid base. Teasing can sometimes refer to a lighter, more delicate version done with a brush to create a softer, more airy texture. For our purposes, we'll focus on the core technique that achieves maximum lift. The key to doing this without causing damage is control. The goal is to create an organized 'cushion,' not a chaotic 'rat's nest.' Proper technique ensures the hair cuticles are ruffled just enough to interlock but not so much that they become permanently damaged or impossibly tangled.
This internal structure is why teased hair holds its shape so well. It’s not just relying on styling products alone; it has physical support built right into the hair itself. This makes it the perfect foundation for elaborate updos, voluminous ponytails, half-up styles, or simply adding some lift to the crown for an everyday look. Understanding this principle helps you execute the technique with purpose and precision, leading to better, longer-lasting results.
Setting the Stage: How to Prep Hair for Flawless Volume
Achieving a successful, long-lasting tease begins long before the comb touches your hair. Proper preparation is the foundation upon which all great volume is built. Skipping this step is like trying to build a house on sand—it simply won't hold. The ideal canvas for teasing is hair that is completely dry and has a bit of grit or texture. Teasing squeaky-clean, silky hair is notoriously difficult, as the strands are too smooth to interlock effectively. For this reason, many stylists find that second-day hair is perfect for backcombing.
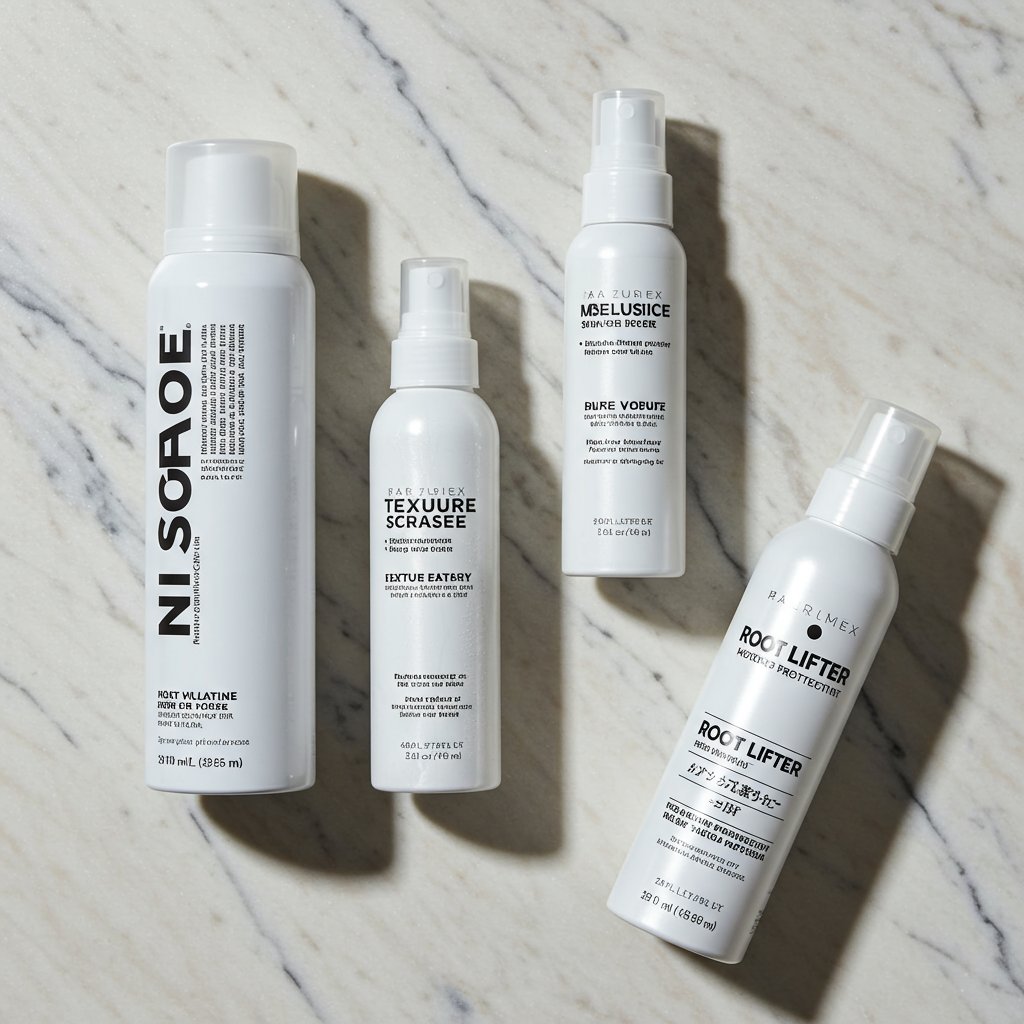
If you're starting with freshly washed hair, you'll need to add that necessary texture back in. Begin by applying a volumizing mousse or a root-lifting spray to your damp roots before blow-drying. When you blow-dry, focus on lifting the roots up and away from the scalp, perhaps even drying your hair upside down for an initial boost of volume. Once your hair is 100% dry, a light mist of a texturizing spray or dry shampoo throughout the areas you plan to tease will provide the perfect amount of grip for the backcombing to hold onto. This 'dirty' texture is your best friend when it comes to building volume.
Finally, even if you aren't using a curling iron or flat iron, a light mist of a flexible-hold hairspray on the sections before you begin can provide extra support. Think of it as a primer for your tease. This pre-application of product helps the strands lock together more easily and ensures your hard-earned volume doesn't fall flat within an hour. Remember, the goal of preparation is to create the optimal conditions for your hair to build and hold structure, making the entire teasing process smoother and more effective.
Choosing Your Weapons: The Essential Tools for Professional Teasing
Using the right tools for teasing is not just about preference; it's about effectiveness and hair health. The wrong tool can make the process difficult, ineffective, and even damaging. Investing in a few key items will transform your backcombing from a frustrating struggle into a precise and artful technique. There are three non-negotiable categories of tools for a professional-quality tease: the teasing implement, sectioning clips, and the right hairspray.
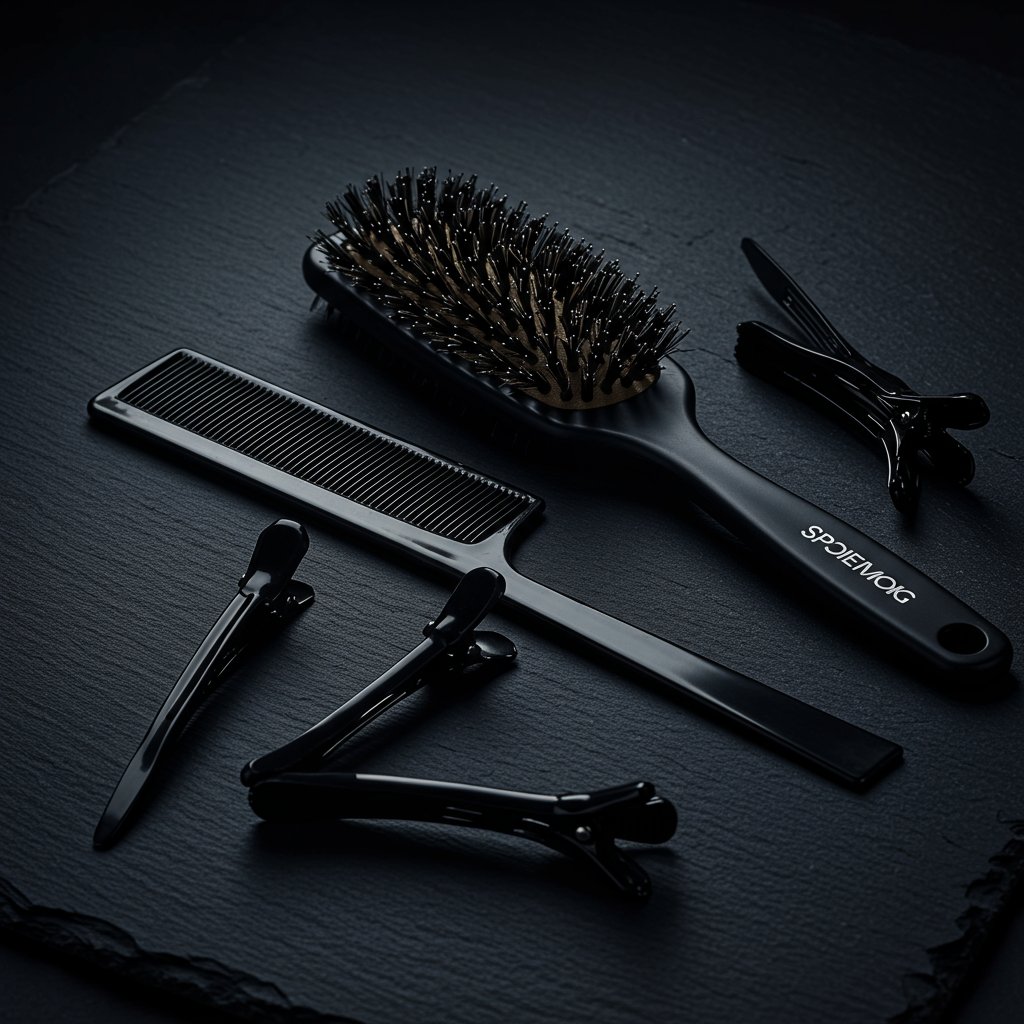
First, the teasing implement itself. The two main choices are a teasing comb or a teasing brush. A teasing comb typically has fine, tightly packed teeth, often with varying lengths, and a long, thin tail for sectioning. This tool is ideal for creating a very dense, strong cushion of volume, perfect for updos that require a solid foundation. A teasing brush, on the other hand, usually features a mix of boar and nylon bristles. This type of tool is gentler on the hair and creates a softer, more blended volume. It's excellent for everyday looks or for those with finer hair, as it's less likely to cause tangles. Many professionals have both in their kit and choose based on the desired result and hair type.
Next, sectioning clips are an absolute must. Attempting to tease hair without properly sectioning it first is a recipe for a messy, uneven result. Clips allow you to work in clean, manageable sections, keeping the rest of the hair out of your way. This precision is crucial for building volume exactly where you want it. Finally, you'll need two types of hairspray. A light, flexible-hold or 'working' hairspray is used during the teasing process to lock in each section as you go. A strong, finishing hairspray is used at the very end to set the entire style in place. Choosing sprays that are brushable and don't leave a heavy, sticky residue is key to a polished, touchable finish.
The Masterclass: A Step-by-Step Guide to Proper Backcombing
Now that your hair is prepped and your tools are ready, it's time to master the technique itself. The key is to be methodical, gentle, and precise. Rushing or being too aggressive is what leads to damage and knots. Follow these steps for a perfect, professional-grade tease every time.
Step 1: Create Your Sections
Using the tail of your teasing comb or your fingers, divide your hair into manageable sections based on where you want the volume. For general crown volume, create a horseshoe-shaped section at the top and back of your head. Use your sectioning clips to secure the hair you aren't working on, especially the top layer or 'veil' that will eventually cover the teased portion. This top layer should be left smooth to create a polished finish.Step 2: Isolate a Thin Sub-section
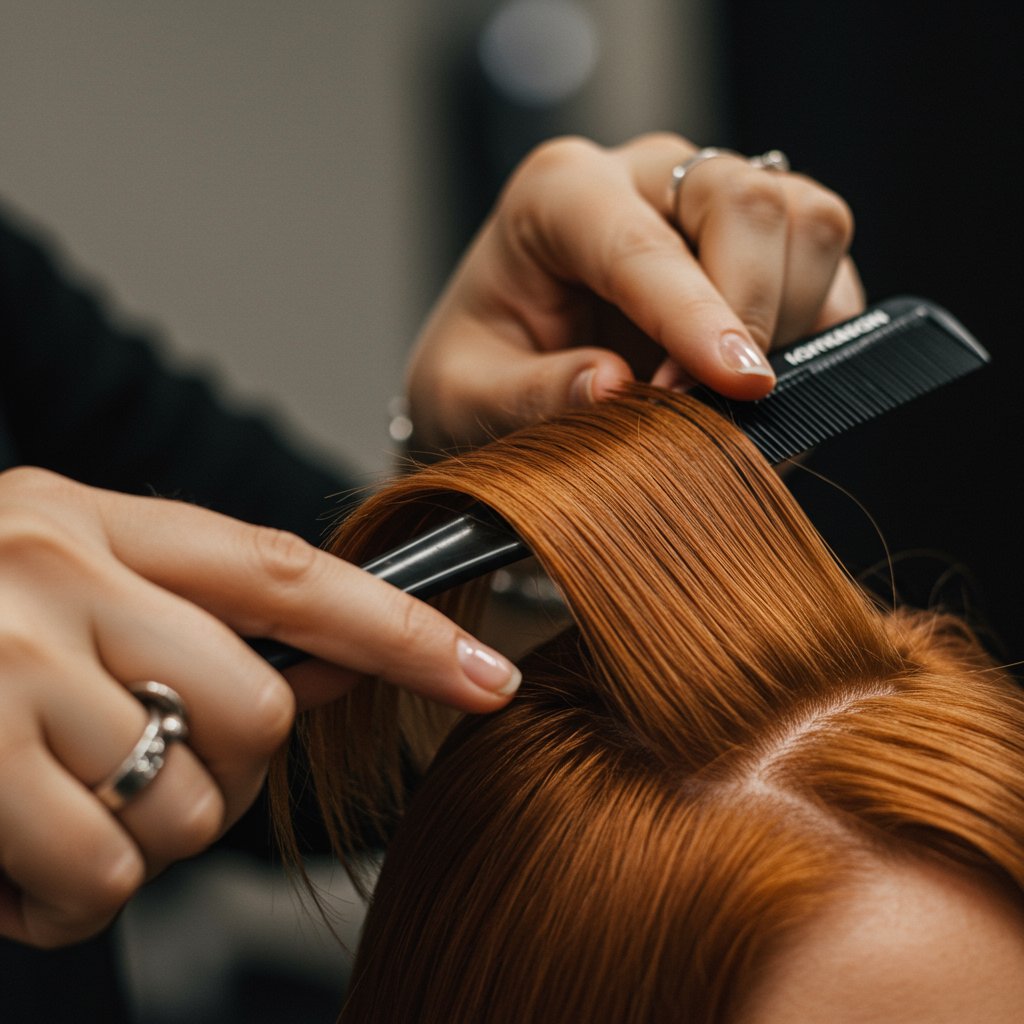
Within your working area, pick up a horizontal sub-section of hair that is no more than one inch thick. The width of the section can vary, but the thickness is key. If the section is too thick, the comb won't be able to penetrate all the way through to create a consistent cushion, resulting in weak volume.Step 3: Hold the Section Taut
Hold the sub-section of hair straight up from your head, pulling it taut. Your grip should be firm but not painful. This tension is crucial for allowing the comb to effectively push the hair downwards. Holding the hair perpendicular to the scalp (90 degrees) creates lift directly at the root.Step 4: The Teasing Motion
Position your teasing comb or brush about two to three inches away from the scalp. Now, perform the teasing motion: insert the comb into the section and make one smooth, deliberate push down towards the roots. Remove the comb completely from the hair, bring it back to your starting point (2-3 inches from the scalp), and repeat. Typically, two to three of these controlled 'pushes' are enough to create a solid cushion. Avoid a rapid, sawing back-and-forth motion, as this is what causes tangles and breakage.Step 5: Lock It In
After creating your cushion at the base, give it a very light puff of your working hairspray directly at the root. This helps to lock the teased structure in place before you move on. A light touch is all that's needed; too much spray can make the hair heavy and sticky.Step 6: Release and Repeat
Gently lay the teased section forward, out of the way, and pick up your next thin sub-section directly behind it. Repeat steps 2 through 5 until you have built the desired amount of volume in your target area. Working from front to back within your main section often yields the best results for a smooth finish.The Finishing Touch: How to Smooth and Style Your Volume
Once you have built your foundation of volume, the final step is to create a seamless, polished look. This is where you transform the structured, teased interior into a beautifully styled exterior. The biggest mistake people make is trying to brush directly over the teased sections, which will simply pull out all your hard work. Instead, the process requires a delicate touch and the right tools to create a smooth 'veil' over the hidden cushion.
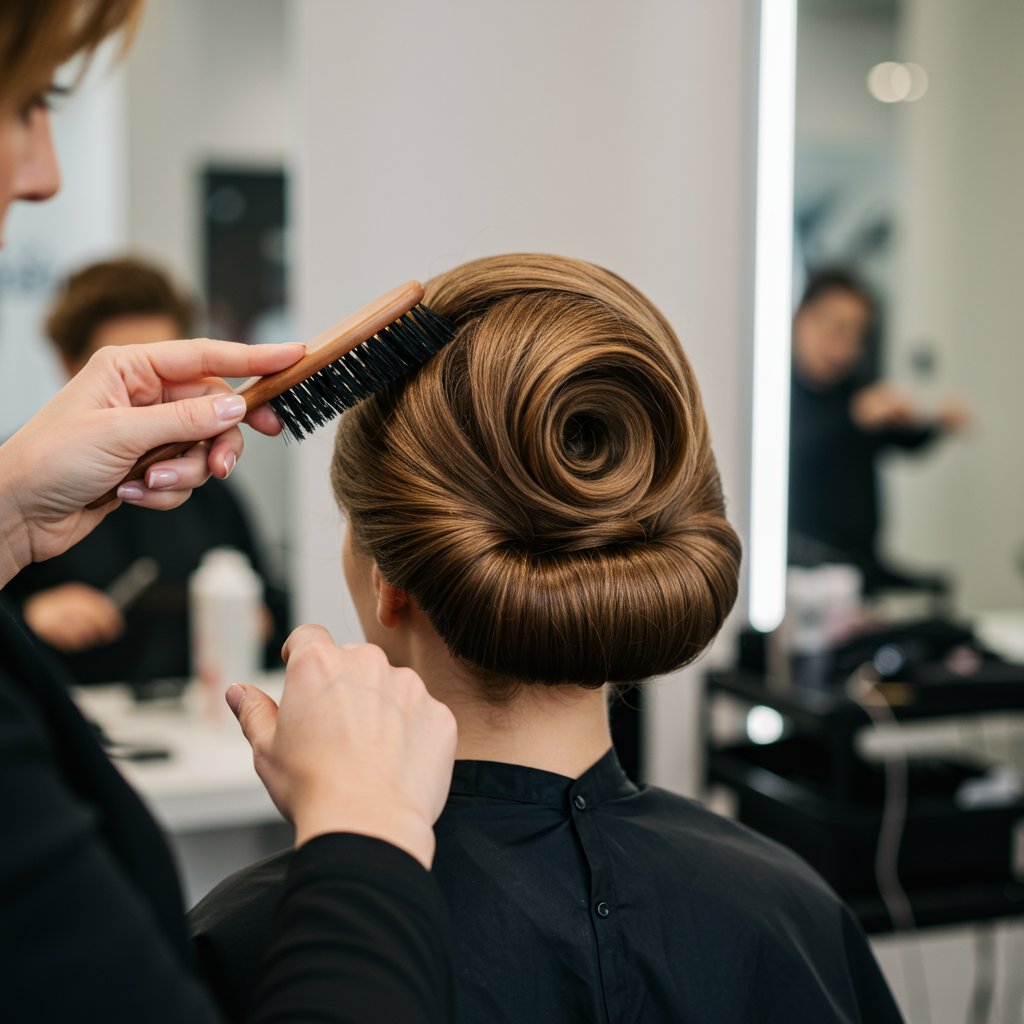
First, release the clean, un-teased section of hair that you clipped away at the beginning. This top layer will act as a curtain, draping over the backcombed foundation. Let it fall naturally over the voluminous area. If this top layer is not smooth enough on its own, you can lightly run a flat iron over it before draping it, ensuring it's sleek and polished. This contrast between the hidden texture and the smooth surface is what creates a high-end, professional look.
Next, use a soft bristle brush (like a Mason Pearson-style brush) or the side of your teasing comb to gently smooth this top layer into place. The key is to use a light hand, barely skimming the surface of the hair. You are not brushing the hair; you are simply guiding the top strands and taming any flyaways. You can use the tail of your comb to gently lift and shape the voluminous areas from underneath to perfect the silhouette. Once you are happy with the shape and smoothness, lock everything in place with a generous mist of a strong-hold finishing spray. Hold the can about 8-10 inches away from your head to ensure an even, fine mist rather than a concentrated, wet application.
Common Teasing Mistakes to Avoid (And How to Fix Them)
Even with the best instructions, it's easy to fall into a few common traps when learning how to tease hair. Recognizing these pitfalls is the first step to correcting them and perfecting your technique. One of the most frequent errors is teasing sections that are too thick. As mentioned, a thick section prevents the comb from creating a solid base, leading to limp, ineffective volume. Always stick to sub-sections that are one inch thick or less for a strong foundation.
Another major mistake is being too aggressive with the teasing motion. A frantic, sawing motion doesn't create a clean cushion; it creates a tangled knot that's difficult to style and even harder to remove. Remember the proper technique: gentle, deliberate pushes towards the scalp, completely removing the comb after each push. This prevents matting and reduces the risk of breakage. Equally problematic is forgetting to smooth the top layer. Exposing the rough, teased texture is the tell-tale sign of an amateur job. Always leave a clean 'veil' section to drape over the top for a polished, professional finish.
What if you've gone too far and created a massive, unruly poof? Don't panic. To fix over-teased hair, don't try to brush it out. Instead, use the pointed tail of your teasing comb to gently work into the teased cushion and subtly break it apart from the inside. You can also use your fingers to gently separate and mold the hair. A light application of a smoothing serum or shine spray on your soft brush while you perform the final smoothing can also help tame excessive frizz and create a sleeker silhouette.
The Aftermath: How to Safely Remove Teased Hair Without Damage
The way you take down your teased hairstyle is just as important as the way you put it up. The number one rule is: never, ever try to brush out a tease when your hair is dry. The interlocked cuticles will snag, rip, and break against the force of the brush, causing significant damage. Taking a few extra minutes to properly detangle your hair will preserve its health and save you from a world of split ends and frustration.
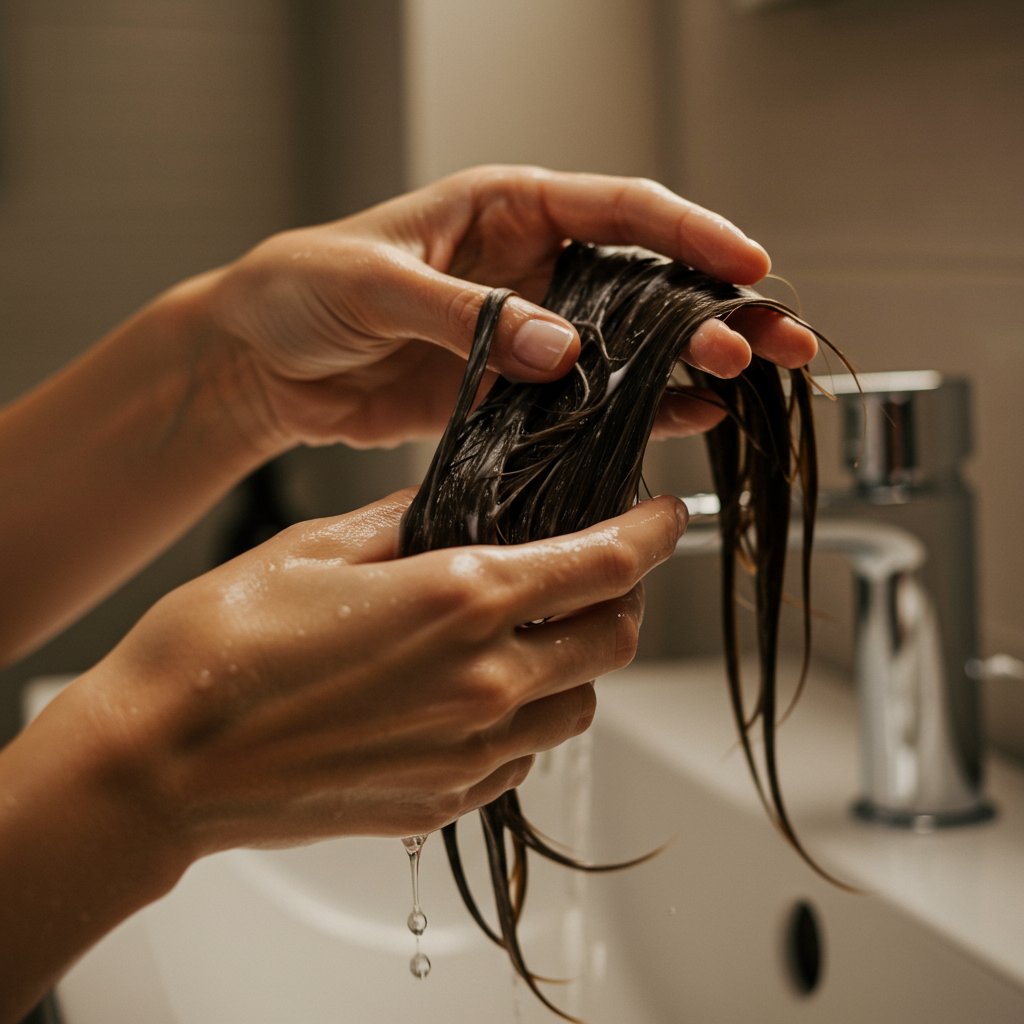
Start the process before you even step into the shower. Apply a generous amount of a slippery conditioner, a detangling spray, or a hair oil to the teased areas of your dry hair. Let the product sit for a few minutes to begin softening the hair and providing slip. Then, using only your fingers, gently begin to work through the teased sections, starting from the ends and slowly moving up towards the roots. You will feel the cushion start to loosen and separate as you work the product in.
Once you have gently detangled as much as you can with your fingers, you can introduce a wide-tooth comb. Again, start at the very ends of your hair and work your way up in small sections, combing through the loosened tangles. Be patient and work slowly. After you've removed the majority of the backcombing, you can proceed with your normal shampoo and conditioning routine in the shower. A deep conditioning treatment or hair mask is always a great idea after a day of heavy styling to replenish moisture and keep your strands healthy and strong.
Pro-Tips for Next-Level Volume
- Focus on the Crown: For an easy, everyday lift, you don't need to tease your whole head. Concentrating on just a few sections at the crown can give the illusion of overall volume and takes only a minute or two.
- Use a Root Lifting Powder: For extra grit and insane lift, sprinkle a small amount of a texturizing or root-lifting powder at the roots before you begin teasing. A little goes a long way!
- Alternate Directions: For a more modern, less 'perfect' look, slightly alter the direction you hold and tease each section. This can create a more organic, windswept volume.
- Try Back-Brushing: For a softer, less intense volume, use a teasing brush and a technique called back-brushing. It's the same principle but uses a brushing motion for a more diffused, airy finish.
- Cool It Down: After blow-drying your roots for prep, use the cool shot button on your dryer. This helps to set the hair cuticle in a lifted position before you even start teasing.
Frequently Asked Questions (FAQ)
Is teasing bad for your hair?
When done improperly and aggressively, yes, teasing can be very damaging. However, when you follow the proper technique—using the right tools, being gentle, and detangling correctly—it is a safe way to create temporary volume without causing long-term harm to your hair.How long does teased hair last?
With proper prep and finishing spray, a good tease can last all day and even into the next. The strength of the foundation and the type of hairspray used will be the biggest factors in its longevity.Can I tease fine or thin hair?
Absolutely! In fact, teasing is a fantastic technique for making fine hair appear much fuller. The key is to be extra gentle and consider using a teasing brush with soft boar bristles instead of a comb, as it creates a softer cushion that's less harsh on delicate strands.What's the difference between a teasing comb and a teasing brush?
A teasing comb has fine teeth and creates a very dense, strong base of support, ideal for updos. A teasing brush has bristles (often a mix of boar and nylon) and creates a softer, more blended, and airy volume that's great for everyday styles and is generally gentler on the hair.How do I get volume without teasing?
Alternatives for creating volume include using volumizing products like mousse and root lifters, blow-drying your hair upside down, using velcro rollers or hot rollers at the crown, or getting a haircut with strategic layers that add movement and lift. However, for the structural support needed for updos, teasing is unparalleled.Why won't my hair hold a tease?
This is usually due to one of three things: 1) Your hair is too clean and silky. Add texture with dry shampoo or texturizing spray first. 2) Your sections are too thick. Use thinner, 1-inch sections. 3) You're not using hairspray to lock in each section as you go. A light mist on each completed section is crucial.Conclusion: Embrace the Power of Volume
Mastering the art of how to properly tease hair is like unlocking a new level in your styling abilities. It’s a transformative technique that empowers you to create a vast range of hairstyles, from glamorous updos to effortlessly chic, voluminous waves. By understanding the principles, using the right tools, and following a gentle, methodical approach, you can build incredible, lasting volume without compromising the health of your hair. The days of fearing the tease are over.
Remember that practice is key. Your first few attempts may not be perfect, but with patience, you’ll soon be able to create that supportive cushion with ease and confidence. Embrace this classic technique as a fundamental part of your styling toolkit. And for those truly special occasions where you want a show-stopping look, don't hesitate to visit a professional salon. Experienced stylists can craft intricate, voluminous styles that are built to last through any event, ensuring you look and feel your absolute best.


