Knotless Braids: A Complete Guide to Getting the Look and Making It Last
The Effortless Elegance of Knotless Braids
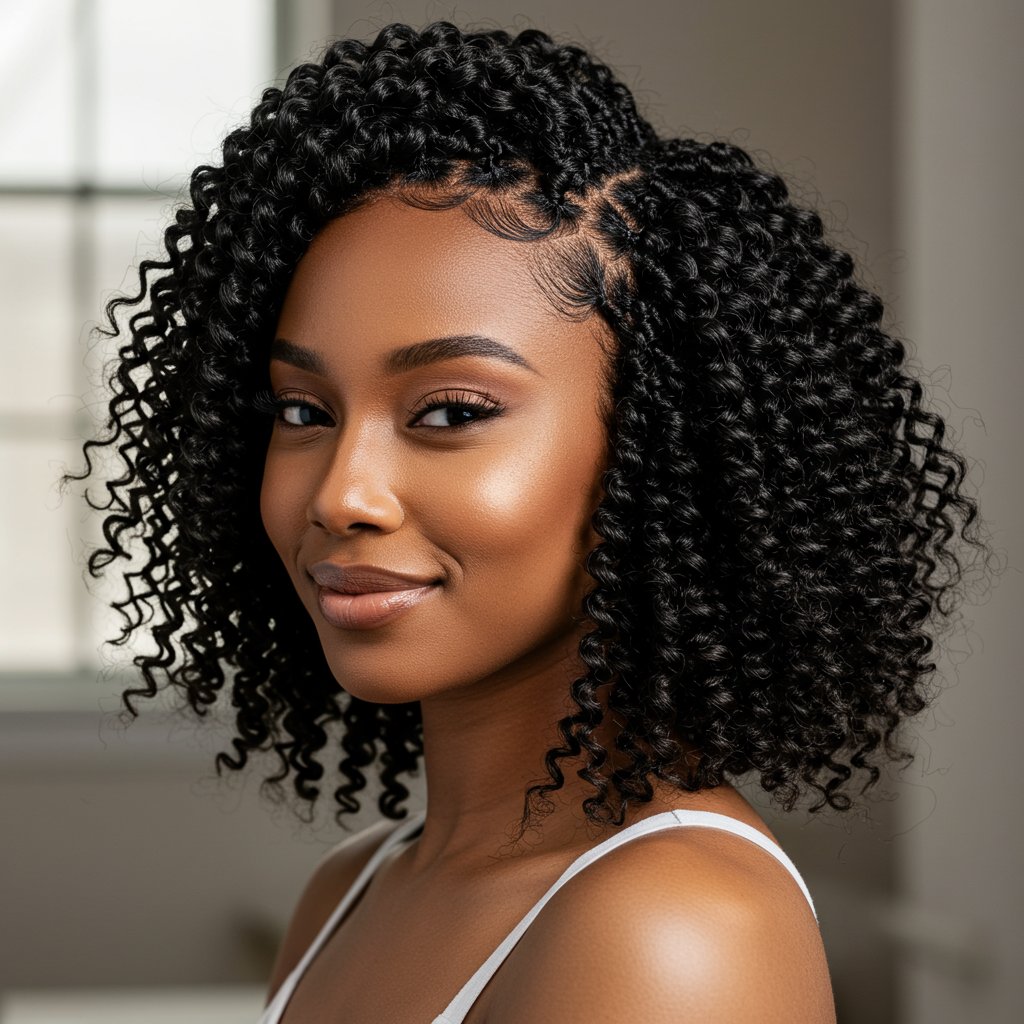
Protective styles have long been a cornerstone of natural hair care, offering a beautiful way to shield strands from daily manipulation and environmental stressors. Among the myriad of options, one style has risen to iconic status for its chic appearance and hair-friendly approach: knotless braids. Unlike their traditional counterparts, knotless braids offer a seamless, natural look that starts directly with your own hair, eliminating the tension-heavy knot at the base. This innovative technique has transformed the braiding experience, making it more comfortable, versatile, and healthier for the scalp.
This comprehensive guide is your ultimate resource for everything related to knotless braids. We will delve into what makes this style so unique, the extensive benefits it offers for your hair's health, and the crucial steps for preparation that set the stage for a flawless installation. Furthermore, we'll break down the aftercare regimen required to maintain your braids' freshness and longevity, ensuring you get the most out of your investment. Whether you're a seasoned protective style enthusiast or considering knotless braids for the first time, this article will equip you with the knowledge to achieve the look and make it last.
What Exactly Are Knotless Braids?
The fundamental difference between knotless braids and traditional box braids lies in the installation technique. Traditional box braids begin with a small knot created by wrapping braiding hair around a section of your natural hair at the root. This knot serves as an anchor but can often create significant tension on the scalp, leading to discomfort, potential follicle damage (traction alopecia), and limited styling flexibility in the initial days. This is the primary concern that the knotless method was designed to solve.

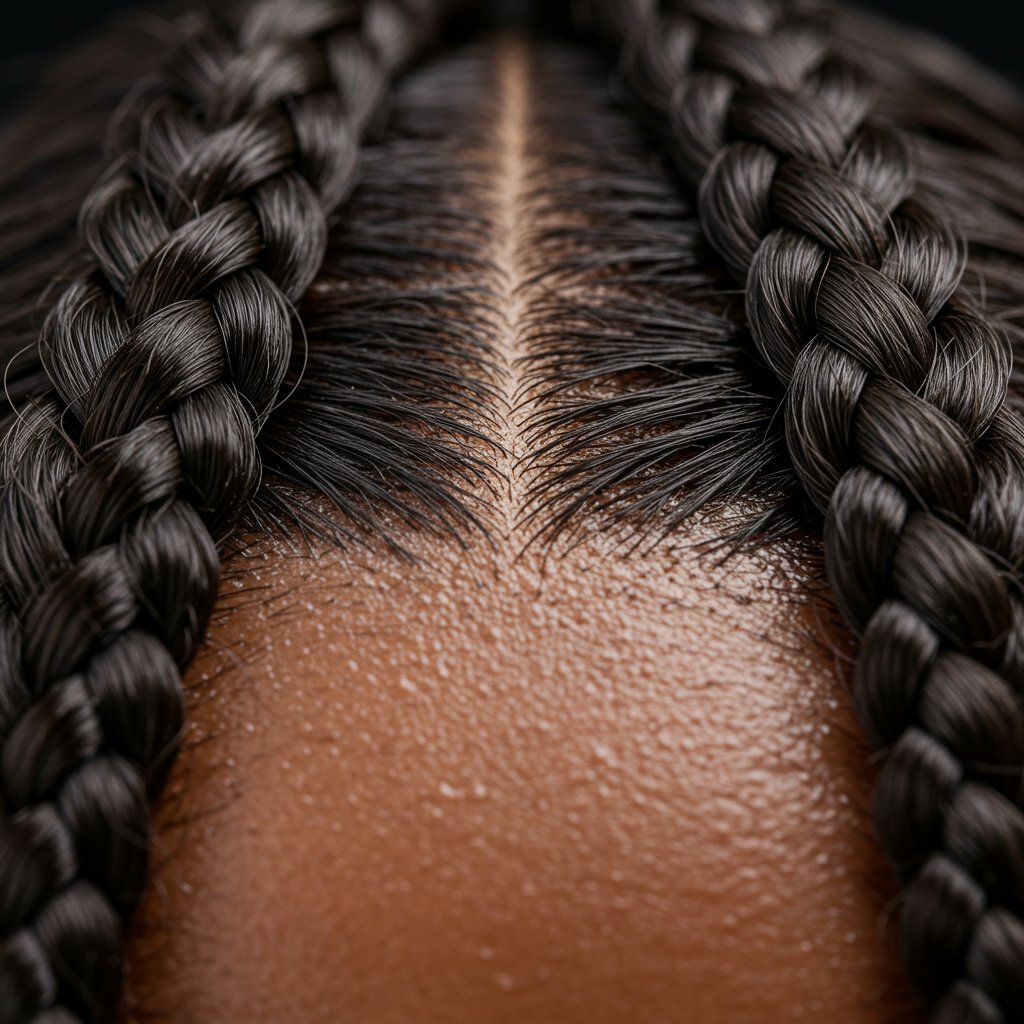
Knotless braids, on the other hand, utilize a feed-in method. The braid is started with just your natural hair, and small pieces of braiding hair are gradually fed into the braid as it progresses down the hair shaft. This process creates a smooth, flat transition from your scalp to the braid, resulting in a look that is not only more natural but also significantly lighter and gentler on your hair follicles. The absence of the initial knot means less pulling, reduced scalp tension, and immediate flexibility for styling. You can pull your braids into a high ponytail or bun on day one without the typical pain or stiffness associated with new braids.
Key Differences at a Glance:
- Installation: Knotless uses a feed-in technique; traditional uses a knot at the base.
- Tension: Knotless braids are virtually tension-free; traditional braids can cause high tension at the root.
- Appearance: Knotless braids lay flat and have a more seamless, natural-looking start. Traditional braids have a visible, slightly raised knot at the base of each part.
- Flexibility: Knotless braids are immediately flexible for various styles. Traditional braids often require a few days for the tension to loosen before they can be styled comfortably.
The Unmatched Benefits of Choosing Knotless Braids
The popularity of knotless braids isn't just about aesthetics; it's deeply rooted in the tangible benefits they provide for hair and scalp health. For many, making the switch from traditional methods is a game-changer for their protective styling journey. The gentle nature of the installation process translates into a more comfortable and healthier experience from start to finish.

One of the most celebrated advantages is the significant reduction in scalp tension. Without the tight anchor knot, the risk of traction alopecia—hair loss caused by consistent pulling—is drastically minimized. This makes knotless braids an excellent option for individuals with sensitive scalps or fine hair that is more susceptible to damage. The lightweight feel is another major plus. By distributing the weight of the extension hair more evenly down the braid, the overall style feels less heavy, reducing strain on your neck and scalp and making it a more comfortable long-term wear.
Furthermore, the seamless beginning of each braid promotes better scalp health. The flat-laying braids allow for easier access to your scalp for cleansing, moisturizing, and oiling, which is essential for maintaining a healthy foundation while your hair is in a protective style. This accessibility helps prevent product buildup, dryness, and itchiness. The immediate styling versatility is a final, compelling benefit. The freedom to wear your hair up, down, or in intricate styles right after leaving the salon chair is a level of convenience that sets knotless braids apart from many other protective styles.
Preparing Your Natural Hair for a Flawless Installation
The success and longevity of your knotless braids depend heavily on the preparation of your natural hair. A clean, moisturized, and strong foundation is non-negotiable for protecting your hair underneath the style and ensuring the final look is sleek and polished. Skipping these steps can lead to dryness, breakage, and a shorter lifespan for your braids.
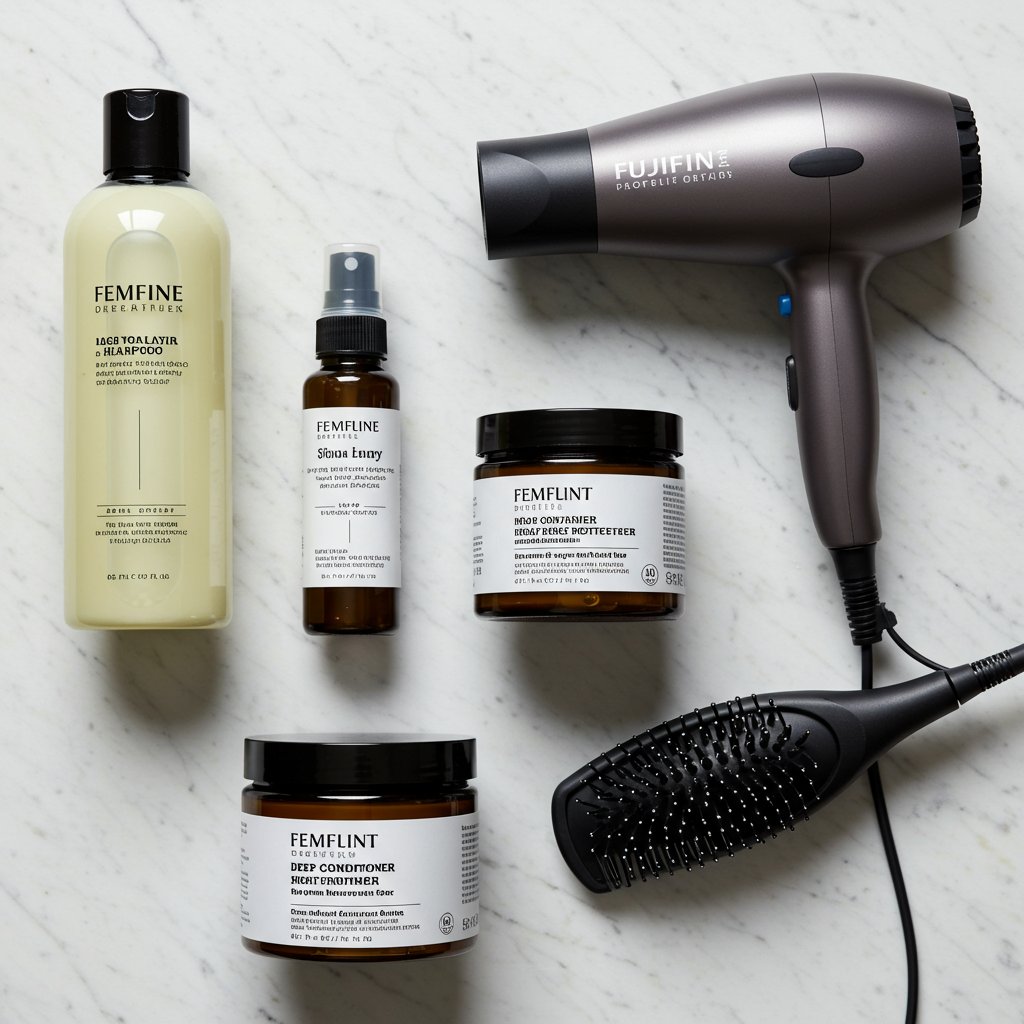
Step 1: Deep Cleansing and Clarifying
Start with a thorough wash using a clarifying shampoo. This will remove any lingering product buildup, dirt, and oils from your hair and scalp. A clean canvas is crucial for preventing itchiness and allowing moisturizing products to penetrate effectively. Follow up the clarifying shampoo with a moisturizing, sulfate-free shampoo to replenish some of the initial moisture.Step 2: Intense Hydration with a Deep Conditioner
After cleansing, apply a generous amount of a rich, hydrating deep conditioner or hair masque. Focus the product on your ends, which are the oldest and most fragile parts of your hair. Use a shower cap and let the conditioner sit for at least 30 minutes; adding gentle heat from a hooded dryer or steamer can enhance its penetration. This step is vital for infusing your strands with the moisture they'll need to thrive while tucked away in braids.Step 3: Strengthening and Detangling
Once your hair is conditioned and rinsed, it's time to gently detangle it, working from the ends up to the roots with a wide-tooth comb or your fingers. Apply a leave-in conditioner to provide slip and an extra layer of moisture. For those with color-treated or high-porosity hair, incorporating a protein treatment in the wash day before your appointment can help fortify the hair strands and prevent breakage during the braiding process.Step 4: Stretching the Hair
For the sleekest results, your hair should be fully stretched before braiding. The most common method is a thorough blow-dry using a comb attachment and a heat protectant spray. If you prefer to avoid heat, you can achieve a stretched state through heatless methods like banding, African threading, or large braids/twists left to air-dry completely. A stretched state prevents puffiness at the root and allows the stylist to grip the hair cleanly for neat, uniform parts.The Knotless Braiding Process: A Step-by-Step Breakdown
Understanding the meticulous process behind knotless braids can give you a greater appreciation for the skill involved and help you know what to expect during your salon visit. An experienced stylist executes this technique with precision to ensure the health of your hair and the beauty of the final style.
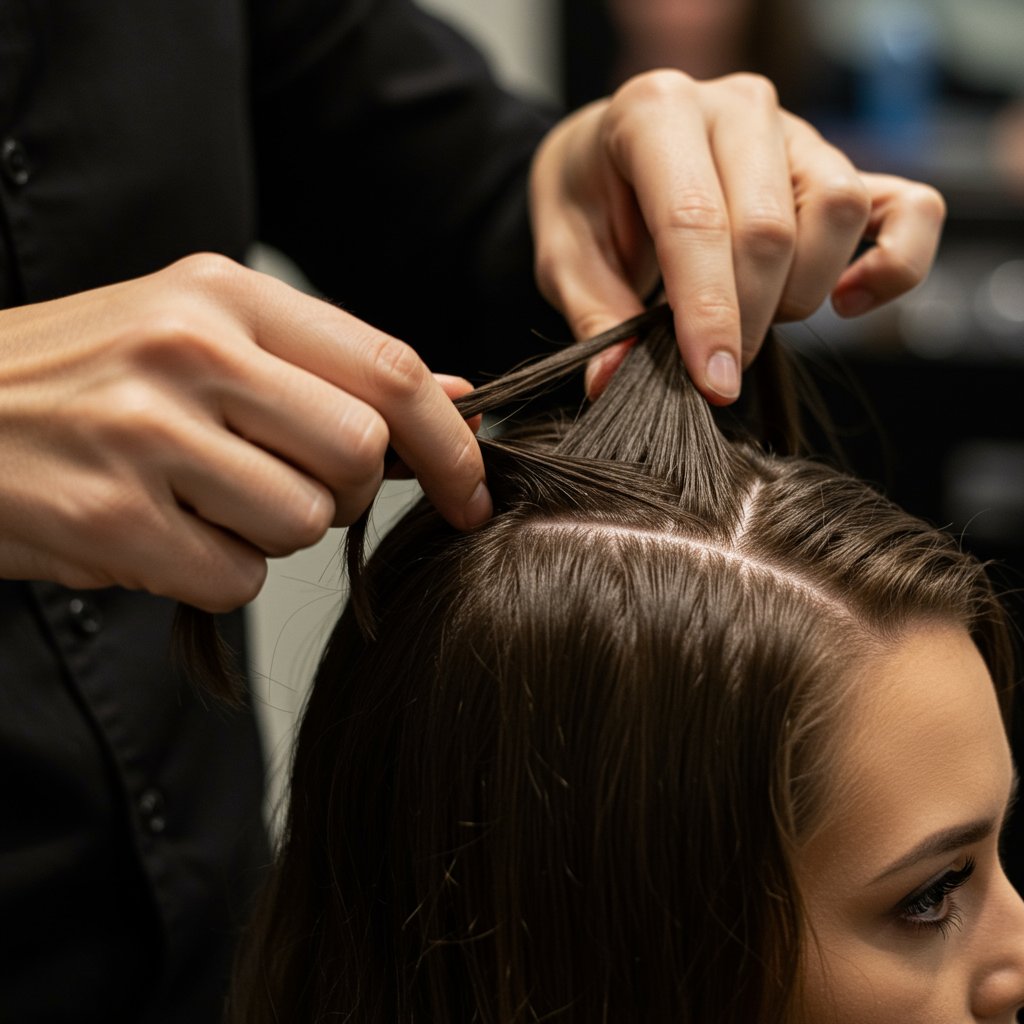
First, a professional stylist will begin by creating exceptionally clean and precise parts using a rat-tail comb. The parting pattern (box, triangle, or free-form) is typically discussed during the consultation. A light gel or edge control is applied to each section to create a smooth base and tame any flyaways. This product application is key to achieving that sharp, sleek look that knotless braids are known for. The neatness of the parts forms the foundation for the entire style.
Next, the braiding begins. The stylist takes a section of your natural hair and starts a standard three-strand plait. After just a few links of the plait, they begin the feed-in process. A small piece of pre-stretched braiding hair is added seamlessly into one of the 'legs' of the braid. The braid continues, and with each subsequent link, another small piece of extension hair is added. This incremental addition is repeated until the desired thickness of the braid is achieved. This gradual method is what creates the flat, natural-looking base and ensures the weight is distributed evenly, preventing the tension associated with traditional braids.
Choosing the Right Hair and Size for Your Knotless Braids
The type of braiding hair and the size of the braids you choose will significantly impact the final look, feel, and maintenance of your style. Making an informed choice is key to being happy with your knotless braids for weeks to come.
Braiding Hair Options
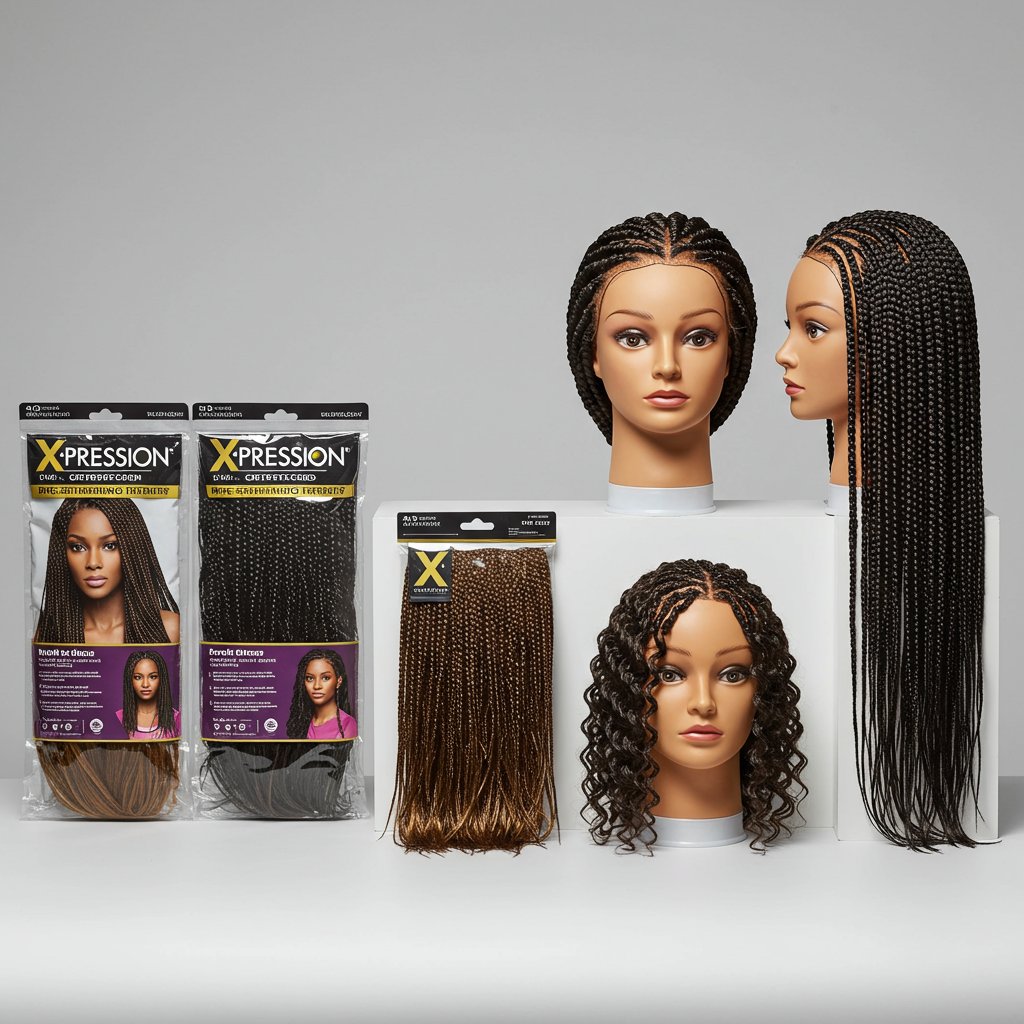
- Pre-Stretched X-pression Kanekalon: This is the gold standard for knotless braids. It's lightweight, soft, and comes pre-stretched (or 'feathered'), meaning the ends are tapered. This saves the stylist time and results in a more natural, less bulky finish. It also typically sets well with hot water, creating a secure and neat seal at the ends.
- Standard Kanekalon: While still a viable option, standard Kanekalon hair will need to be stretched by hand before installation. This can be time-consuming and may not yield as sleek a result as pre-stretched varieties. It's often slightly coarser in texture.
Selecting Your Braid Size
- Small/Micro: These braids offer a very full, voluminous look and can last the longest. However, they take the most time to install and take down and can potentially put more tension on the scalp if not done carefully, simply due to the sheer number of braids.
- Medium: This is the most popular size for knotless braids. It offers a perfect balance of fullness, manageable installation time, and styling versatility. It's a great choice for most hair types and densities.
- Large/Jumbo: These make a bold statement and are significantly quicker to install. They are generally lighter overall but may not last as long as smaller sizes, as new growth will be more apparent sooner. They are an excellent option for those who want a shorter-term protective style with maximum impact.
Essential Aftercare: Making Your Knotless Braids Last
Proper maintenance is the secret to extending the life of your knotless braids and keeping them looking fresh while protecting your natural hair. A consistent aftercare routine is not just recommended; it's essential.

Nightly Protection
Protecting your braids at night is the single most important step for longevity. Friction from cotton pillowcases can cause frizz, dryness, and even breakage. Every night, without fail, wrap your hair in a large silk or satin scarf or bonnet. For very long braids, you can gather them into a loose, high bun (a 'pineapple') before covering them. This simple act preserves the neatness of your braids and helps retain moisture.Scalp Care and Moisture
A healthy scalp is the foundation of healthy hair. While your hair is braided, your scalp is more exposed and requires regular attention. Apply a light, natural oil (like jojoba, grapeseed, or a specially formulated scalp oil) to your parts 2-3 times a week to prevent dryness and flaking. You can also use a leave-in conditioner spray diluted with water in a spray bottle to lightly mist your braids and scalp. Avoid heavy greases or creams, which can cause buildup and clog your pores.Cleansing Your Braids
Yes, you can and should wash your braids. Aim to cleanse your scalp every 2-3 weeks. To do this without creating excessive frizz, dilute a sulfate-free shampoo with water in an applicator bottle. Apply the mixture directly to your scalp, gently massaging with the pads of your fingertips (not your nails). Let the suds run down the length of the braids and then rinse thoroughly. Follow up by gently squeezing excess water out with a microfiber towel and applying a leave-in conditioner spray. Always ensure your braids are completely dry to prevent mildew.Pro Tips for Maximum Longevity and Style
- Don't Go Overboard with Edge Control: While great for a sleek look, daily application of heavy edge control can lead to buildup and flaking. Use it sparingly and opt for alcohol-free formulas.
- Refresh Your Look: After a few weeks, you can refresh the style by asking your stylist to redo the front hairline braids. This gives the entire set a brand-new appearance for a fraction of the cost and time.
- Listen to Your Scalp: If you experience persistent itching, redness, or bumps, it could be a reaction to the braiding hair or a sign of too much tension in a specific area. Address it immediately with scalp treatments or by removing the offending braid.
- Know When to Let Go: Protective styles are temporary. Leaving knotless braids in for too long (generally beyond 8 weeks) can lead to matting at the root, buildup, and potential breakage during the takedown process.
Frequently Asked Questions About Knotless Braids
How long do knotless braids last?
With proper care and maintenance, knotless braids can last anywhere from 4 to 8 weeks. The longevity depends on your hair growth rate, your aftercare routine, and the size of the braids. Smaller braids tend to last longer than larger ones.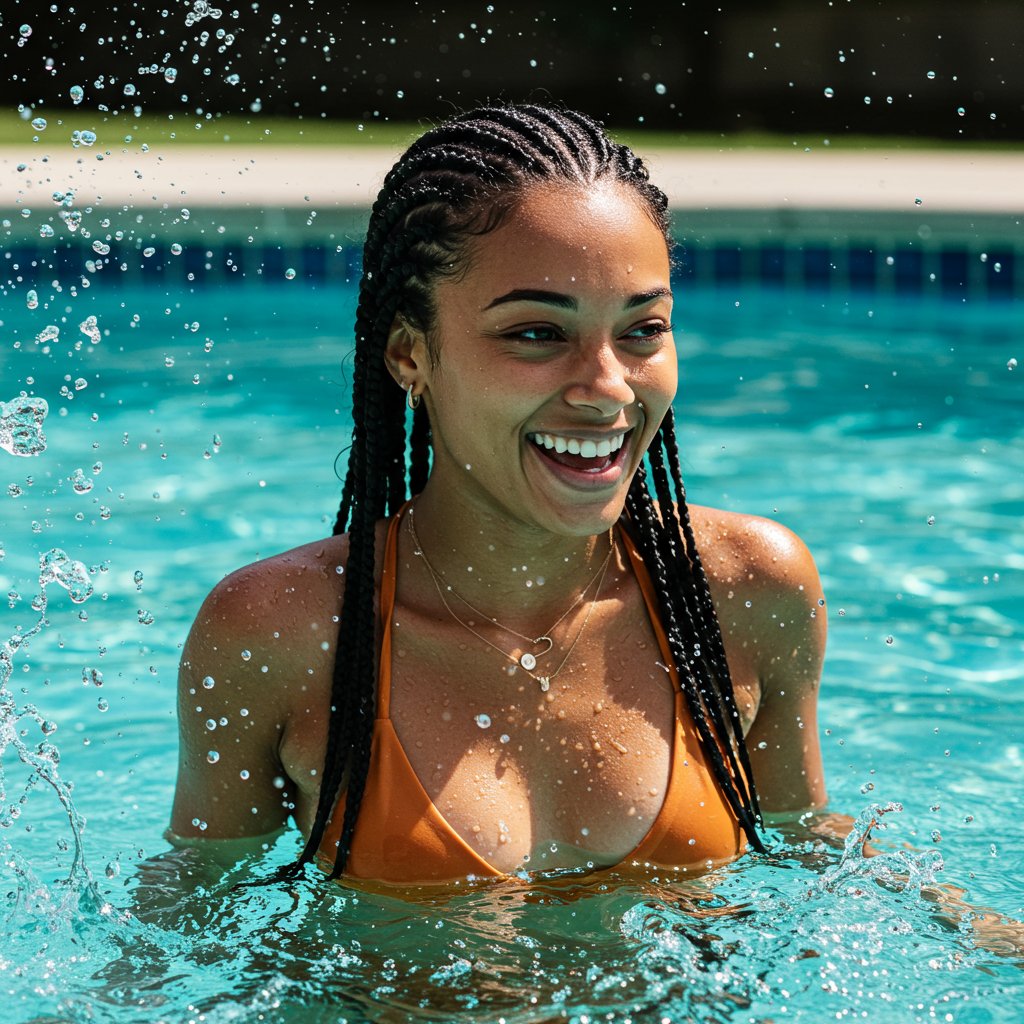
Are knotless braids damaging to your hair?
When installed and maintained correctly, knotless braids are one of the least damaging braided styles. Because they are tension-free at the root, the risk of traction alopecia is significantly reduced. However, like any protective style, damage can occur if they are installed too tightly, left in for too long, or removed improperly.Can I get knotless braids on short hair?
Yes, you can get knotless braids on short hair, but your hair should generally be at least 2-3 inches long for the stylist to have enough to grip and start the braid securely. The feed-in method is actually ideal for shorter hair as it puts less stress on the strands.How much do knotless braids typically cost?
The cost of knotless braids varies widely based on your location, the stylist's experience, the size of the braids, and the desired length. Because the process is more intricate and time-consuming than traditional box braids, they are generally more expensive. Expect prices to range from $150 to $600+.How do I know when it's time to take them down?
Key signs include significant new growth (more than an inch), excessive frizz that can't be tamed, product buildup that's difficult to wash out, or if the braids simply start to feel heavy or look worn. It's always better to take them down a week early than a week too late.Can I swim with knotless braids?
Yes, you can swim with knotless braids. However, it's important to care for them afterward. Rinse your hair thoroughly with fresh water immediately after swimming to remove chlorine or salt. Follow up with a light leave-in conditioner and ensure your braids dry completely to prevent odor or mildew.The Final Word on Knotless Braids
Knotless braids represent a beautiful evolution in the world of protective styling, prioritizing the health of your hair and scalp without sacrificing an ounce of style. From the pain-free installation and immediate versatility to the chic, natural finish, the benefits are clear. By investing in proper preparation, entrusting the installation to a skilled professional, and committing to a diligent aftercare routine, you can enjoy this stunning look for weeks on end.
Ultimately, knotless braids offer a perfect synergy of beauty, comfort, and hair care. They are more than just a hairstyle; they are a celebration of healthy, protected, and versatile hair. Armed with this knowledge, you are now ready to confidently embark on your own knotless braid journey, achieving the look you desire and making it last beautifully.


