Mastering the Art of the Perfect Messy Bun | Your Ultimate Step-by-Step Guide
The Allure of Effortless Chic: An Introduction to the Perfect Messy Bun
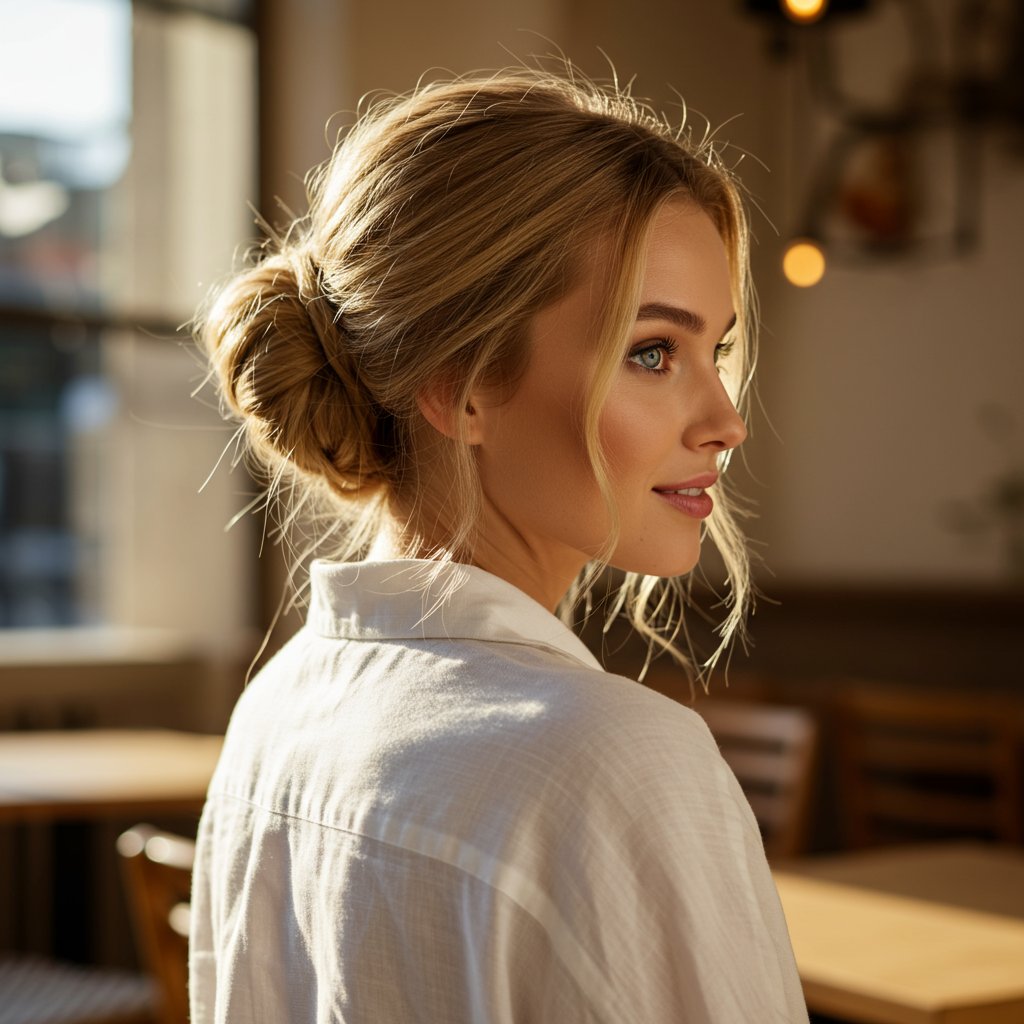
The messy bun is more than just a hairstyle; it's a statement. It whispers of laid-back confidence, effortless style, and a chic nonchalance that can take you from a morning coffee run to an elegant evening out. But achieving that elusive 'perfectly imperfect' look can be deceptively tricky. It's a delicate balance between structured and undone, polished and relaxed. Many have tried and ended up with a look that’s either too severe or simply… messy. This comprehensive guide is here to demystify the process. We will delve into the art and science of mastering the art of the perfect messy bun, providing you with the foundational knowledge, step-by-step techniques, and expert secrets to create a flawless, envy-inducing updo every single time. Whether you have fine, thick, straight, or curly hair, consider this your ultimate resource for conquering this iconic style.
From the crucial prep work that sets the stage for success to the final spritz of hairspray that locks in your look, we will cover every detail. This isn't just about throwing your hair up; it's about understanding texture, volume, and placement to create a silhouette that complements your features and personal style. We'll explore classic techniques, trendy variations, and solutions for common frustrations. By the end of this guide, you'll not only know how to create a beautiful messy bun but also how to adapt it for any occasion, hair type, and mood. Say goodbye to frustrating trial-and-error and hello to your new go-to hairstyle that genuinely looks as effortless as it feels.
The Foundation: Why Prep Work is Non-Negotiable
The secret to a stunning, long-lasting messy bun doesn't start with the twist and pin; it begins with the foundation you build. The most common mistake is trying to style hair that is too clean. Silky, freshly washed hair lacks the grip and texture needed for the style to hold its shape, often resulting in a bun that slips out or looks flat within minutes. The ideal canvas is second or even third-day hair. The natural oils provide a bit of grit, making the hair more pliable and cooperative. This is the cornerstone of achieving that coveted 'undone' texture that is the hallmark of a perfect messy bun. If you must work with clean hair, faking that 'day-old' texture is essential.
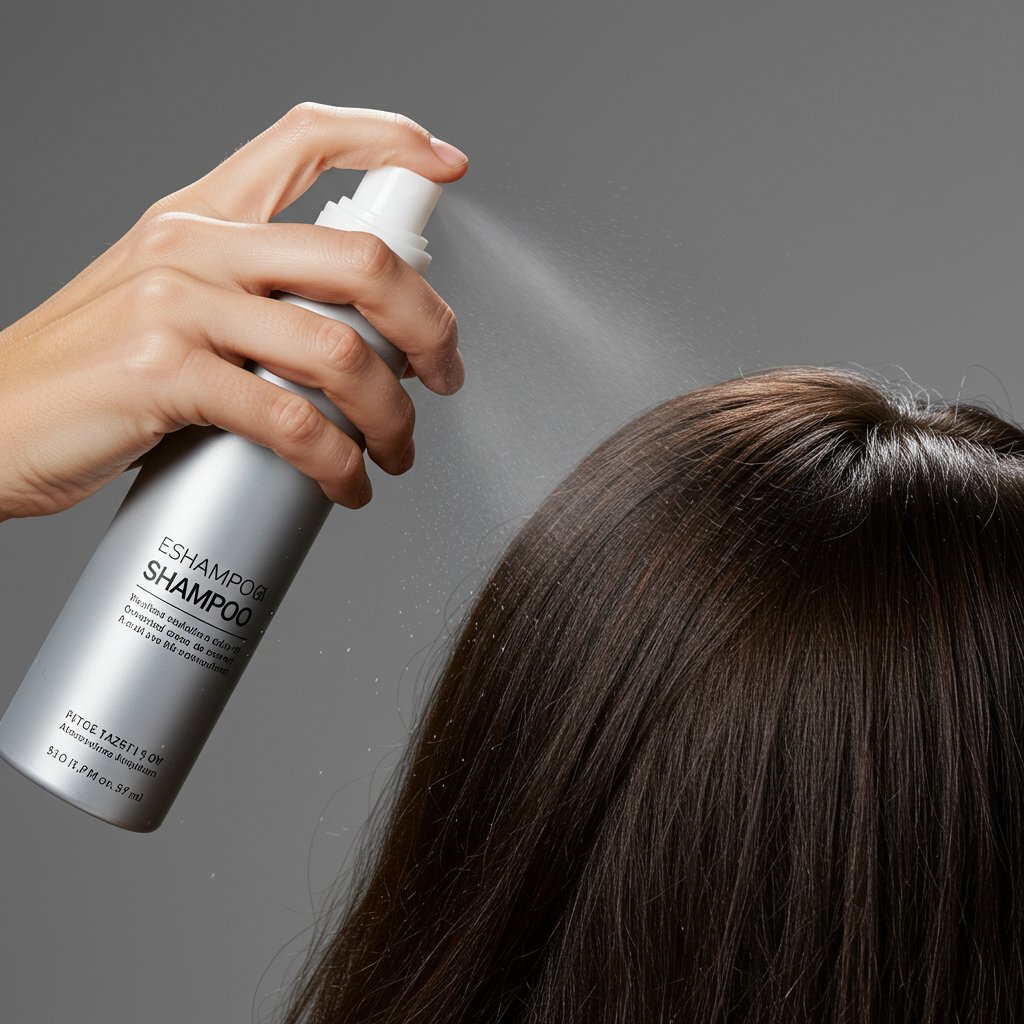
To build this foundation, a few key products are your best friends. First, a quality dry shampoo is indispensable. Apply it not just to absorb oil, but to add volume and a matte texture at the roots. Lift sections of your hair and spray directly at the scalp, then massage it in with your fingertips to distribute the product and create lift. Next, a texturizing spray or sea salt spray misted through the mid-lengths and ends will give the strands the 'memory' and grip they need to intertwine beautifully within the bun. Avoid heavy gels or serums, which can weigh the hair down. Gently backcombing or teasing the hair at the crown before you begin can also add lasting volume and prevent the top of your style from falling flat.
The Classic Messy Bun: A Detailed Step-by-Step Tutorial
With your hair properly prepped, you're ready to create the classic messy bun. This method is versatile and forms the basis for many other variations. Follow these steps carefully, but remember that the goal is imperfection, so don't be afraid to embrace a little bit of beautiful chaos.
Step 1: Gather Your Hair
Start by flipping your hair upside down to create natural volume at the roots. Using just your fingers—not a brush—rake your hair up into a high ponytail. The placement is key: for a classic look, aim for the crown of your head or slightly higher. Using your fingers instead of a brush ensures the style has a soft, informal texture from the very beginning, preventing the severe, scraped-back look.Step 2: Create the Ponytail Loop
Secure the ponytail with a hair elastic. On the final pull-through, don't pull the hair all the way. Instead, create a loop, leaving the ends of your hair sticking out. The size of this loop will determine the initial size of your bun. A smaller loop creates a tighter bun, while a larger one results in a looser, more voluminous style. The direction the ends are pointing (towards your forehead or down your back) will also influence the final shape.Step 3: Twist, Wrap, and Secure
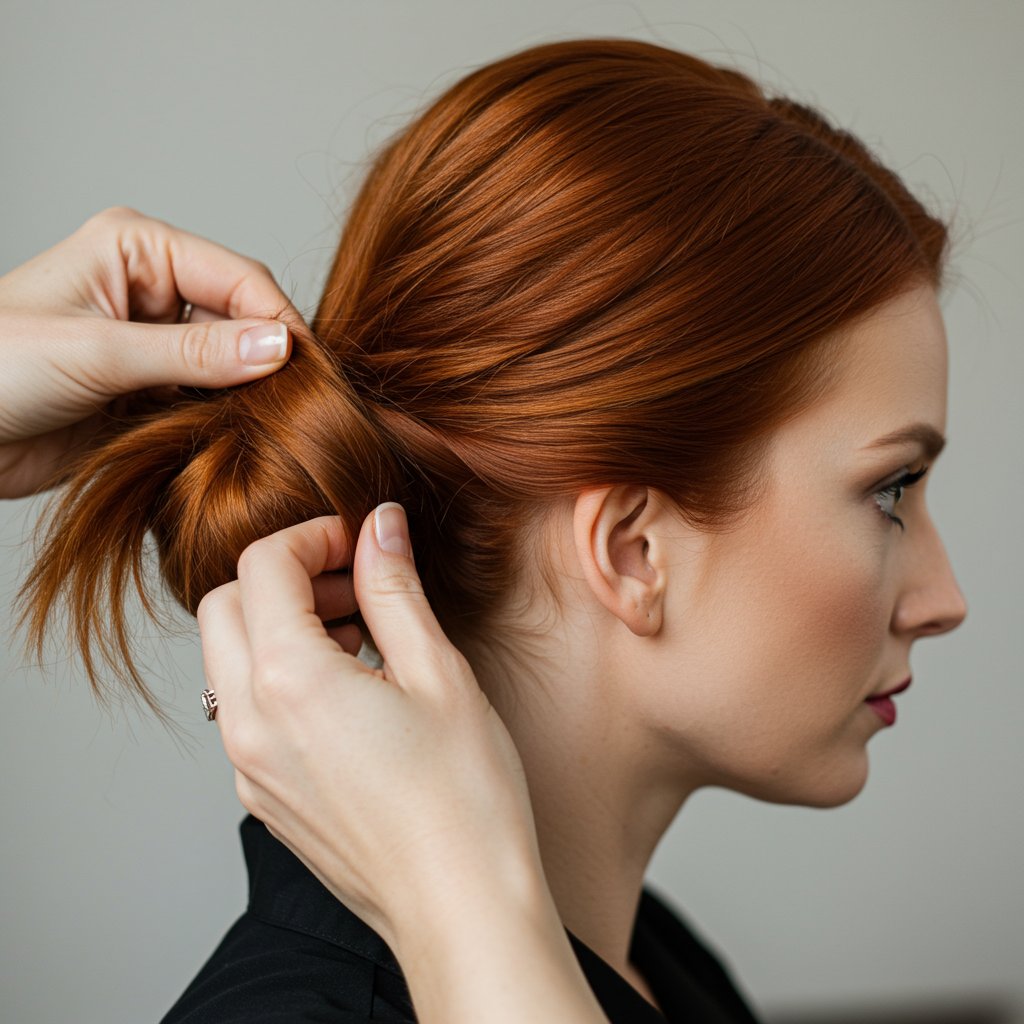
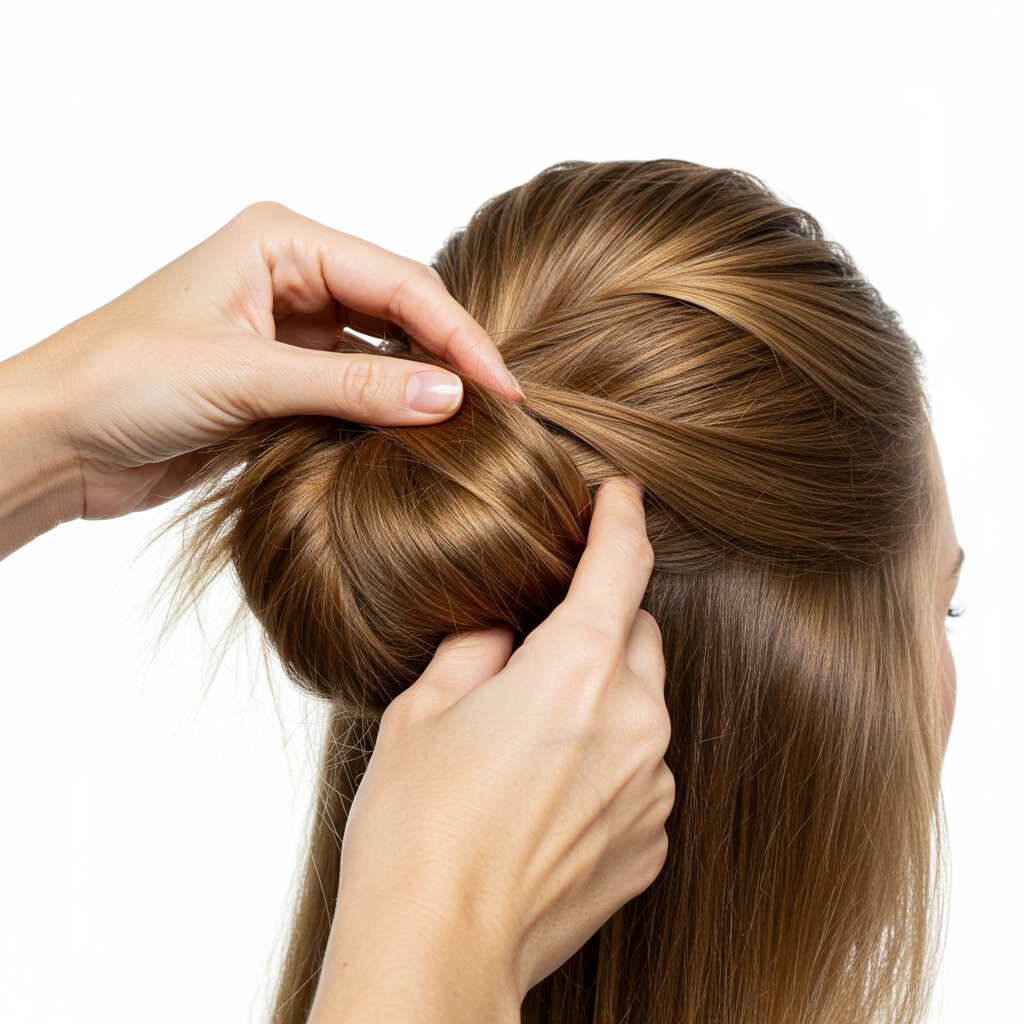
Now, take the ends of the hair that are sticking out of the elastic. Loosely twist them and wrap them around the base of the loop to conceal the hair tie. Use bobby pins to secure these ends in place. The trick is to pin them into the base of the bun, not just into the wrapped hair, for maximum hold. Use as many pins as you need to feel secure, inserting them in different directions for a stronger grip.Step 4: The Art of 'Messing It Up'
This is the most crucial step for achieving the 'perfectly messy' aesthetic. Gently tug and pull on sections of the looped bun to increase its size and create a more undone shape. Don't be afraid to be a little bold here. Pull out small, face-framing tendrils around your hairline and temples to soften the look. You can even use the end of a tail comb to gently lift sections at the crown for added height. The goal is to create texture and an organic, lived-in shape.Variations on a Theme: Messy Buns for Every Style
The classic messy bun is just the beginning. This versatile updo can be adapted to suit any occasion, mood, or outfit. By making small tweaks to the placement, technique, and accessories, you can create a look that's uniquely yours. Exploring these variations allows you to keep the style fresh and exciting.
The Low Messy Bun: Sophisticated & Chic
For a more elegant and refined take, the low messy bun is a perfect choice. Gather your hair at the nape of your neck, either centered or slightly to one side. Follow the same loop-and-wrap technique as the classic bun, but keep the pulling and tugging more subtle. This style pairs beautifully with professional attire or evening wear. You can create a center or side part for a more polished finish. Leaving a few soft pieces out to frame the face maintains the effortless vibe while elevating the overall look.The Half-Up Messy Bun: Playful & Casual
Ideal for showcasing long hair while keeping it out of your face, the half-up messy bun is the ultimate casual-cool style. Section off the top half of your hair, from your temples to the crown. Create a small messy bun with this section, securing it on top of your head. The key is to make the bun proportional to the amount of hair you're working with—a smaller, tighter bun often works best. The rest of your hair can be left straight, or you can add loose waves for extra texture and movement.Accessorize Your Bun: From Scarves to Clips
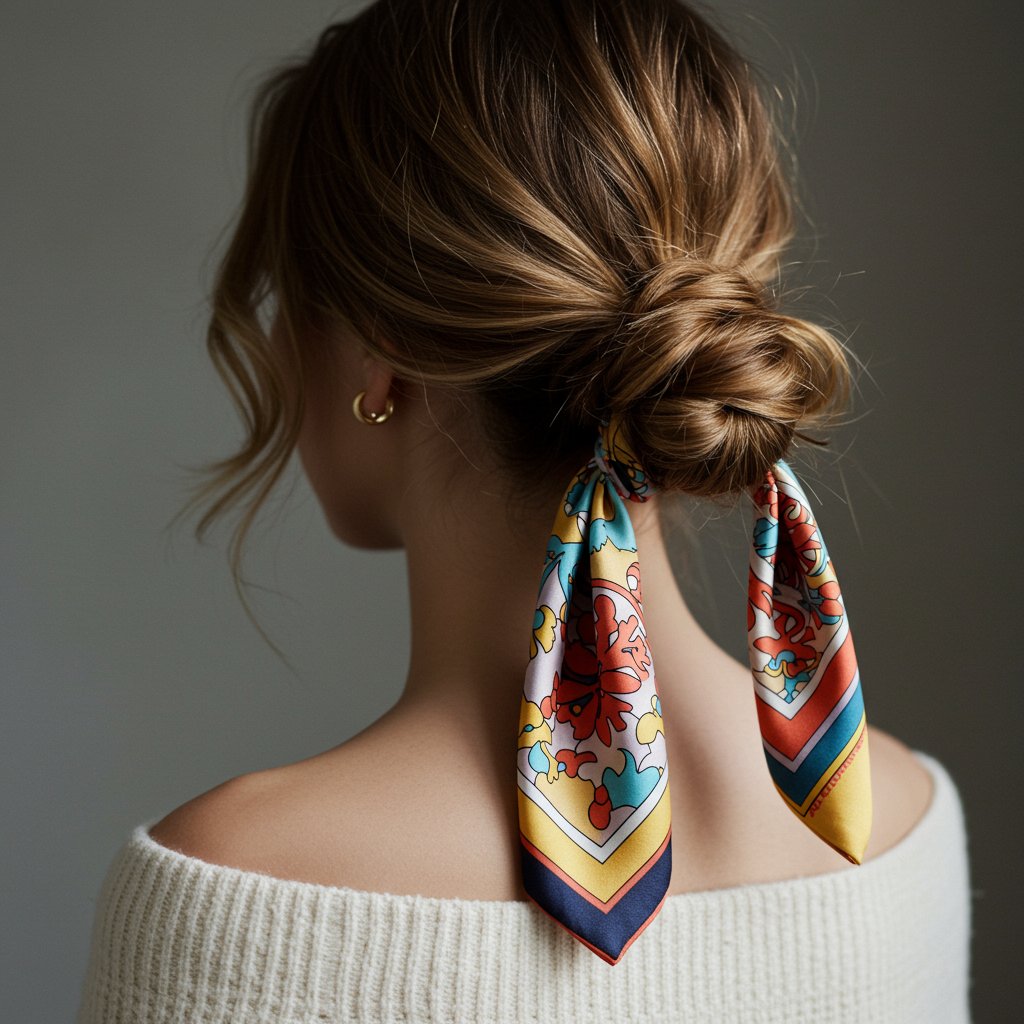
A simple accessory can instantly transform your messy bun. Wrap a silk scarf or ribbon around the base of your bun for a pop of color and a touch of bohemian flair. Strategically place decorative clips or pearl-adorned bobby pins for a more glamorous, intentional look. For a minimalist vibe, a single, elegant metal claw clip can be used to create and secure the bun itself, offering a modern and chic alternative to elastics and pins.Tailoring the Bun to Your Specific Hair Type
Not all hair is created equal, and the secret to a successful messy bun lies in understanding how to work with your unique hair type. What works for fine, straight hair may not provide enough support for thick, heavy locks. Adapting your technique and product choice is essential for a beautiful, long-lasting result.
For Fine or Thin Hair
Volume is your primary goal. Start with a volumizing mousse on damp hair before blow-drying. When prepping with dry shampoo, be generous. Before creating the bun, liberally tease the ponytail to create a fuller base to work with. When you form the loop, make it larger than you think you need. After securing the bun, your 'messing up' step is crucial. Gently pull and pancake the bun to create the illusion of more hair. A light-hold, volumizing hairspray will provide hold without weighing your hair down.For Thick or Heavy Hair
The challenge here is security. Your bun needs to withstand the weight of your hair. Use a strong, durable hair elastic—or even two—to create your initial ponytail. You may want to create two separate ponytails close together and then combine them into one bun for better weight distribution. When pinning, use larger, heavy-duty bobby pins or spin pins, which screw into the bun and provide incredible hold. Don't be afraid to create a tighter initial bun; it will naturally loosen a bit due to the weight of your hair.For Curly or Wavy Hair
Embrace your natural texture! A messy bun on curly hair is stunning because the texture is already built-in. Use a leave-in conditioner or curl cream to define your curls and reduce frizz before you start. Use your fingers to gather your hair to avoid disrupting your curl pattern. When you pull out tendrils, select ones with a well-formed curl to beautifully frame your face. You'll likely need fewer products for texture, but a good anti-frizz finishing spray can be a lifesaver, especially in humid weather.Common Messy Bun Mistakes and How to Fix Them
Even with the best instructions, things can go wrong. Understanding the common pitfalls can help you troubleshoot your way to the perfect messy bun. The most frequent issues are often simple to correct with a small adjustment in technique.
One of the most common problems is the 'perfect donut' bun. This happens when the hair is wrapped too tightly and uniformly, creating a severe, ballet-like bun rather than a relaxed one. The fix is all in the final step: be more aggressive with your pulling and tugging. Isolate different sections of the bun and pull them in opposite directions to break up the perfect circular shape. Another issue is the 'headache-inducing' tight bun. This comes from pulling the initial ponytail too tight. Remember to gather hair loosely with your fingers and keep the elastic firm but not constricting. If it feels too tight, it's better to start over than to endure the discomfort.
Finally, there's the dreaded bun that falls out after an hour. This is almost always a result of inadequate prep work or poor security. Ensure you've built enough grit and texture into the hair with products beforehand. When pinning, make sure you are anchoring the pins to the base hair on your scalp, not just the bun itself. Criss-crossing bobby pins in an 'X' shape creates a much stronger hold than using them individually. For extra security, a light mist of strong-hold hairspray directly on the pins before inserting them can provide additional grip.
Pro-Level Finishing Touches from Salon Experts
Once your bun is shaped and secured, a few final touches can elevate it from a simple updo to a professional-looking style. These are the details that experienced stylists use to perfect a look and ensure it lasts. The first is what's known as 'balancing the silhouette.' Step back and look at your head shape in the mirror from all angles. If one side of the bun looks flat, gently pull a few pieces to add volume. If the top needs more height, use the metal tip of a tail comb to gently lift the hair at your crown. The goal is a pleasing, balanced shape that complements your facial features.
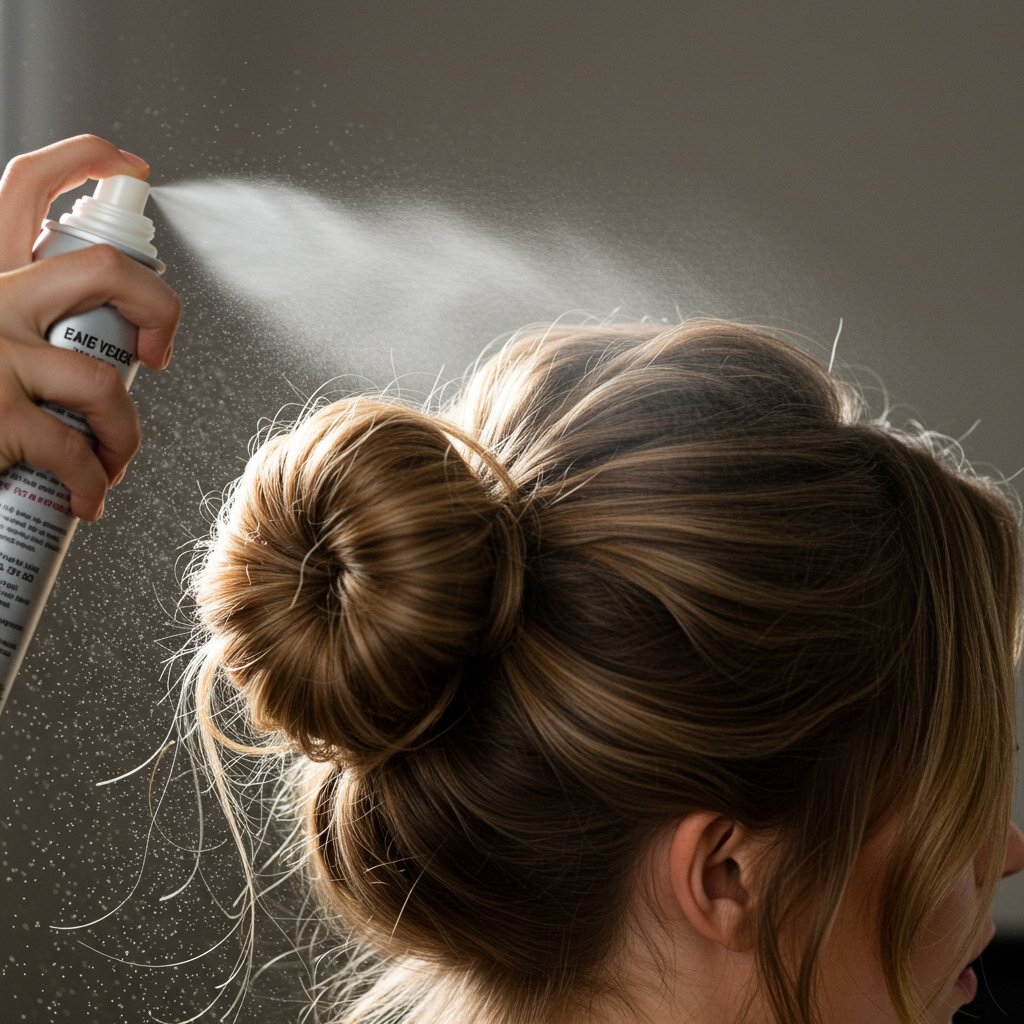
Next, manage your flyaways with intention. A perfect messy bun has some softness around the face, but you don't want a halo of uncontrolled frizz. To tame unwanted flyaways without making the style look stiff, spray a light-hold hairspray onto a clean toothbrush or spoolie and gently brush them into place. For the intentional, soft tendrils around your face, you can add a slight bend with a curling iron or flat iron to make them look polished rather than accidental. Finally, a mist of finishing spray will lock everything in place. Choose a spray that offers hold but also allows for natural movement, preserving the soft, effortless quality of the style.
Quick Tips for a Flawless Messy Bun
- Start with Dirty Hair: Second or third-day hair has the best texture and grip.
- Product is Your Friend: Use dry shampoo for volume and texturizing spray for hold.
- Fingers Over Brushes: Gather hair with your fingers for a more natural, undone look.
- Placement Matters: A high bun is playful, while a low bun is chic and elegant.
- The Two-Tie Trick: For thick hair, use two elastics for a more secure base.
- Pin with Purpose: Anchor bobby pins into the base of the ponytail and criss-cross them for extra hold.
- Don't Aim for Perfection: The beauty is in the imperfection. Tug, pull, and loosen until it feels right.
- Frame Your Face: Always pull out a few soft tendrils around your hairline to soften the look.
Frequently Asked Questions (FAQ)
Q1: How can I make my messy bun stay in all day?
The key to longevity is a combination of preparation and security. Start with textured, second-day hair, use dry shampoo and texturizing spray, and secure the bun with high-quality bobby pins or spin pins, making sure to anchor them to the hair at your scalp.Q2: My messy bun always looks too small. How do I get more volume?
Volume comes from two places: prepping the hair and expanding the bun. Tease your ponytail before you wrap it. After the bun is secured, gently pull and tug on the sections of the bun itself, a technique often called 'pancaking,' to make it appear larger and fuller.Q3: What's the best way to get face-framing pieces without looking messy?
Be intentional. Instead of letting random hairs fall, choose the sections you want to leave out from the beginning. Typically, these are small sections from your temples and by your ears. You can use a curling wand to give them a soft, uniform wave so they look purposefully styled.Q4: Can I do a messy bun with shoulder-length hair?
Absolutely! For shorter hair, you may need to create two small buns and pin them together to create the illusion of one larger bun. Alternatively, a half-up messy bun is a perfect style for medium-length hair. You may also need more bobby pins to tuck in shorter layers.Q5: My hair is very straight and silky. How do I get it to hold a messy bun?
You must create artificial texture. Use a texturizing spray, sea salt spray, or even a texture powder generously before you begin. Avoid conditioning the roots of your hair when you wash it. A light mist of hairspray on your ponytail before you loop it can also provide extra grip.Conclusion: Embrace Your Inner Stylist
The perfect messy bun is a true hairstyle chameleon—it's versatile, timeless, and universally flattering. By understanding the core principles of preparation, technique, and personalization, you can move beyond frustration and truly master this iconic look. It’s not about achieving a flawless, symmetrical updo, but about creating a style that reflects your personality and feels authentically you. The techniques and tips outlined in this guide are your toolkit for success.
Don't be discouraged if your first few attempts aren't perfect. Like any skill, practice is key. Experiment with different placements, levels of 'messiness,' and accessories to discover what works best for you and your hair. Armed with this knowledge, you now have the power to create a stunning, salon-worthy messy bun anytime, anywhere. So go ahead, embrace the beautiful, controlled chaos and enjoy the confidence that comes with mastering the art of the perfect messy bun.


