Volume and Grace: How to Achieve the Perfect Half Up Half Down Hairstyle | Pro Salon Guide
The Timeless Allure of Volume and Grace
The half up half down hairstyle is more than just a trend; it's a timeless classic that effortlessly bridges the gap between casual chic and formal elegance. It offers the best of both worlds: the sophistication of an updo with the soft, romantic flow of wearing your hair down. From red carpets to wedding aisles, this versatile look has proven its staying power. But what truly elevates a simple half up style into a breathtaking masterpiece? The secret lies in two key elements: volume and grace. Achieving that perfect lift at the crown and ensuring a seamless, elegant flow is an art form. This comprehensive guide will walk you through every step, from foundational prep to the final, polished details, helping you master the perfect half up half down hairstyle.
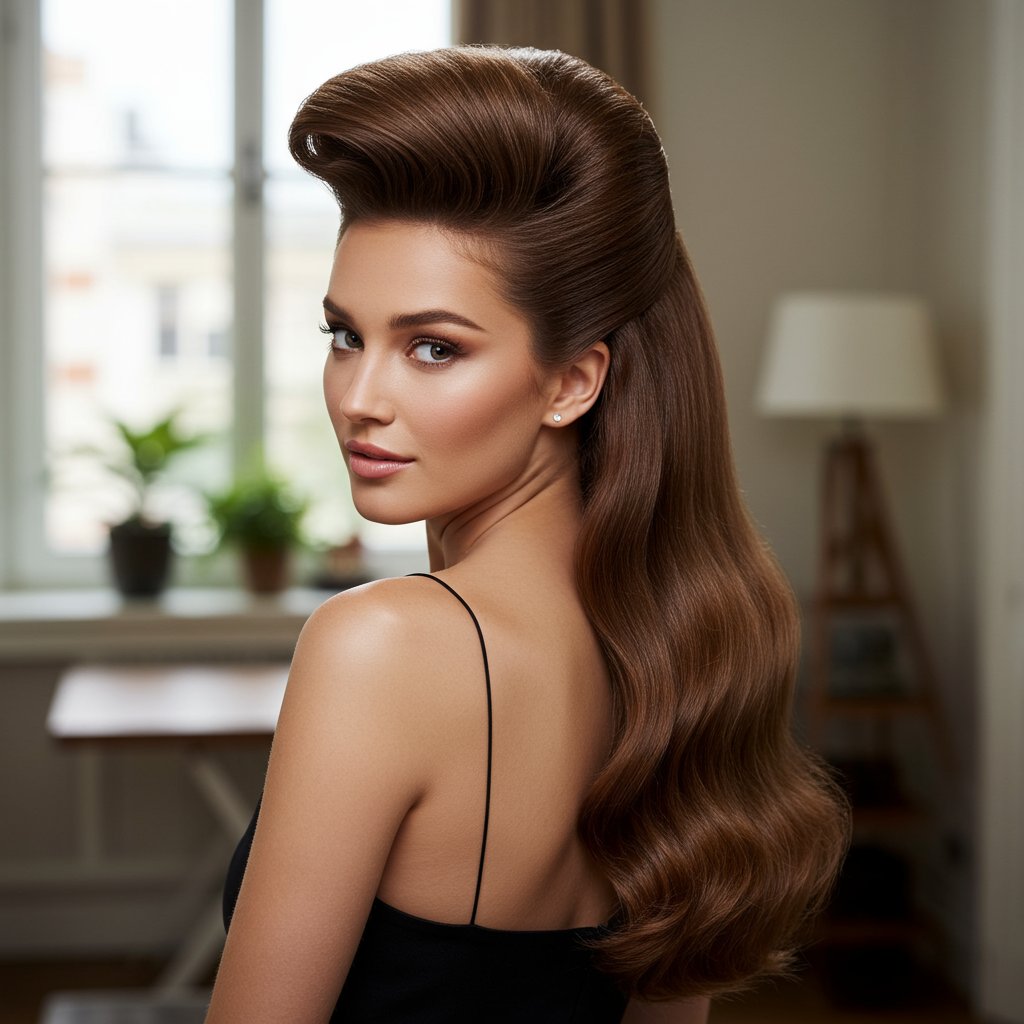
This isn't just about pulling back a few strands of hair. It’s about creating a structure that looks both effortless and intentional. It’s about understanding your hair type and using the right techniques and products to build a foundation of volume that lasts all day and night. Whether you have fine hair that craves lift or thick hair that needs taming, the principles of creating a balanced, voluminous, and graceful silhouette remain the same. Prepare to unlock the professional secrets that turn a good hairstyle into an unforgettable one, perfect for any occasion that calls for a touch of refined beauty.
The Foundation: Prepping Your Hair for Maximum Volume and Hold
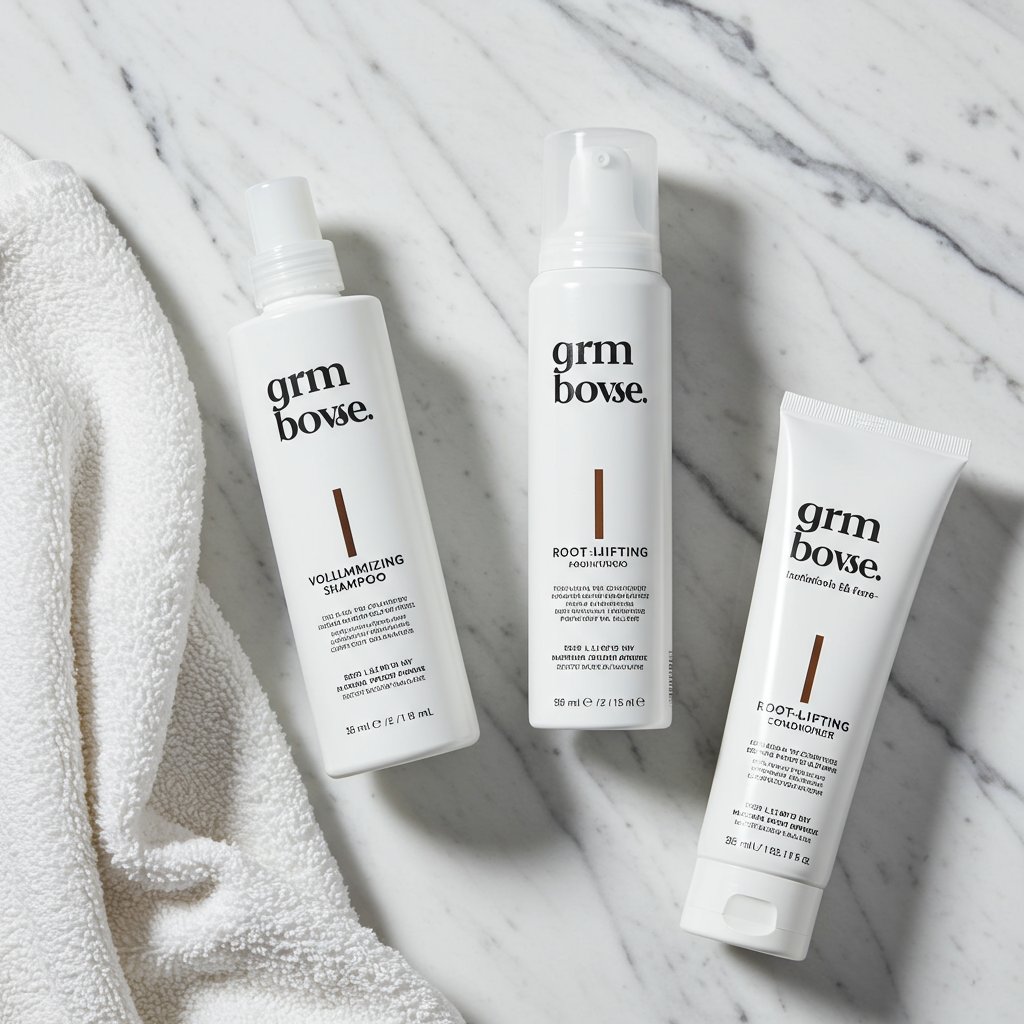
Every great hairstyle begins not with a comb, but in the shower. The preparation phase is arguably the most crucial step in achieving a half up half down look with impressive volume and staying power. Starting with a clean slate is essential, but using the right products can make all the difference. Opt for a high-quality volumizing shampoo and conditioner. These formulas are specifically designed to cleanse without weighing hair down, often containing ingredients that plump the hair shaft and create a foundation for lift. When conditioning, focus the product on the mid-lengths and ends, avoiding the roots where it can counteract your volumizing efforts.
Once your hair is clean, the blow-drying technique becomes your primary tool for building volume. Towel-dry your hair gently to remove excess moisture, then apply a root-lifting spray or a golf-ball-sized amount of volumizing mousse directly to the roots. For maximum lift, flip your hair upside down and blow-dry, directing the airflow at the roots. This simple trick encourages the roots to stand away from the scalp, creating natural volume. When your hair is about 80% dry, flip it back up and continue drying with a large round brush. Lift sections of hair at the crown straight up and wrap them around the brush, directing heat at the roots before pulling the brush through to the ends. This method smooths the cuticle for a polished finish while locking in that crucial height.
Building the Base: Essential Techniques for Creating Lasting Volume
With your hair prepped and dried for volume, the next stage is to build a solid, lasting structure at the crown. This is where professional techniques come into play to ensure your style doesn't fall flat within an hour. Without a strong internal framework, even the most beautiful style will deflate. These methods create a hidden scaffold of support that keeps your hair lifted and full of life.
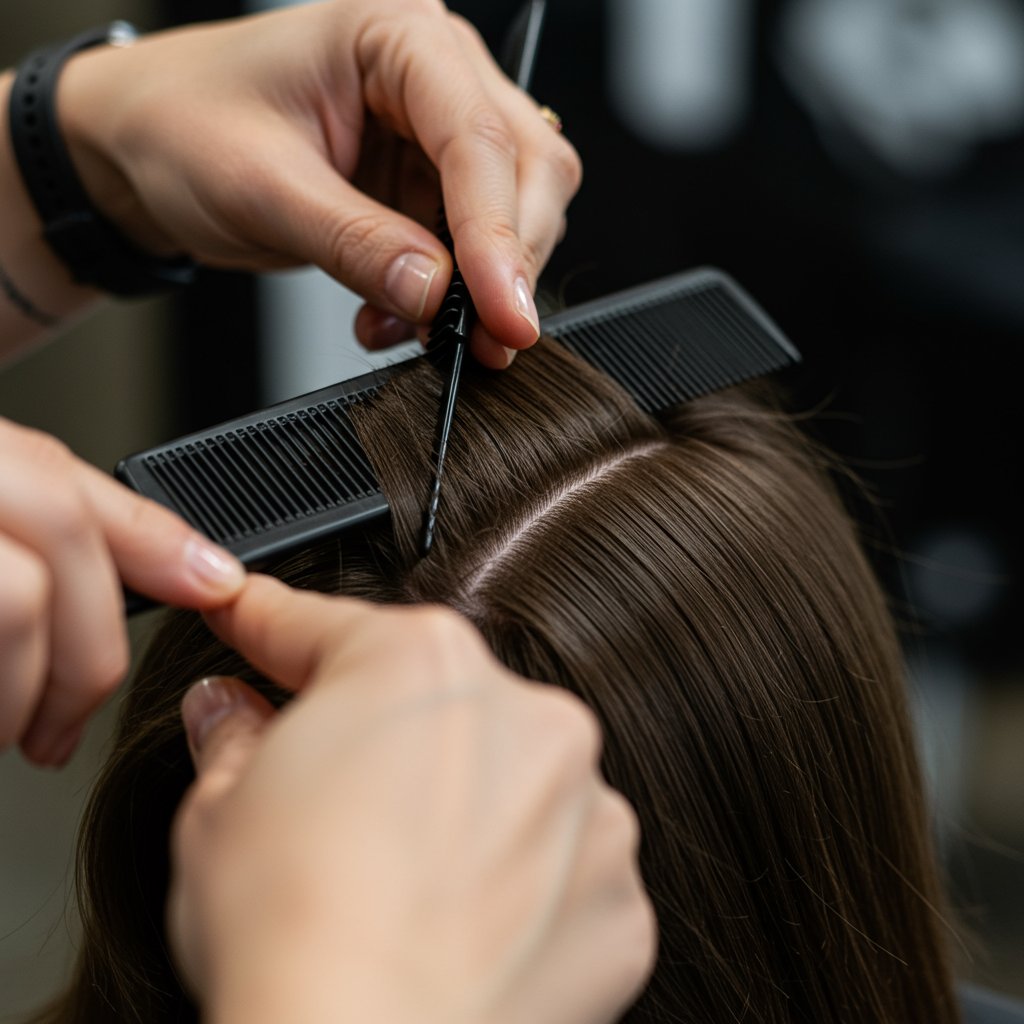
The Art of Teasing (Backcombing)
Teasing has a bad reputation for being damaging, but when done correctly, it's the most effective way to create instant, targeted volume. The key is to be gentle. Work with small, one-to-two-inch sections at the crown. Hold a section of hair straight up, taut. Place a fine-tooth comb or a specialized teasing brush about two inches from the scalp. Gently push the comb down towards the scalp in two or three short strokes. Avoid aggressive, sawing motions. This creates a 'cushion' of hair at the root. After teasing a section, lay it gently over to the side and move to the next. Once you have teased all the desired sections at the crown, use your fingers or the smooth side of your comb to gently smooth over the very top layer of hair, concealing the teased cushion underneath without pressing down on it.Strategic Crimping for Hidden Lift
For those with very fine or stubbornly flat hair, a micro-crimper can be a game-changer. This isn't the 80s-style crimp you might be picturing. A modern micro-crimper has very small, zigzag plates that create a subtle texture. To use it for volume, take a thin section of hair from underneath the top layer at the crown (the layer you want to remain smooth). Crimp just the first one or two inches of the hair at the root. Let it cool, then release. Repeat this on a few underlying sections. When you lay the smooth top layer of hair over these crimped roots, the added texture acts as a support system, pushing the top layer up and creating incredible, long-lasting volume that is completely invisible.The Blueprint: How to Section Your Hair for a Flawless Finish
How you section your hair determines the entire silhouette and personality of your half up half down style. It’s the architectural blueprint of the look. Taking a moment to plan your partings will result in a more polished, professional, and flattering finish. The goal is to create clean lines that complement your face shape and the overall aesthetic you're aiming for. Use the tail end of a rat-tail comb for the most precise partings.
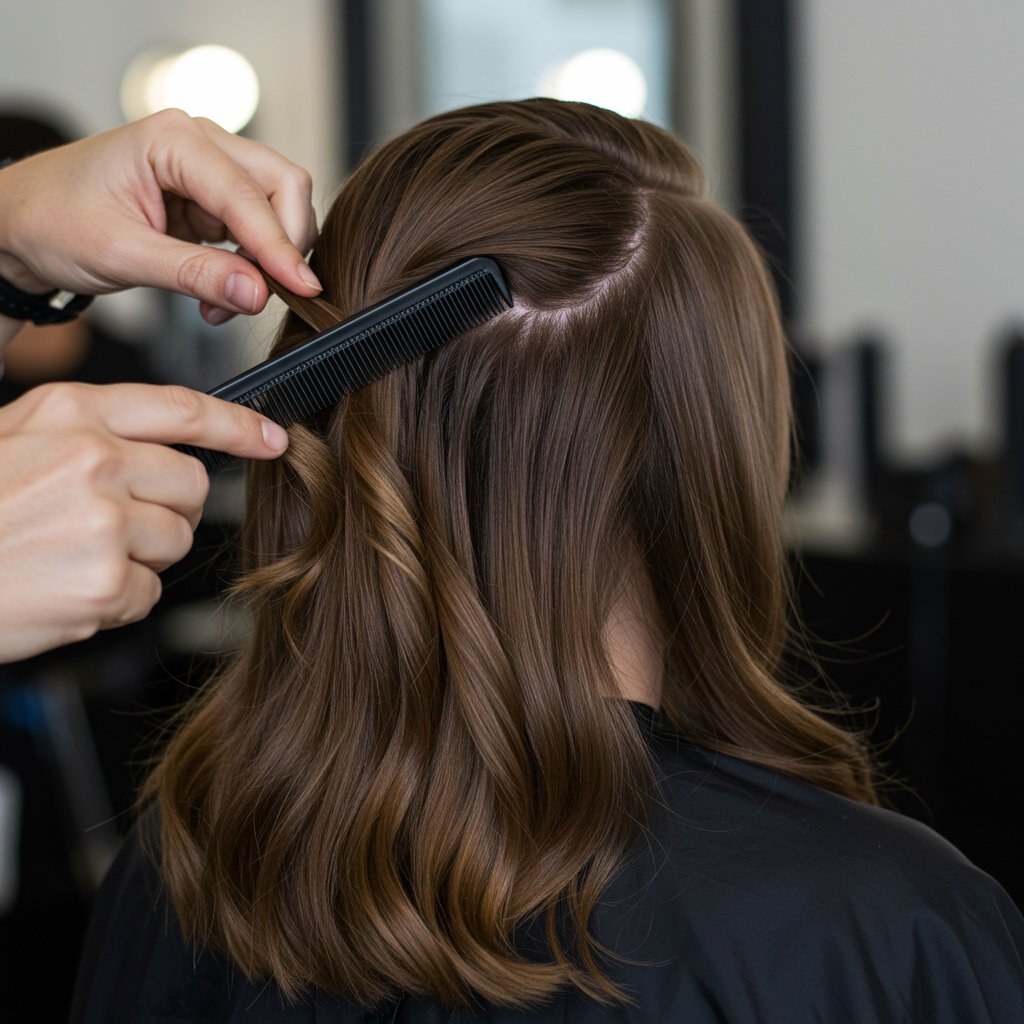
A classic approach is to part the hair from ear to ear, gathering the entire top section. For a softer, more romantic look, start your part higher up, about two inches back from your hairline near your temples, and draw a line back. This creates a V-shape at the back of the head, which can be very elegant. Another option is a deep side part; this creates a dramatic, sweeping effect at the front and adds an element of Hollywood glamour. Consider your face shape: a centered part can be very flattering for oval faces, while a side part can soften the angles of a square or heart-shaped face. Always ensure your part lines are clean and deliberate, as messy sectioning can make the entire style look untidy.
Securing with Grace: Techniques for a Polished and Stable 'Up' Section
Once you have your voluminous crown and clean sections, the next step is to secure the 'up' portion in a way that is both beautiful and completely stable. A drooping or loose style can ruin the effect. The trick is to create a secure anchor point without it looking bulky or obvious. There are several professional methods to achieve this, ranging from the classic to the more intricate.
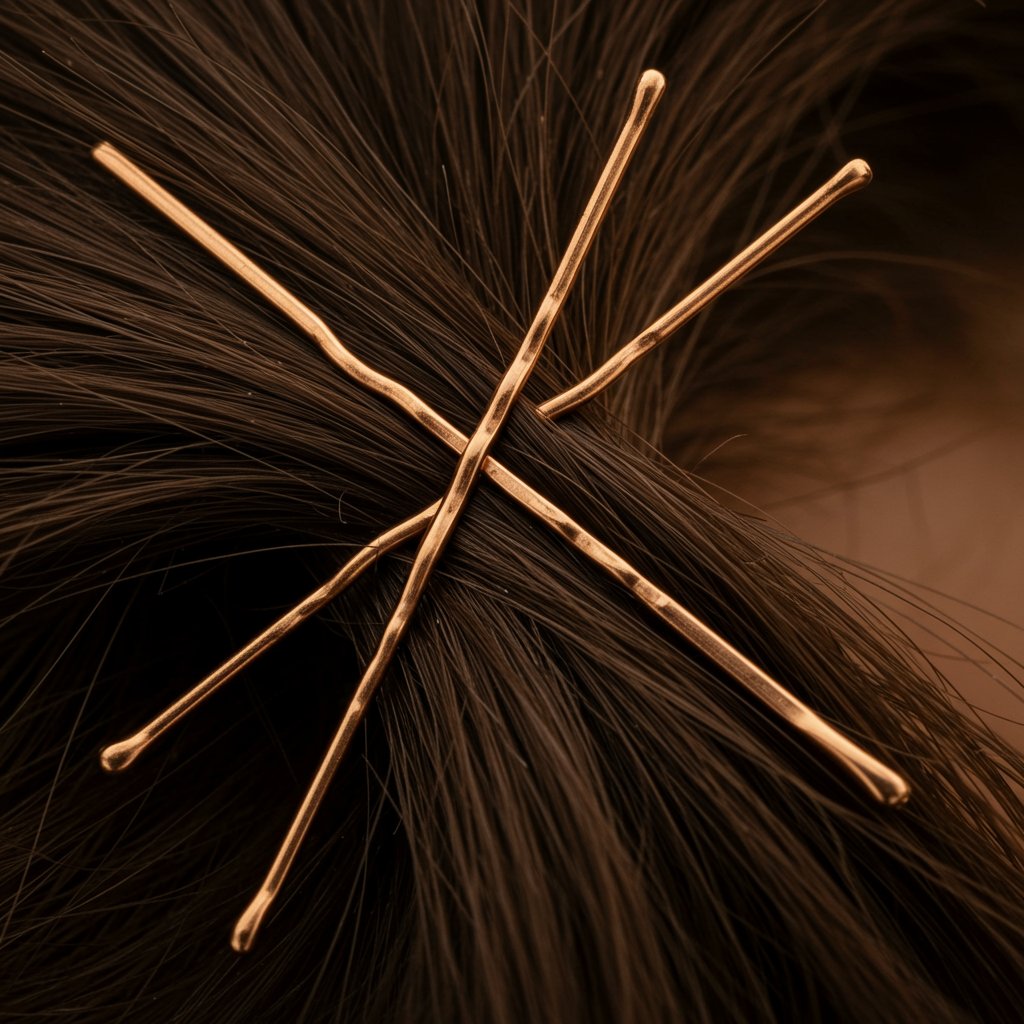
The Classic Pin and Tuck
Bobby pins are a stylist's best friend, but only when used correctly. The common mistake is to simply slide them in. For maximum hold, always insert the bobby pin with the wavy side against the scalp—this provides better grip. For an unshakable hold, use the criss-cross technique. After gathering your top section, insert one bobby pin horizontally. Then, slide a second pin over the first in the opposite direction, creating an 'X'. This locks the hair in place. For a truly invisible finish, lift the secured hair slightly and pin underneath the section, pushing the pin up into the base.The Invisible Elastic Trick
For ultimate security, especially for those with heavy or thick hair, a small, clear elastic is your secret weapon. Gather the top section of hair and secure it tightly with a clear elastic, creating a small ponytail. Then, you can conceal the elastic. One simple way is to take a small strand of hair from the tail, wrap it around the elastic until it's completely hidden, and secure the end by tucking it under the band or using a single, small bobby pin. This creates a sleek, polished 'ponytail' base that can then be styled, or you can gently pull on the hair at the crown above the elastic (pancaking) to re-emphasize the volume.Incorporating Braids and Twists
For a touch of bohemian or romantic flair, incorporate braids or twists into the securing process. Instead of just pulling the side sections back, create a small French braid or a simple twist on each side. When you bring them to the back of your head to meet, they not only add a beautiful detail but also provide a more distributed and secure hold. You can pin them over each other or tie them together with a small elastic before concealing it. This technique is fantastic for adding visual interest and breaking up a simple style.Styling the 'Down' Portion: From Cascading Curls to Sleek Perfection
The beauty of the half up half down hairstyle is its duality. While the 'up' portion provides structure and volume, the 'down' portion sets the mood. This is your opportunity to define the style's personality, whether it's romantic, glamorous, beachy, or modern and chic. The key is to ensure the style of the bottom half complements the top.

Romantic Waves and Curls
For a timeless, elegant look perfect for weddings or formal events, large, cascading curls are the go-to. Use a 1.25-inch or 1.5-inch curling iron or wand. To ensure the curls last, work in small sections and pin each fresh curl to your head with a clip to let it cool completely. This 'setting' process helps the hair memorize the shape. Once all sections are curled and cooled, gently release the pins and brush through them with your fingers or a wide-tooth comb to soften them into cohesive, flowing waves. A light mist of flexible-hold hairspray will keep them bouncy without stiffness.Beachy, Textured Waves
For a more relaxed, effortless vibe, beachy waves are the perfect choice. This look is less about uniform curls and more about texture and movement. A great technique is to use a flat iron to create 'S' waves by bending the iron back and forth down the hair shaft. Alternatively, use a curling wand, but wrap the hair loosely and leave the last inch or two of the ends out for a more modern, undone look. After waving, spritz a sea salt or texture spray throughout the lengths and scrunch the hair with your hands to enhance the piecey, lived-in feel.Glass Hair: Sleek and Straight
For a bold, contemporary statement, contrast the volume at the crown with a super-sleek, straight 'down' section. This 'glass hair' effect requires meticulous straightening. After applying a heat protectant, use a high-quality flat iron and work in very small, thin sections. Pass the iron over each section slowly and deliberately from root to tip, possibly using the 'comb chase' method (running a fine-tooth comb directly in front of the flat iron) for the smoothest possible finish. Complete the look with a shine serum or a glossing spray to create that reflective, mirror-like surface.The Final Polish: Finishing Touches for a Red-Carpet Look
The final 10% of styling is what separates a good hairstyle from a great one. These finishing touches tame imperfections and lock everything in place for a flawless, professional result. First, tackle any flyaways. You can spray a light-hold hairspray onto a clean mascara spoolie or a toothbrush and gently brush down any stray hairs around your hairline and part. For the main body of your hair, a shine spray will add a healthy, lustrous finish, while a light mist of texturizing spray can add a bit of grit and separation to your waves or curls.
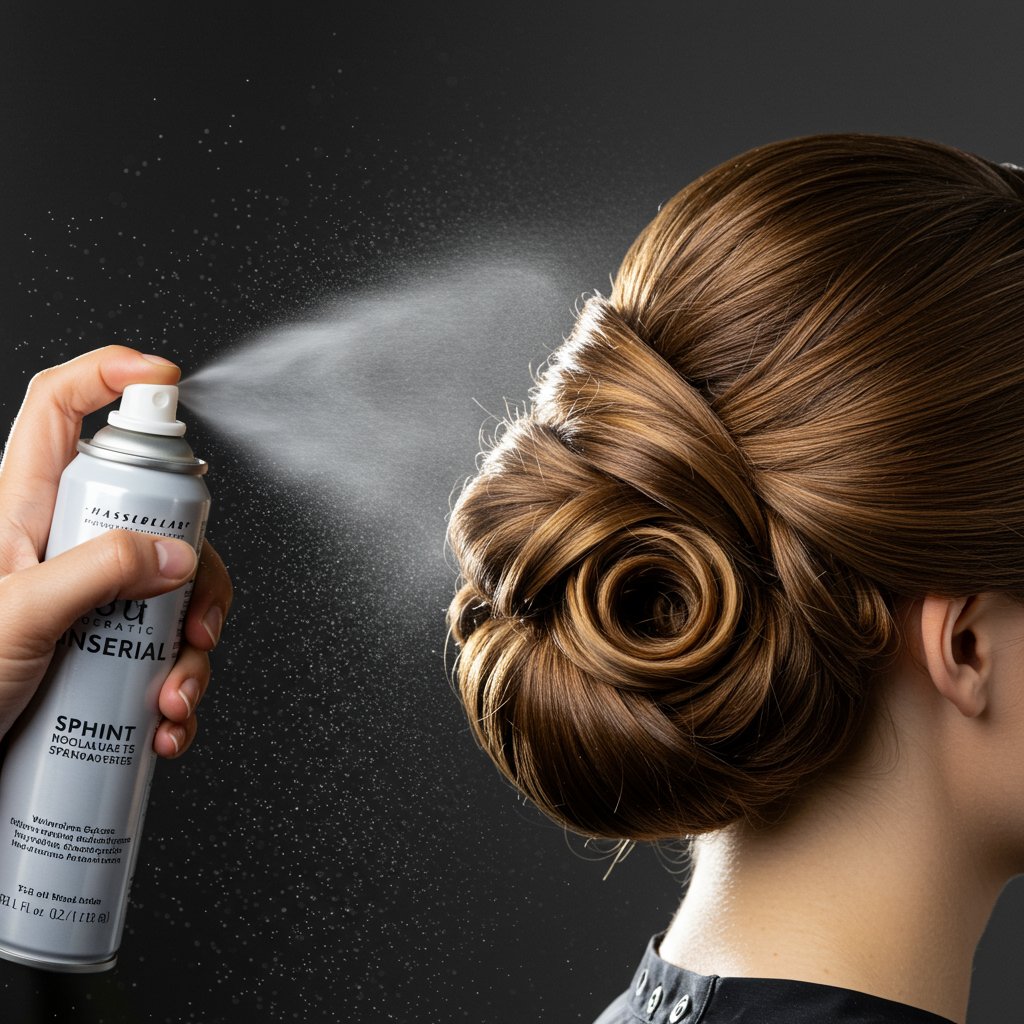
When it comes to hairspray, choose the right formula and apply it correctly. For holding volume, lift the top sections and spray underneath, at the root. For an all-over hold, hold the can about 10-12 inches away from your head and spray in a continuous mist to avoid creating wet, crunchy spots. Finally, consider accessories. A delicate, pearl-encrusted clip, a few floral pins tucked into a twist, or a simple velvet ribbon can instantly elevate the hairstyle, personalizing it and tying it into your overall outfit or event theme.
Pro Tips for a Perfect Half Up Half Down Every Time
- Start with Second-Day Hair: Hair that hasn't been freshly washed often has more grit and texture, which provides a better grip for pins and helps hold volume longer.
- Dry Shampoo is Your Friend: Even on clean hair, a spritz of dry shampoo at the roots before you begin styling can absorb excess oils and provide a fantastic texture for building volume.
- Customize to Your Face Shape: If you have a rounder face, aim for more height at the crown to elongate your features. If you have a longer face, focus on a bit more width and softness around the sides.
- Don't Pull Too Tight: When gathering the top section, avoid pulling the sides back too severely. Leaving some softness and loose tendrils around the face creates a more romantic and flattering frame.
- Set Your Style with a Cool Shot: After blow-drying or heat styling, use the 'cool shot' button on your hairdryer. This blast of cold air helps to close the hair cuticle and set the style in place for longer-lasting results.
Frequently Asked Questions About the Half Up Half Down Hairstyle
How do I get my half up style to not fall flat?
The key is building a strong foundation. Use volumizing products from the start, blow-dry your hair upside down, and use teasing or micro-crimping at the roots before you secure the top section. A final spritz of a strong-hold hairspray aimed at the roots will also provide extra support.Is this style suitable for short or medium-length hair?
Absolutely! For shorter hair (like a bob or lob), you'll take a smaller top section. The effect is chic and modern. You might focus on creating texture in the 'down' portion rather than long curls. Using smaller, strategically placed pins will be key to securing shorter layers.What's the best way to hide bobby pins and elastics?
For elastics, wrap a small piece of your own hair around the band and pin it underneath. For bobby pins, try to match their color to your hair color. The ultimate trick is to angle them so they are inserted within the base of the hair you are securing, rather than just laying them on top.Can I do this hairstyle on fine hair?
Yes, this style can be fantastic for fine hair as it concentrates volume on top, making hair appear fuller. Rely heavily on prep products like mousse and root lifter. The hidden micro-crimping technique is particularly effective for fine hair as it provides structure without weighing it down.How can I make my half up half down hairstyle more formal for a wedding?
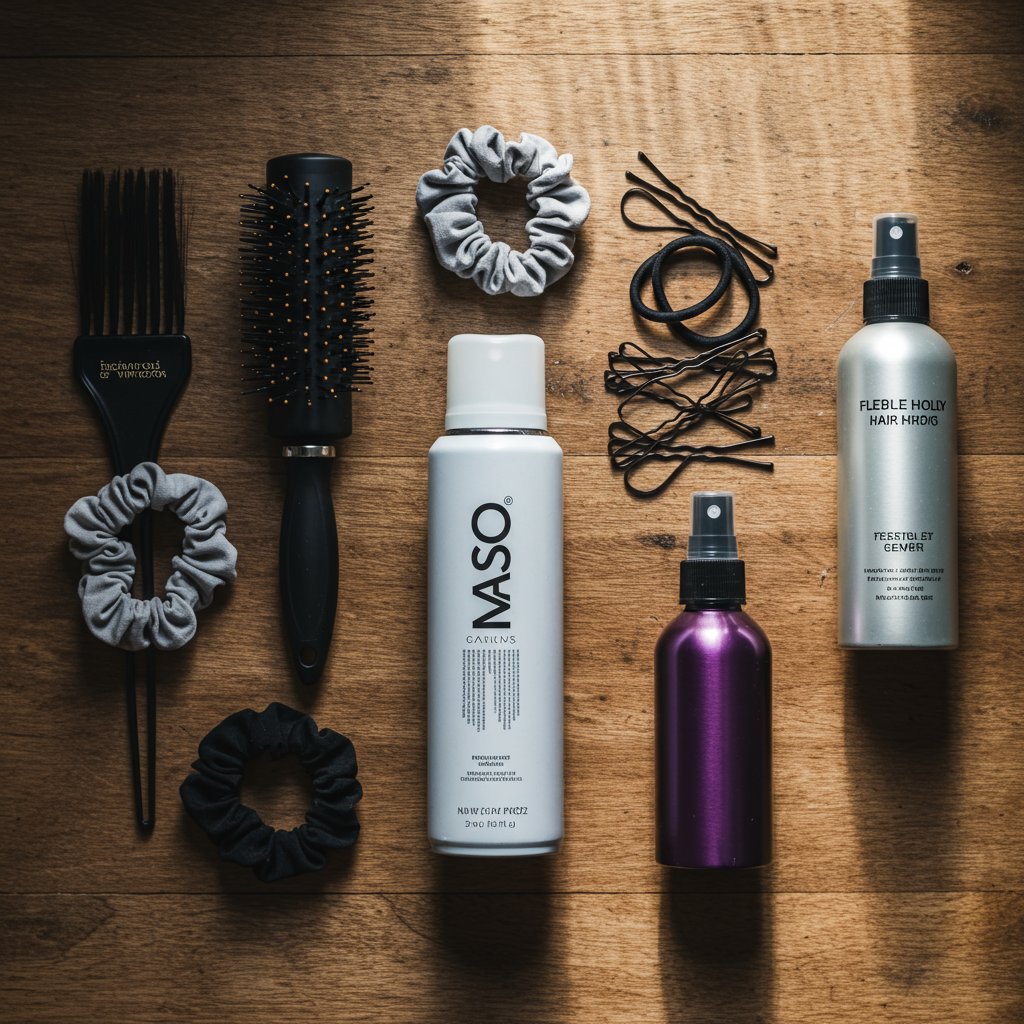
To elevate the style, focus on smoothness and polish. Opt for uniform, glossy curls or a perfectly coiffed bouffant at the crown. Incorporate elegant details like a braid or twist in the 'up' section. Adding sophisticated accessories like pearl pins, a crystal comb, or a delicate vine is the perfect finishing touch for a bride or wedding guest.What are the three most essential products for this style?
If you had to choose only three, they would be: 1. A volumizing mousse or root lifter to build the initial foundation. 2. A texturizing spray or dry shampoo to provide grip and grit for teasing and pinning. 3. A flexible-hold hairspray to set the style without making it look stiff or unnatural.Embrace Your Inner Grace with the Perfect Hairstyle
The half up half down hairstyle is a true celebration of hair's versatility, offering a canvas for expressing everything from relaxed confidence to sophisticated elegance. By mastering the core principles of preparation, volume creation, secure sectioning, and detailed finishing, you can transform this simple concept into a stunning work of art. Remember that the perfect style is a journey of layers—from the volumizing mousse at the roots to the final mist of shine spray.
Don't be afraid to experiment with different partings, textures, and accessories to find the variation that makes you feel most beautiful and confident. While this guide provides the blueprint for achieving a salon-quality look at home, for those truly momentous occasions, consulting with an experienced stylist can take your vision to the next level. A professional can tailor the style perfectly to your hair type, face shape, and event, ensuring your look is nothing short of perfection. Ultimately, the perfect half up half down hairstyle is one that balances structure with softness, creating a look of timeless volume and grace.


