The Dos and Don'ts of Cutting Your Own Hair | A Professional Guide
The Temptation of a DIY Haircut: Should You Really Do It?
The urge can strike at any moment. You see a split end, your bangs are in your eyes, or you're simply craving a change, and the kitchen scissors start to look appealing. The idea of cutting your own hair can be empowering and budget-friendly, but it’s a path filled with potential pitfalls. Before you make that first snip, it's crucial to understand that there's a fine line between a successful micro-trim and a full-blown hair catastrophe that requires professional intervention. This comprehensive guide is designed to walk you through the essential dos and don'ts, helping you make an informed decision and, if you choose to proceed, equipping you with the knowledge to do so as safely as possible.

While the convenience of an at-home haircut is undeniable, it’s important to respect the craft. Professional hairstylists undergo extensive training to understand hair anatomy, growth patterns, and the precise geometric angles required for a flattering, even cut. This guide isn't a replacement for that expertise but rather a harm-reduction resource for those determined to attempt a minor trim. We'll cover everything from the non-negotiable tools you'll need to the techniques that can save you from disaster, and most importantly, when to recognize your limits and step away from the mirror.
The Golden Rule: Preparation is Everything (A "Do")
Success in cutting your own hair begins long before the scissors touch a single strand. Rushing into the process without the right tools and environment is the number one cause of DIY hair disasters. Proper preparation demonstrates respect for your hair and significantly increases your chances of a satisfactory result. Think of it as setting up a sterile, organized workspace for a delicate procedure—because that's exactly what it is. A well-lit area, the correct equipment, and clean, dry hair are the foundational pillars of a successful at-home trim.
Do: Invest in Proper Tools
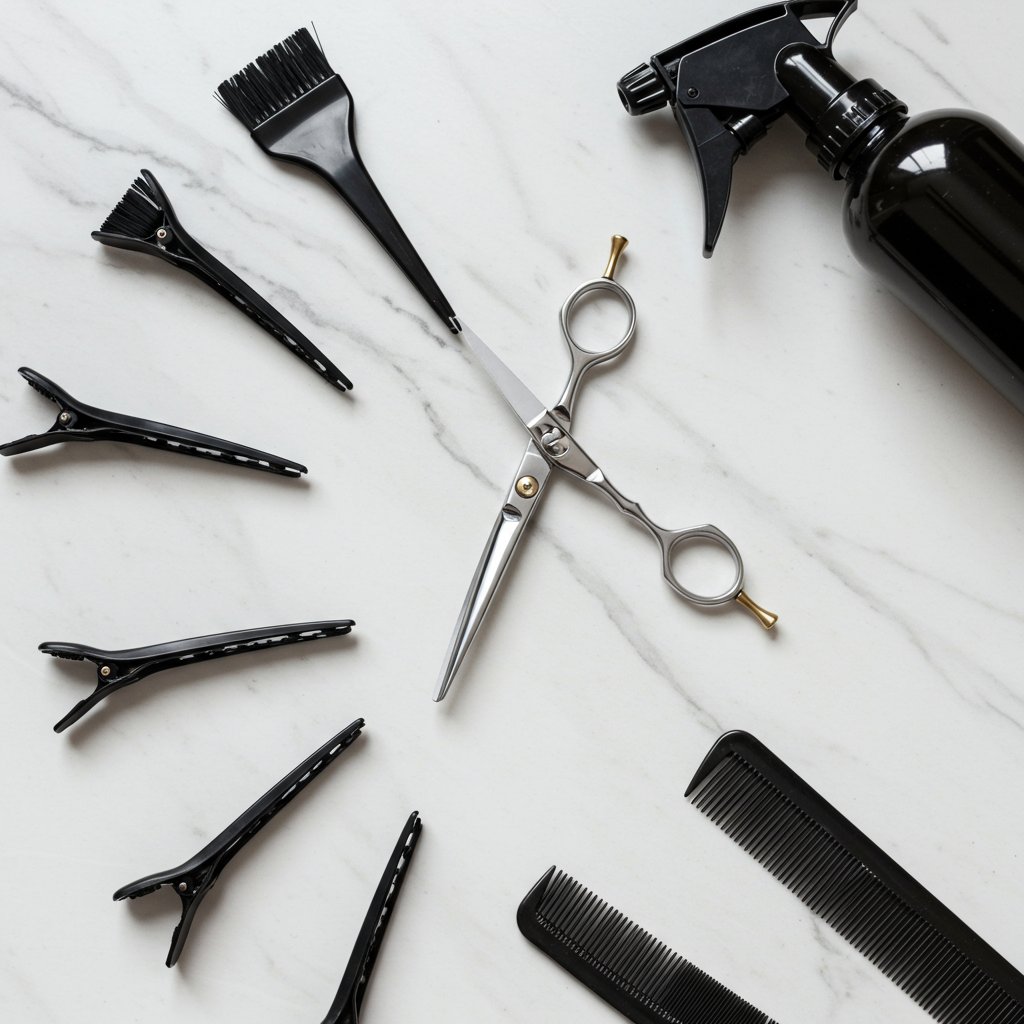
This is the most critical "do" on the list. The single most important investment you can make is in a pair of professional hair-cutting shears. These are specifically designed with a sharp, fine edge to slice cleanly through hair. Do not, under any circumstances, use kitchen scissors, craft scissors, or nail scissors. These implements are too dull; they will bend, chew, and crush the hair cuticle, leading to immediate split ends and long-term damage. You'll also need a fine-toothed comb for creating clean parts, a wide-toothed comb for detangling, and several strong clips to section your hair. Sectioning is a professional technique that allows you to work with small, manageable amounts of hair at a time, ensuring a much more even and controlled cut.Don't: Neglect Your Workspace
Cutting your hair in a dimly lit bathroom with a single, foggy mirror is a recipe for uneven lines and frustration. Set yourself up for success by creating a dedicated cutting station. Find a room with the best possible natural light. Set up a large, clean mirror in front of you and a secondary handheld or wall-mounted mirror to see the back of your head—a three-way mirror is ideal if you have one. Drape a towel or a cutting cape over your shoulders to catch hair clippings and protect your clothes. Having everything you need within arm's reach prevents you from making awkward, potentially disastrous movements mid-cut.Understanding Your Hair: Texture and Type Matter (A "Do")
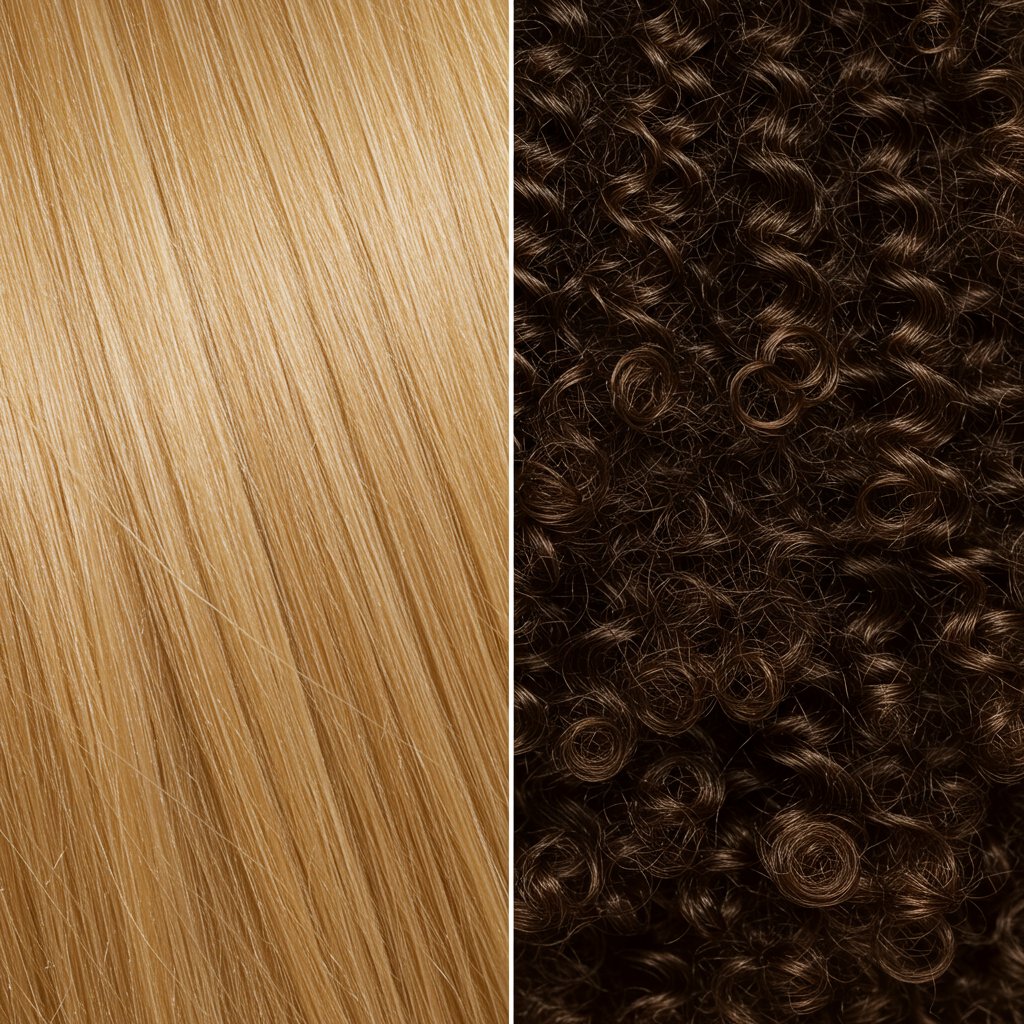
Hair is not a uniform fabric; it's a complex, living fiber with unique characteristics. One of the biggest mistakes people make when cutting their own hair is following a generic online tutorial without considering their specific hair type, texture, and density. A technique that creates beautiful, soft layers on fine, straight hair will create a choppy, pyramid-shaped mess on thick, curly hair. Understanding your hair's personality is fundamental to working with it, not against it.
Do: Assess Your Hair's Needs
Before you begin, have an honest conversation with your hair. Is it straight, wavy, curly, or coily? Is it fine, medium, or coarse? Is it dense or thin? Straight and wavy hair is often cut wet in salons for precision, but for a DIY trim, cutting it clean and dry allows you to see exactly how it will fall and avoid the dreaded "shrinkage" surprise. Curly and coily hair, on the other hand, should almost always be cut dry, in its natural state. This allows you to trim each curl individually, respecting its unique pattern and preventing wonky shapes and uneven lengths once it dries. Pay attention to your growth patterns, especially around the hairline and crown, as these areas can be tricky.Don't: Follow a One-Size-Fits-All Tutorial
YouTube and TikTok are filled with seemingly easy haircut tutorials. While they can be helpful for visual learners, be incredibly selective. Seek out videos created by licensed hairstylists and, more importantly, find a tutorial featuring a model with a hair type and texture as close to yours as possible. Watch the entire video from start to finish before you even pick up your scissors. This helps you understand the full process and identify any steps that seem too complex or risky for your skill level. Remember, what looks simple when performed by a professional is often the result of years of practice and muscle memory.The Technique: Less is Always More
When it comes to at-home haircuts, the governing principle should be minimalism. Your goal is maintenance, not a makeover. The moment you start thinking about a complete transformation—adding layers, cutting a bob, or creating bangs from scratch—is the moment you should put the scissors down and book a salon appointment. Restraint is your best friend. Every snip should be deliberate, conservative, and thoughtful. It's far easier to go back and trim a little more off than it is to cope with accidentally cutting two inches too short.
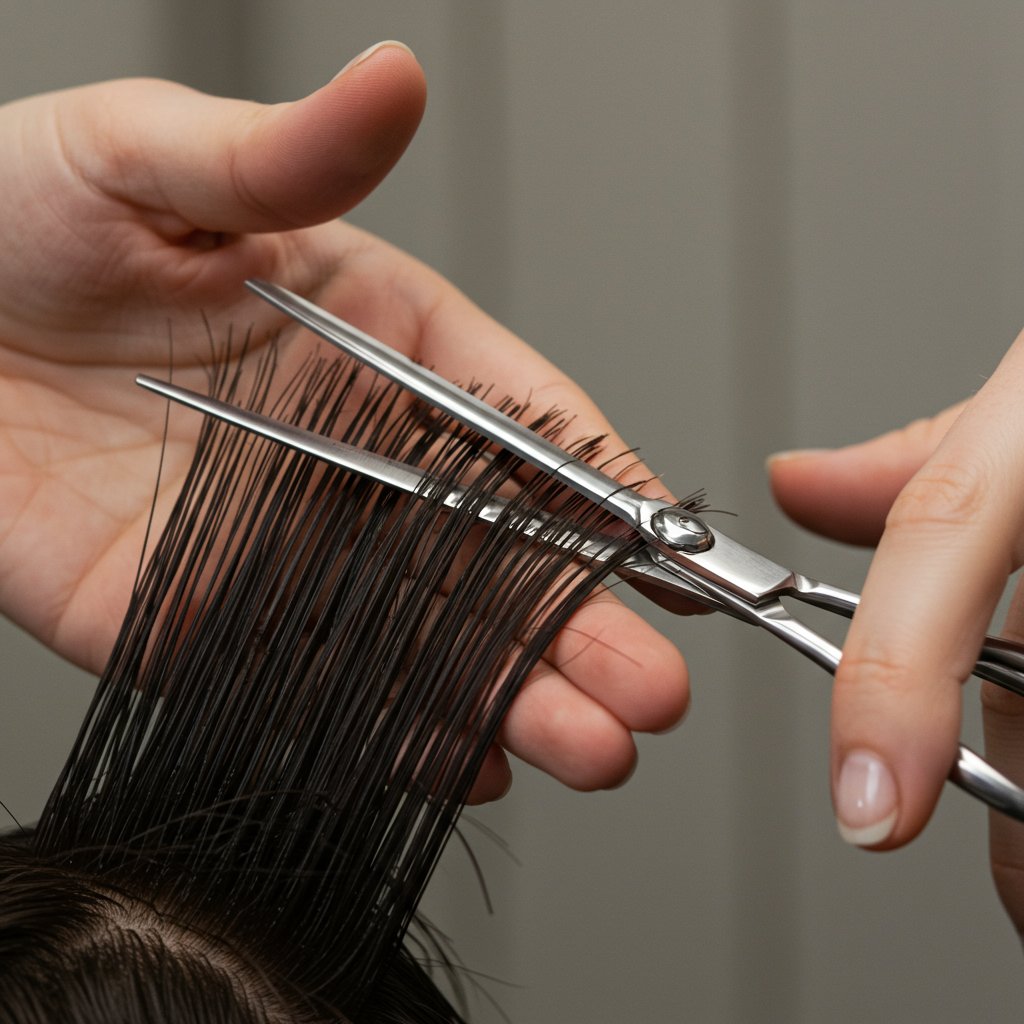
Do: Start Small and Cut Vertically
Always, always, always cut less than you think you need. Hair can look different once it settles, and you can't undo a cut. A good rule of thumb is to aim for half of what you initially plan to remove. For trimming ends, instead of a blunt, horizontal cut which can look harsh and is difficult to get perfectly straight, try "point cutting." After you've created your guideline on a small section, turn the scissors vertically and make tiny snips upwards into the ends. This technique creates a softer, more diffused line that is much more forgiving of slight imperfections. It texturizes the ends, helping them blend more naturally.Don't: Attempt a Drastic Change
A simple, one-length trim across the bottom is the most you should attempt as a beginner. Ambitious styles like layers, bobs, pixie cuts, or intricate fringework require a deep understanding of head shape, weight distribution, elevation, and angles. Attempting to create layers at home often results in choppy, disconnected shelves rather than the soft, blended movement you envision. If you're craving a significant change, channel that energy into researching professional stylists in your area. Use your DIY efforts for what they're best for: extending the life of your professional cut by dusting the ends.The Big "Don'ts": Common Mistakes to Avoid at All Costs
Beyond using the wrong tools or attempting a complex style, there are several behavioral and technical mistakes that consistently lead to haircut regret. These are the crucial "don'ts" that separate a decent trim from a frantic call to a salon for an emergency fix. Avoiding these common errors is just as important as following the "dos."
Don't: Cut When Emotional or Rushed
A breakup, a stressful day at work, or a sudden bout of boredom are not good reasons to perform an irreversible act on your hair. Cutting your own hair requires patience, focus, and a steady hand. If you're feeling impulsive, anxious, or rushed, you're more likely to make a mistake. Choose a time when you are relaxed, have a clear head, and won't be interrupted. Treat it like a focused self-care ritual, not a frantic, impulsive decision.Don't: Cut in a Single, Thick Chunk
One of the most common amateur mistakes is gathering a large ponytail of hair and chopping it off in one go. This will never result in an even cut. The hair at the nape of your neck travels a shorter distance to the end of the ponytail than the hair from the crown of your head. Cutting it all at once will create unintentional, and usually very strange, layers. You must work in small, manageable sections that are no more than half an inch to an inch thick. This is where your clips are essential. Section away all the hair you aren't currently working on to maintain control and precision.The Bangs Dilemma: A Special Warning
Bangs, or a fringe, frame the face and are often the first thing people notice. They are also deceptively difficult to get right, and a mistake is impossible to hide. While trimming existing bangs can be manageable with extreme caution, creating them from scratch is one of the riskiest DIY hair moves you can make. The sectioning, angle, and length must be perfect to suit your face shape and forehead size.

Do: Trim Existing Bangs with Precision
If you already have bangs and just need to get them out of your eyes, you can attempt a micro-trim. First, ensure your bangs are completely dry and styled as you normally wear them. Isolate your bangs by clipping back the rest of your hair. Take a small vertical section of your bangs from the center, comb it straight down without any tension, and identify where you want the new length to be. Make a tiny snip. This is your guide. Then, working your way out, take tiny vertical sections and match them to your guide. Always point cut into the ends to avoid a hard line. And remember the golden rule: cut far less than you think you need. Trim 1/8 of an inch at a time.Don't: Create New Bangs from Nothing
Resist this temptation at all costs. Deciding where the bangs should start, how wide the section should be, and what angle to cut them at are all decisions that require a professional eye. A common mistake is creating a "triangle" section that is too wide, resulting in bangs that incorporate hair from the sides of your head. Another is cutting them too short, leading to a weeks-long waiting game for them to grow out. Leave the creation of a new fringe to an experienced stylist who can assess your face shape and hair type to design the most flattering look.When to Put Down the Scissors: Recognizing Your Limits
The most important skill in cutting your own hair is knowing when not to. Honesty about your abilities and the complexity of your desired outcome is key. A DIY trim is for maintenance, not for artistry. Recognizing your limits will save you from a haircut that takes months to grow out or requires a much shorter, corrective cut from a professional.

Do: Save Complex Jobs for the Pros
If your hair is very curly, requires intricate layering for shape and movement, or has been chemically treated (colored, bleached, or relaxed), it's best to leave it to a professional. These hair types have unique needs and can be unforgiving. Any cut that involves significant length removal, a change of shape (like a bob or pixie), or advanced techniques like texturizing or thinning should be done in a salon. A stylist can not only execute the cut flawlessly but also provide advice on how to maintain your hair's health and style.Don't: Try to Fix a Big Mistake Yourself
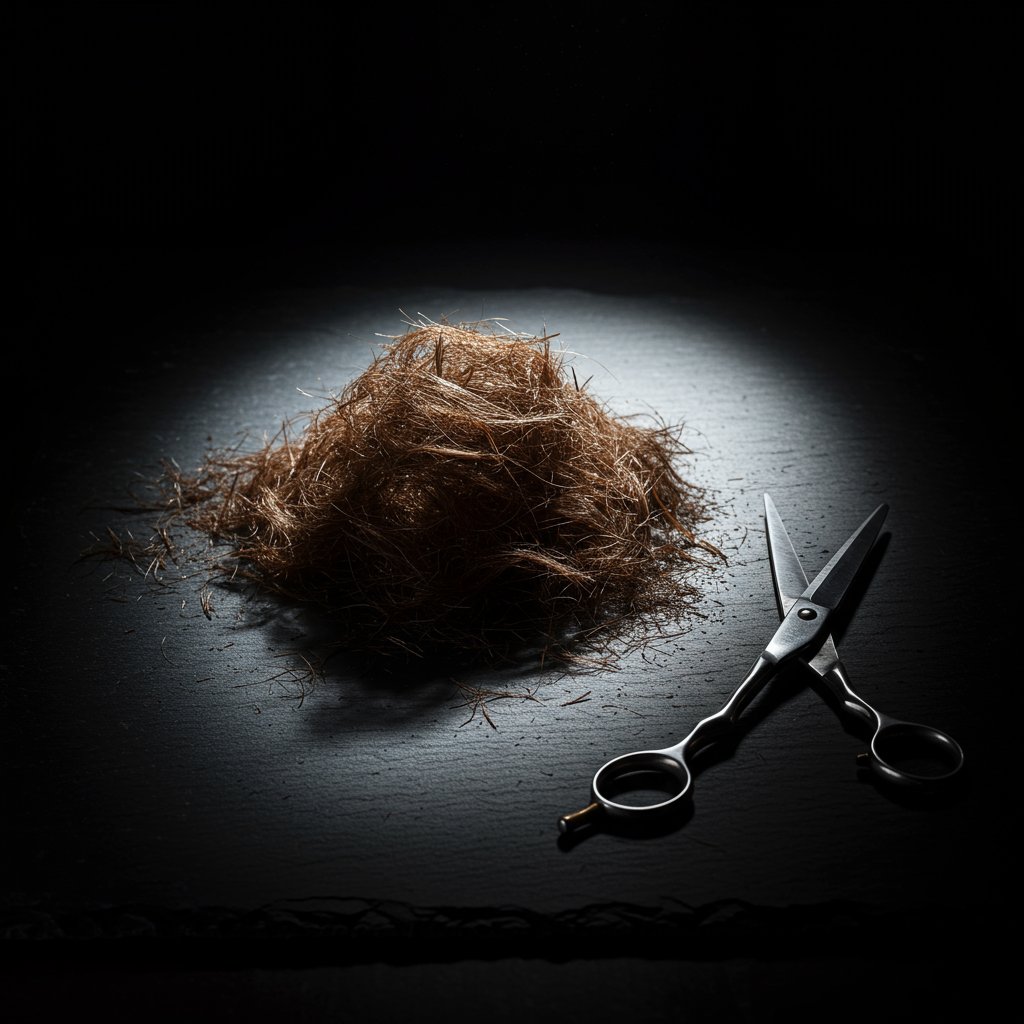
So, you've made a mistake. One side is shorter than the other, or you've found a noticeable chunk missing. Your first instinct might be to go back in and try to even it out. Don't. This is called "chasing the mistake," and it almost always results in the problem getting worse, shorter, and more uneven. Take a deep breath, put the scissors down, and accept the situation. Your best move is to book an appointment with a professional. They have seen it all before and have the skills to reshape your hair, blend the mistake, and salvage your look with minimal length lost.Frequently Asked Questions About Cutting Your Own Hair
Q1: Should I cut my hair wet or dry?
For most people at home, cutting hair when it's clean, dry, and in its natural state is safest. This allows you to see the true length and avoid surprises from shrinkage, especially for wavy and curly hair. Professionals often cut wet for precision, but this requires training to account for how the hair will change as it dries.
Q2: What kind of scissors should I buy for cutting my hair at home?
Invest in professional-grade steel hair-cutting shears. You can find them at beauty supply stores. They should be between 5.5 and 6.5 inches long. Never use kitchen or craft scissors, as they will damage your hair cuticle and cause split ends.Q3: How often can I trim my own hair?
If you're just "dusting" the very ends to remove splits, you can do a micro-trim every 6-8 weeks. However, this should be seen as a way to maintain the shape of your professional haircut, not replace it. You should still see a stylist a few times a year for a proper shaping.Q4: What's the biggest mistake people make when cutting their own hair?
The biggest mistake is being overconfident and attempting a drastic change in style. A simple trim is one thing, but trying to replicate a complex, layered cut seen online is the most common path to a haircut disaster. The second biggest mistake is using the wrong scissors.Q5: Can I really learn to cut my own layers from a video?
While it's technically possible, it's extremely difficult and not recommended. Layering involves precise angles, elevation, and understanding of weight distribution that can't be fully grasped from a video. The risk of creating choppy, uneven "shelves" in your hair is very high.Q6: My DIY haircut is a disaster. What should I do?
Stop cutting immediately. Do not try to fix it yourself. Take a deep breath and book an appointment at a reputable hair salon. Be honest with the stylist about what happened. They are professionals trained in corrective cutting and will be ableto help you find the best solution.Conclusion: Your Hair's Health is Worth the Investment
Navigating the world of cutting your own hair is about knowing the rules and, more importantly, respecting them. A careful, conservative trim to remove split ends can be a successful endeavor if you are properly prepared with the right tools, knowledge, and a patient mindset. It's about maintenance, not a makeover. Remember to start small, work in clean sections, and never attempt a dramatic new style on your own.
Ultimately, the skill, artistry, and trained eye of a professional hairstylist are irreplaceable. They provide more than just a haircut; they provide a personalized assessment of your hair's health, a style tailored to your face shape and lifestyle, and the peace of mind that comes with being in expert hands. While a DIY dusting can prolong the life of your cut, investing in regular professional appointments is the surest way to keep your hair healthy, stylish, and beautiful. Your hair is your crown—treat it with the care and expertise it deserves.


