The Wet Look Hair Guide: How to Achieve It Without Looking Greasy | Pro Tips
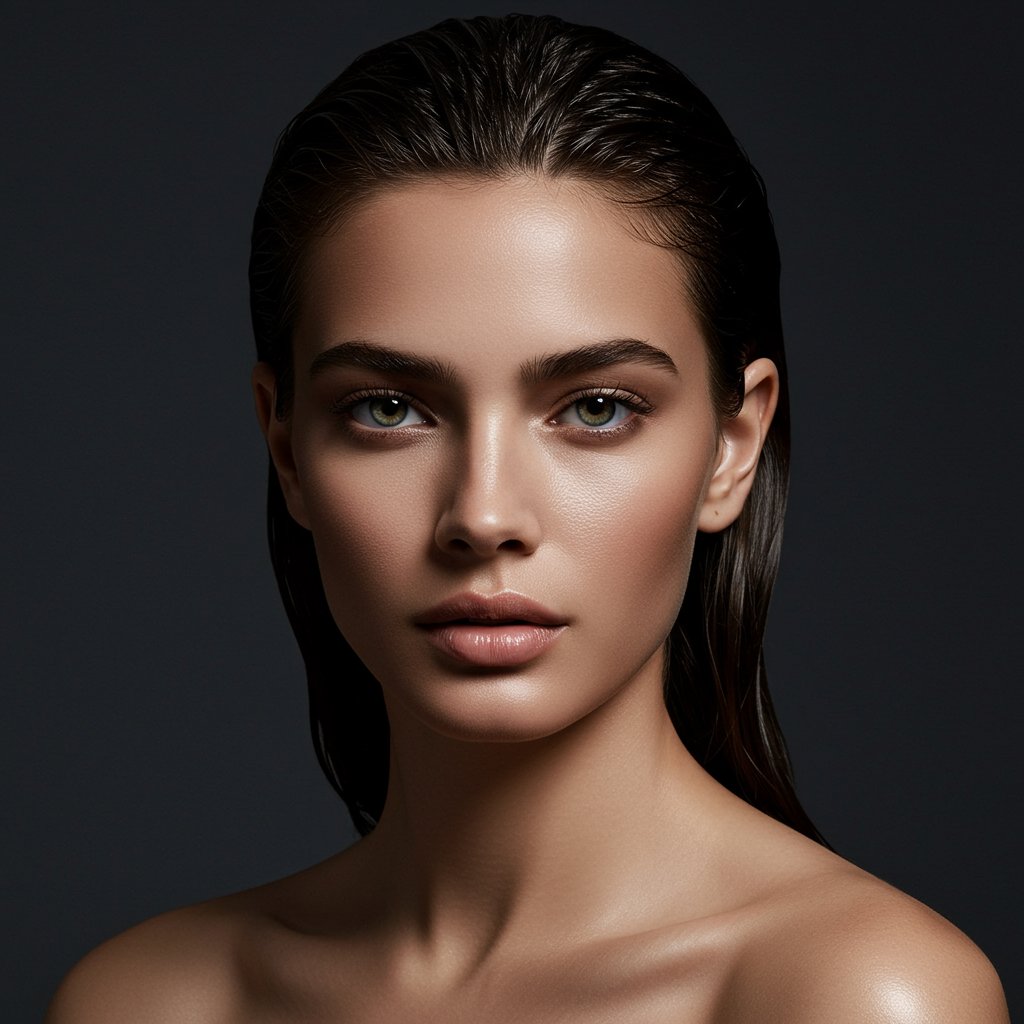
From Runway to Reality: The Allure of Wet Look Hair
The wet look hairstyle is the epitome of high-fashion chic. Seen gracing red carpets, editorial spreads, and fashion week runways, this style exudes a bold, confident, and effortlessly cool vibe. It can transform a simple look into a statement, suggesting everything from a fresh-out-of-the-ocean allure to a powerful, structured silhouette. However, there's a fine line between looking intentionally sleek and unintentionally greasy. This common fear prevents many from attempting the trend, worried they'll end up looking like they missed a hair wash day rather than stepping out of a magazine.
This comprehensive guide is here to demystify the process. Achieving the perfect wet look hair is not about drenching your hair in water or oil; it’s a strategic art that involves the right preparation, the correct products, and a masterful application technique. We will break down every step, from prepping your hair to choosing the best stylers for your hair type, ensuring you can rock this stunning look with confidence. Forget the grease and get ready to embrace a glossy, polished finish that lasts all day and night.
Whether you're aiming for a slicked-back power look, gentle, dewy waves, or a sophisticated wet ponytail, the principles remain the same. It’s about creating the illusion of wetness with products that provide hold, shine, and control without weighing the hair down or creating an oily residue. Let's dive into the techniques that professional stylists use to get that flawless, camera-ready finish every single time.
Understanding the Look: Sleek & Sophisticated vs. Greasy & Grimy
Before you pick up a single product, it’s crucial to understand the aesthetic you're aiming for. The successful wet look is all about shine, control, and intention. It looks purposeful and clean. The shine should be glossy and reflective, like light hitting water, not dull and heavy like unwashed hair. The hair should still have movement and texture where desired, rather than being plastered to the scalp in stiff, separated chunks. It’s a deliberate style choice that complements your features and outfit.
Conversely, the greasy look is the unfortunate result of product misuse or natural oil buildup. It often appears stringy, heavy, and flat. The shine is less of a gloss and more of a film, and the hair loses its life and volume. The key difference lies in the product choice and distribution. Greasy hair comes from oil-based products applied incorrectly or an overproduction of sebum, whereas the perfect wet look is achieved with modern, water-based gels, mousses, and creams that are layered strategically to build a controlled, high-shine finish.
Think of it as the difference between satin and oil slick. One is luxurious, light-reflective, and elegant; the other is heavy and messy. The goal is to use products that mimic the appearance of water without the downsides of it drying out or the heaviness of oil. By understanding this distinction, you can make smarter choices during the styling process and troubleshoot any issues that arise, ensuring your final look is always on the right side of chic.
The Foundation: Prepping Your Hair for Success
Great style starts with a great foundation. You wouldn't paint a masterpiece on a dirty canvas, and the same goes for your hair. The preparation phase is non-negotiable for achieving a non-greasy wet look. While some suggest starting with day-old hair for added grit, for this particular style, starting with clean hair is often the best route to avoid confounding product with natural oils. A clarifying shampoo can be an excellent first step to remove any existing buildup, ensuring your styling products can perform their best.
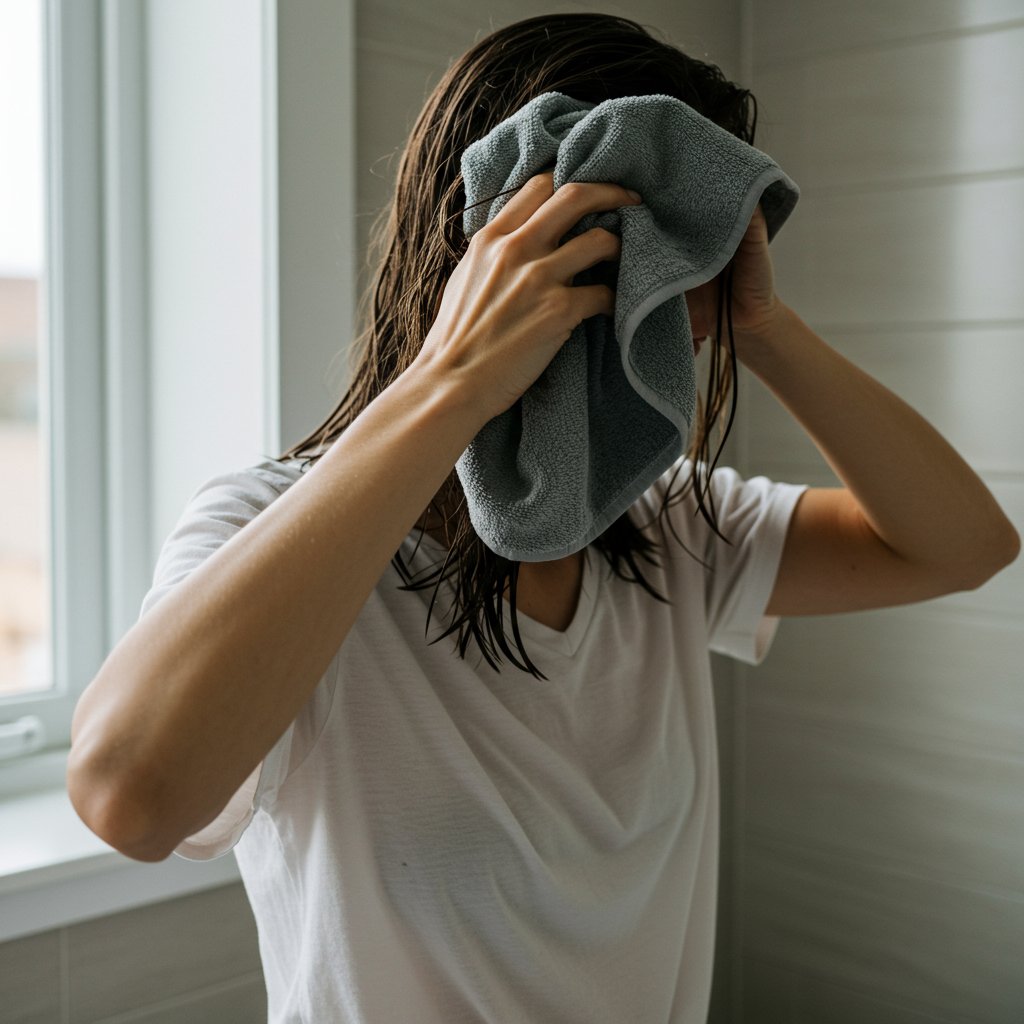
After washing, the next critical step is achieving the perfect level of dampness. You do not want to apply products to soaking wet hair, as they will become diluted and lose their hold. Similarly, applying them to dry hair will result in a stiff, sticky, and uneven mess. The ideal state is towel-dried, damp hair—about 70-80% dry. At this stage, the hair cuticle is still open enough to absorb the product evenly, allowing you to build the style with maximum control and minimal frizz. Gently squeeze excess water out with a microfiber towel to protect your strands.
Before adding your styling products, consider your hair type. If your hair is prone to dryness or damage, a lightweight leave-in conditioner or heat protectant spray is a wise addition. This creates a protective barrier and adds a base layer of moisture, which helps the styling products glide on more smoothly. For fine hair, use a very light, spray-based formula. For thicker or coarser hair, a light cream or lotion can help tame texture and provide a smoother canvas for your wet-look products.
Choosing Your Weapons: The Best Products for a Non-Greasy Wet Look
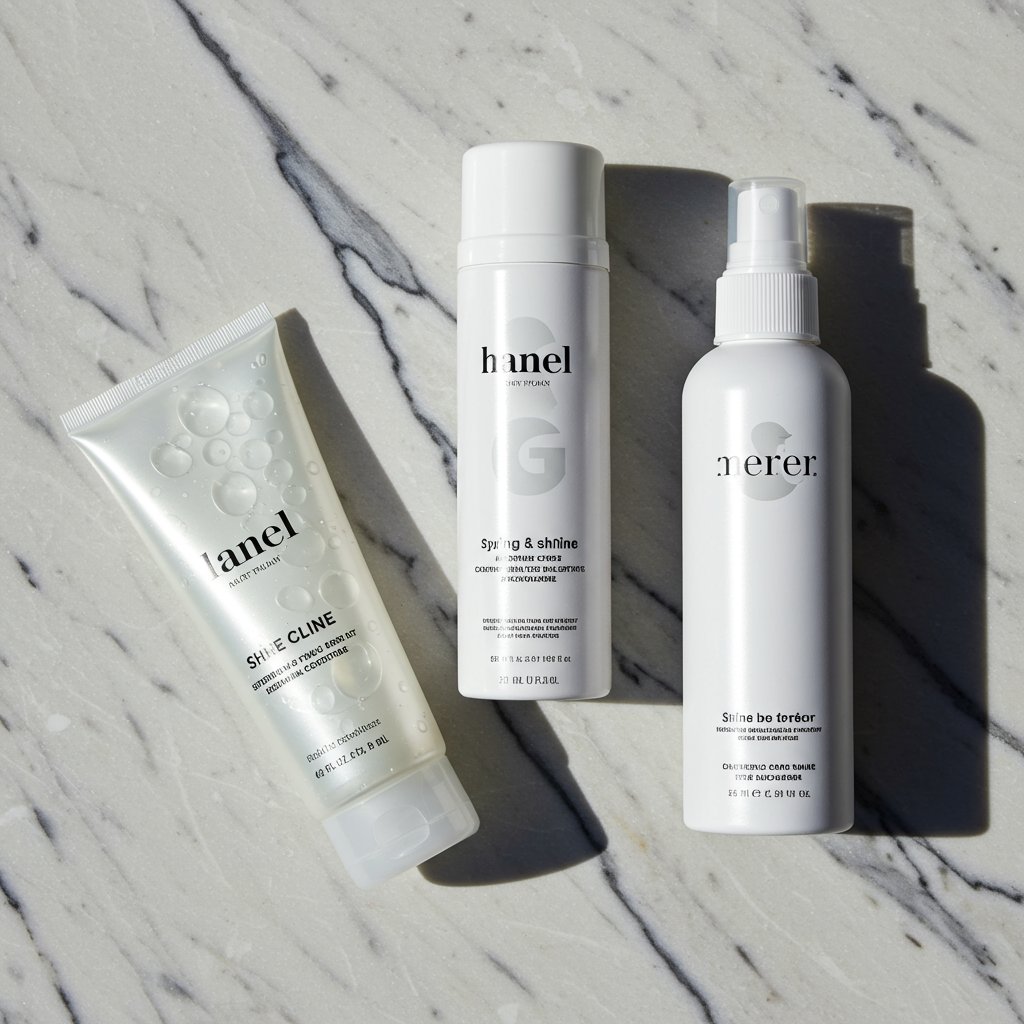
Product selection is where the magic truly happens. Using the wrong formula is the fastest way to veer into greasy territory. The key is to layer different types of products to achieve shine, hold, and texture without relying on heavy oils or waxes.
For Strong Hold & Structure: Hair Gels
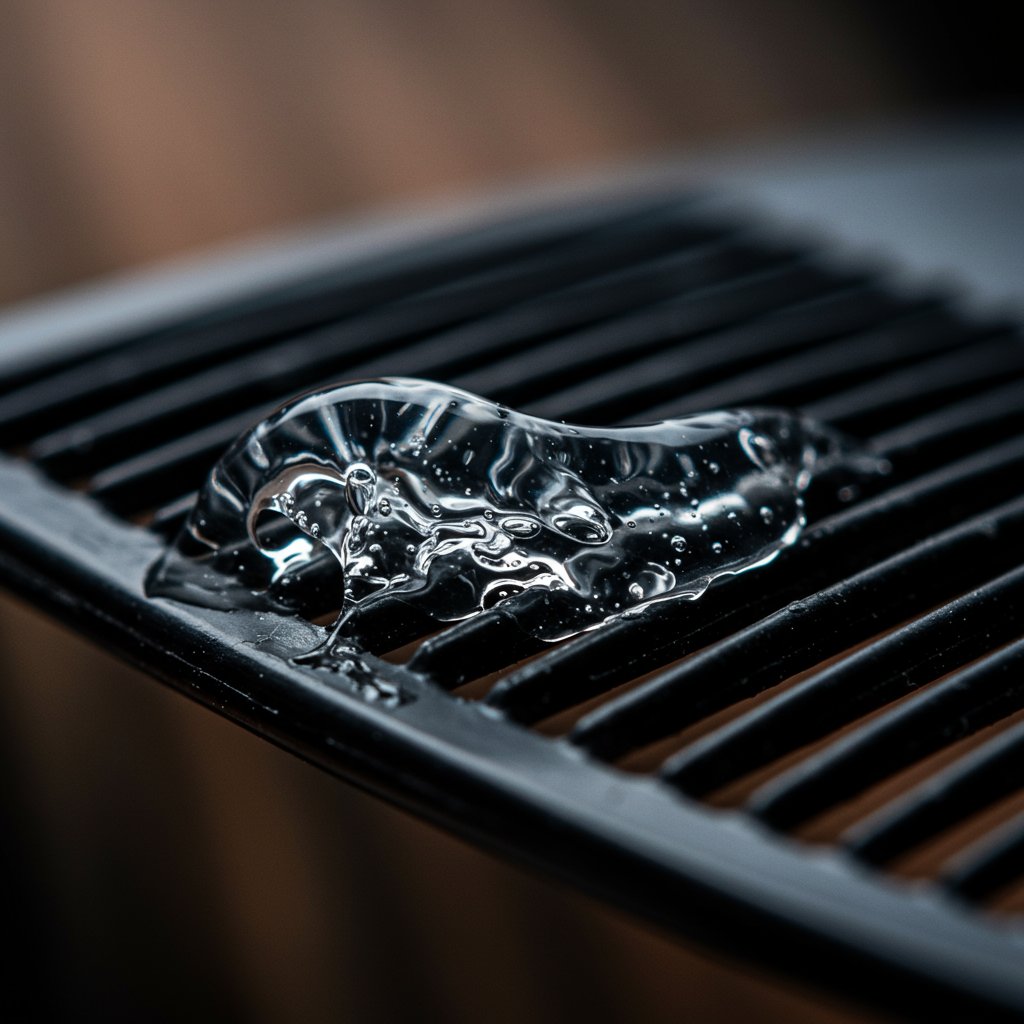
Modern hair gels are the workhorse of the wet look. Forget the crunchy, flaky formulas of the past. Today’s professional-grade gels offer incredible hold and shine without the stiffness. Look for a high-shine, strong-hold gel that is water-based. These are easier to distribute and wash out. Apply the gel section by section, focusing on the roots and mid-lengths where you want the most control and slickness. A gel is perfect for creating those sharp, combed-back styles.For Volume & Malleable Hold: Styling Mousse & Creams
If you have fine hair or want a softer, more voluminous wet look, a styling mousse is your best friend. A tennis ball-sized amount, worked through damp hair from roots to ends, provides a fantastic foundation. It gives the hair body and memory without weighing it down. For a gentler, more piecey look, a styling cream or a lightweight pomade can be used. These products offer a more pliable hold than gel, allowing you to sculpt and shape waves or texture while still providing that necessary moisture and shine.For the Final Polish: Shine Sprays & Serums
A common mistake is reaching for a heavy oil or serum to add shine. This is often what pushes the style from sleek to greasy. Instead, finish your look with a weightless shine spray or a glossing mist. These products contain light-reflecting particles that create a brilliant sheen without adding any weight or oily residue. Apply it as the very last step, holding the can about 10-12 inches away from your head and misting it over your finished style. A single drop of a silicone-based serum, emulsified in your palms and gently grazed over the surface, can also tame any final flyaways.Step-by-Step Technique: Nailing the Application
With your hair prepped and your products selected, it's time for the application. This methodical process ensures even distribution and a polished, professional result.
Step 1: Start with Damp, Sectioned Hair
As discussed, begin with clean, towel-dried hair. To ensure every strand is coated, divide your hair into manageable sections. Four quadrants—two in the front and two in the back—is a good starting point. Clipping away the sections you aren't working on will make the process cleaner and more precise, preventing you from using too much product in one area.Step 2: Layer Your Products Strategically
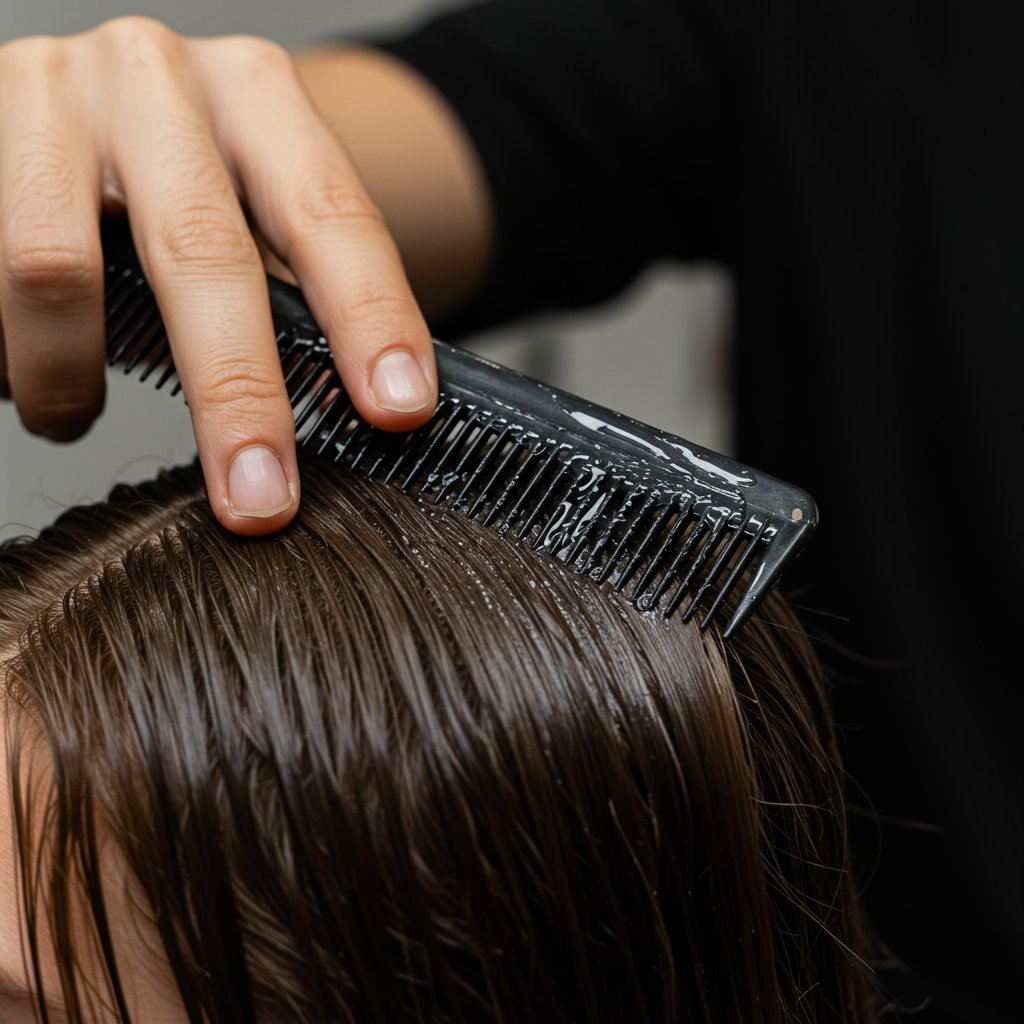
Start with your base product, like a mousse or leave-in conditioner. Then, begin applying your primary styler—the gel or cream. Squeeze a quarter-sized amount into your palms and rub them together. Start applying the product from the roots downwards, combing it through with your fingers. Focus the heaviest concentration of product at the roots and the first few inches of hair, which is key for the slicked-back effect. The ends should have the least amount of product to keep them from looking heavy and stringy.Step 3: Comb and Sculpt Your Style
Once the product is in, it's time to create your shape. For a sleek, straight-back look, use a fine-tooth comb to create clean lines and direct the hair away from your face. For a softer, more textured look, use a wide-tooth comb or just your fingers to shape the hair. This is the stage where you define your part—or choose to go without one. Work quickly while the hair is still damp and the product is pliable. Don't be afraid to mold the hair into the exact shape you want.Step 4: Set the Look and Lock It In
How you dry your hair will set the style in place. For a super sleek, high-fashion look with no volume, you can use clips to hold the hair down flat against your head while it air dries. For a bit more lift at the root, use a diffuser on a low speed and low heat setting. Gently hover the diffuser over the hair without touching it, which will dry the product into a shiny cast without creating frizz. Once your style is set, a final mist of a flexible-hold hairspray will lock everything in place for hours.Styling Variations: From Red Carpet to Everyday Chic
The wet look is surprisingly versatile. Once you master the basic technique, you can adapt it to numerous styles suitable for any occasion.
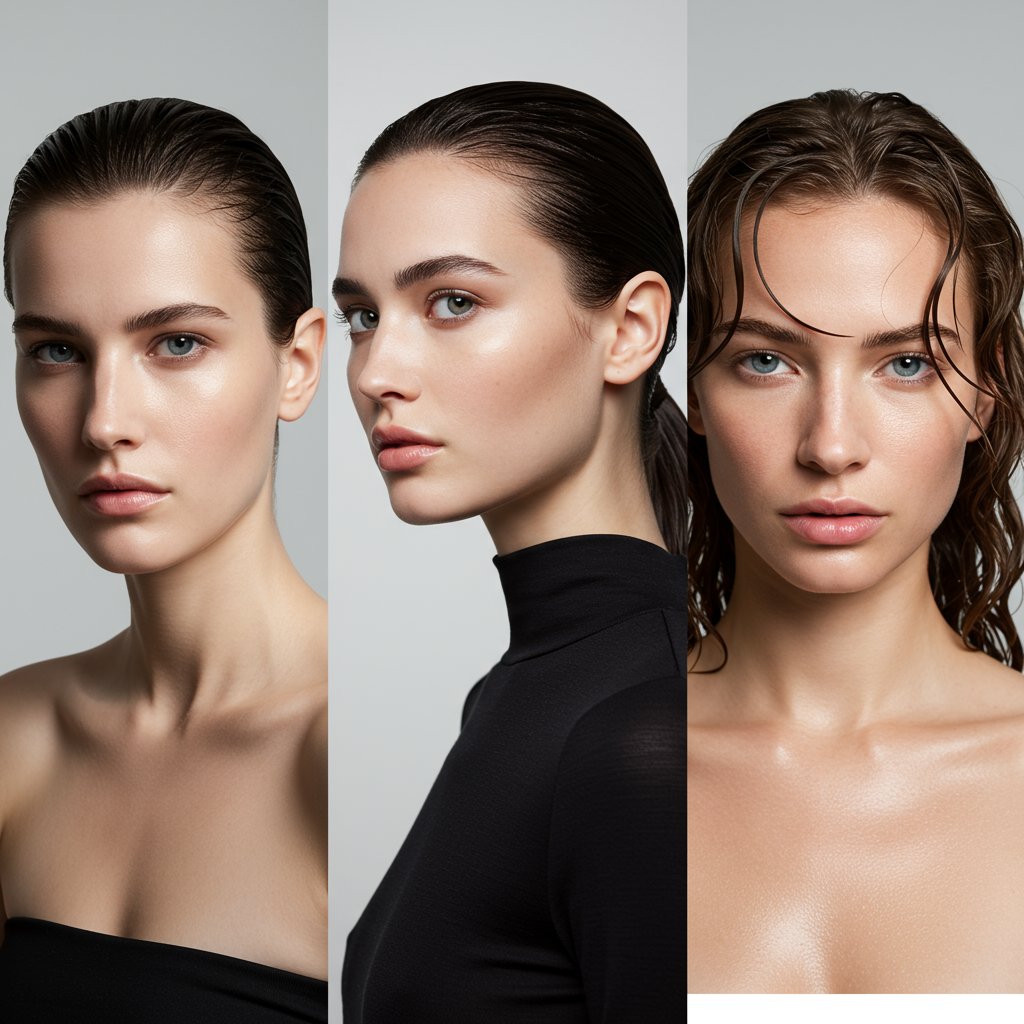
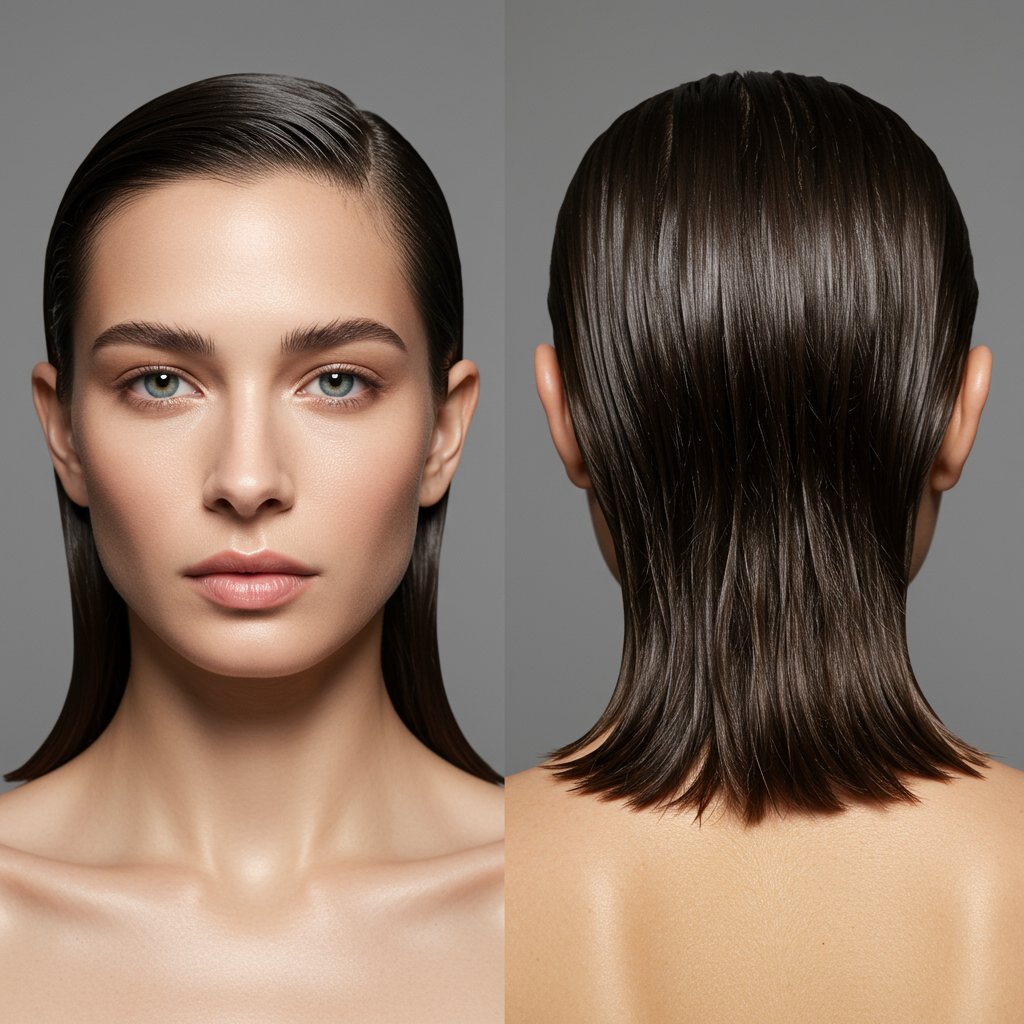
The Classic Slick-Back
This is the quintessential wet look. Hair is combed straight back from the forehead, creating a strong, androgynous, and powerful silhouette. This style works best on short to medium-length hair and beautifully highlights your facial features. The key is to get the hair at the crown perfectly smooth and uniform.The Wet Look Ponytail or Bun
For a sophisticated and elegant take, pull your wet-styled hair into a low ponytail or a sleek chignon at the nape of the neck. The contrast between the slick, glossy crown and the texture of the ponytail creates a beautiful dynamic. This is a practical yet high-impact style perfect for formal events.The "Fresh Out of Water" Textured Waves
This version is less structured and more organic. Instead of combing the hair straight back, you'll want to scrunch and encourage your natural wave pattern. Apply a combination of mousse and a sea salt spray to damp hair, then use your fingers to create piecey, separated waves. The result is a relaxed, beachy, yet polished look, as if you've just emerged from the surf.Pro Tips for a Flawless, Long-Lasting Finish
- Mix Your Media: Don't be afraid to cocktail your products. A common professional trick is to mix a small amount of styling cream or pomade with your gel. This can give the gel a more pliable, less crunchy finish while maintaining its strong hold.
- Focus on the Roots: For most wet looks, the intensity should be concentrated at the roots and the first 2-4 inches of hair. The ends can be left softer or even completely dry for a chic, contrasting texture.
- The Right Comb Matters: A wide-tooth comb is your best friend for distributing product and creating separated, textured looks. A fine-tooth comb is essential for that ultra-sleek, glass-like finish.
- Reactivate with Water: If your style starts to lose its shape or feel a bit stiff during the day, you can lightly mist it with water and use your fingers to restyle. This will reactivate the products without needing to add more.
- Finish with Hairspray: Even if your gel has a strong hold, a light mist of a flexible-hold, high-shine hairspray will act as a top coat, sealing the deal and protecting your style from the elements.
Wet Look Hair: Your Questions Answered
Can I achieve the wet look on fine hair?
Absolutely. The key for fine hair is to use lightweight products. Start with a volumizing mousse to give the hair some body and structure, then use a small amount of a light-hold gel, focusing only on the roots. Avoid heavy creams and serums, which will weigh fine hair down instantly.
How long does the wet look hairstyle last?
When done correctly with strong-hold products, a wet look can last all day or night. The style is 'set' once the products dry, creating a cast that holds the hair in place. A finishing spray will provide extra insurance against humidity and movement.What's the best way to wash out all the product?
To effectively remove product buildup, start with a pre-shampoo treatment or a clarifying shampoo. On dry hair, before getting in the shower, you can work a bit of conditioner or oil through the hair to help break down the styling products. Then, shampoo twice, focusing on massaging the scalp to lift all residue, and follow with a hydrating conditioner.Can I use hair oil for a wet look?
It's generally not recommended to use hair oil as your primary styling product for a wet look. Oil doesn't provide hold and is the quickest way to make hair look greasy and separated. A tiny amount can be used on the very ends of thick, coarse hair for moisture, but it should not be applied near the scalp or as a shine product.Does the wet look damage your hair?
The style itself is not damaging. However, heavy use of products, especially those containing alcohol, can be drying over time. Ensure you are using high-quality, professional products and properly cleansing and conditioning your hair after wearing the style. Never sleep with a full head of product in your hair, as this can lead to breakage.Conclusion: Embrace the Sleek
The wet look hairstyle is more than just a fleeting trend; it’s a timeless statement of confidence and style. By moving past the fear of looking greasy and arming yourself with the right knowledge and products, you can unlock a world of chic, high-fashion possibilities. The secret lies not in the amount of product you use, but in the strategic selection and precise application of formulas designed to create shine without weight.
Remember the core principles: start with a clean, damp canvas, layer lightweight products, focus the application on the roots, and choose the right tools to sculpt your desired shape. Whether you opt for a powerful slick-back or soft, dewy waves, the wet look is an achievable and empowering style for any hair type. If you're looking for a personalized consultation or a professional application for a special event, an experienced stylist at a professional hair salon can help you choose the perfect products and craft a flawless wet look tailored to you.


